

Let me tell you about the day these Crack Chicken Sliders saved my bacon (pun intended). It was a Friday afternoon, and I suddenly remembered I’d promised to bring something to the neighborhood potluck that evening. Panic mode: activated.
I scanned my kitchen like a contestant on Chopped, spotting cream cheese, some leftover rotisserie chicken, and a packet of ranch seasoning. A lightbulb went off, and these sliders were born. Little did I know, I was about to become the potluck MVP.
Why “Crack” Chicken?
First off, let’s address the elephant in the room – the name. No, there’s nothing illegal in these sliders! “Crack” in recipe-speak just means it’s addictively good. And boy, are these addictive. The combination of creamy, cheesy, ranchy goodness with crispy bacon and tender chicken is just chef’s kiss.
My Lazy Cook Secrets
Now, I’m all about maximum flavor with minimum effort. Here are my top tricks for these sliders:
Rotisserie chicken is your best friend. I always grab one when I’m at the store, just in case. It’s a lifesaver for quick meals.
Bacon in the oven. Seriously, why did it take me so long to discover this? No more grease splatters all over my stovetop. Just line a baking sheet with foil, lay out the bacon, and pop it in the oven. Clean-up is a breeze.
Don’t skimp on the cheese. I’ve tried “healthifying” these by cutting back on the cheese. Learn from my mistakes. The cheese is non-negotiable.
Hawaiian rolls are key. Something about their slight sweetness just works perfectly with the savory filling. I’ve tried other rolls, and it’s just not the same.
The Assembly Process
Here’s where the magic happens. After you’ve got your chicken shredded and your bacon crispy, it’s time to create the creamy base. Watching the cream cheese melt and combine with the ranch seasoning is oddly satisfying. When you stir in the chicken, bacon, and cheese, try not to eat it all straight from the pot (I may or may not be speaking from experience).
Then comes the fun part – assembling the sliders. I like to get my kids involved here. They love spreading the mixture on the rolls and sprinkling the cheese on top. Fair warning: some of the cheese might mysteriously disappear during this process.
The Secret Topping
Now, here’s what takes these sliders from great to oh-my-god-amazing: the garlic butter topping. When these bad boys are in the oven, the garlic butter melts down into the rolls, creating this crispy, flavorful top that’s just irresistible. The sprinkle of Parmesan and chives isn’t just for looks (though it does make them pretty Instagram-worthy) – it adds a final punch of flavor that ties everything together.
Serving Suggestions
These sliders are pretty hearty on their own, but if you want to round out the meal, here are my go-to sides:
- A tangy coleslaw: The acidity cuts through the richness nicely.
- Potato chips: Sometimes, you just need that crunch.
- A simple green salad: You know, for balance.
The “I Can’t Stop Eating These” Struggle
Fair warning: these sliders are dangerous. The first time I made them, I had to do a second batch because I ate so many before the potluck. Now, I always make extra just for myself. It’s called quality control, right?
Alright, enough of my rambling. Here’s the recipe you’ve been waiting for:
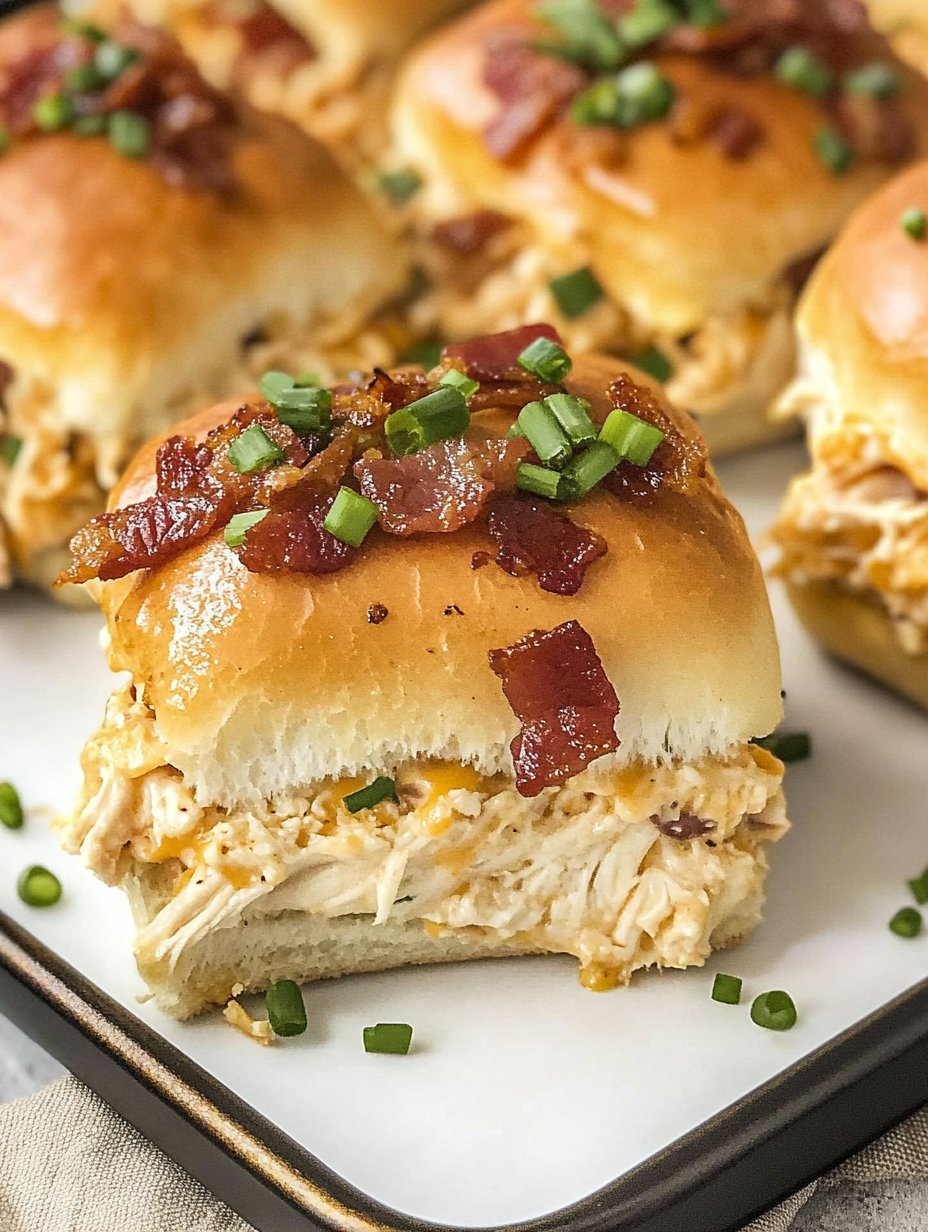
Crack Chicken Sliders
Ingredients
Method
- Preheat your oven to 425°F (220°C). Line a baking sheet with foil and lay out the bacon slices. Bake for 15-20 minutes until crispy. Once cool, chop into small pieces.
- Lower the oven temperature to 350°F (175°C).
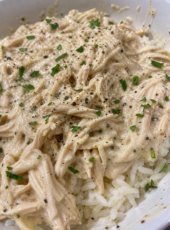
- In a large pot over medium heat, combine the cream cheese, chicken broth, and ranch dressing mix. Cook, stirring frequently, until the cream cheese is completely melted and the mixture is smooth.
- Stir in the chopped bacon, shredded chicken, 1/2 cup of the cheddar cheese, and the green onions. Mix until everything is well combined.
- Without separating the rolls, slice the entire slab of Hawaiian rolls in half horizontally. Place the bottom half in a 9×13 inch baking dish.
- Spread the chicken mixture evenly over the bottom half of the rolls. Sprinkle the remaining cheddar cheese over the chicken mixture.
- Place the top half of the rolls over the cheese layer.
- In a small bowl, mix the melted butter with the minced garlic. Brush this mixture over the top of the rolls. Sprinkle with the Parmesan cheese and chives.
- Bake for 15-20 minutes, or until the cheese is melty and the tops of the rolls are golden brown.
- Let cool for a few minutes, then slice into individual sliders and serve.
Notes
- For a shortcut, use meat from a rotisserie chicken. Just be sure to remove the skin first!
- These sliders can be assembled up to a day in advance. Just cover with foil and refrigerate, then bake when you’re ready to serve.
- Leftovers (if you have any!) can be stored in an airtight container in the fridge for up to 3 days. Reheat in the oven for best results.
Tried this recipe?
Let us know how it was!There you have it, folks! My go-to recipe for any gathering (or, let’s be honest, a Tuesday night when I’m feeling fancy). Give these a try, and I promise you’ll be the hero of your next potluck. Just remember to save a few for yourself!


I want your Recipe please that look so good