WANT TO SAVE THIS RECIPE?
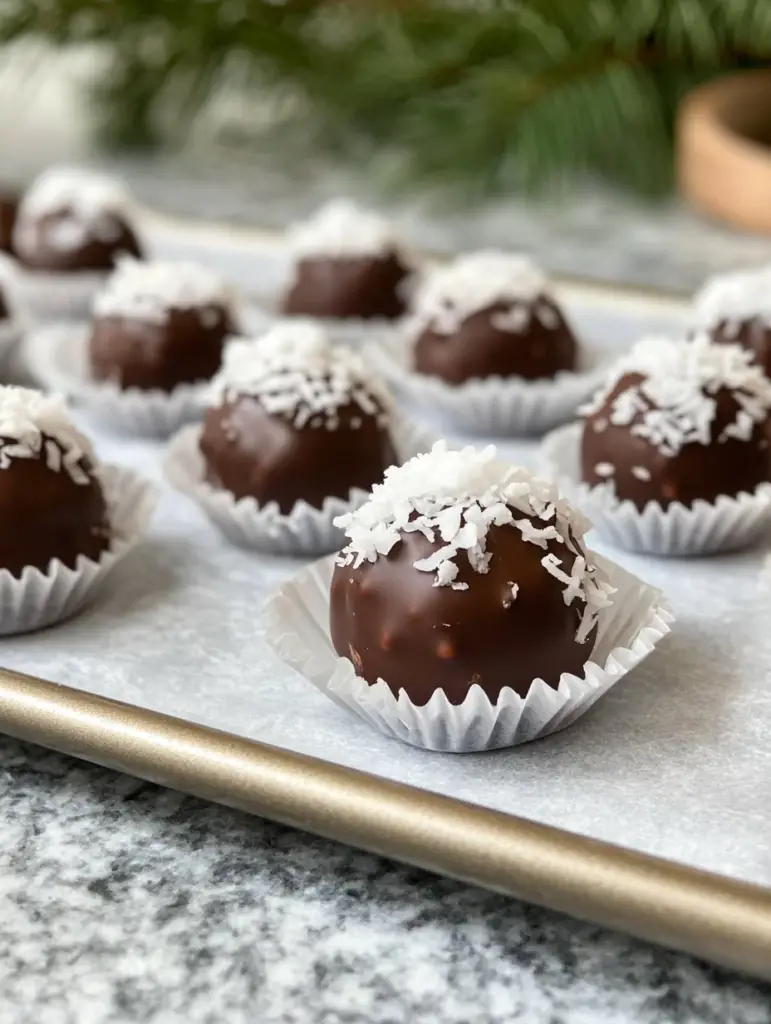
Transform simple ingredients into luxurious homemade candies! These no-bake chocolate coconut balls feature a moist, sweet coconut center enrobed in rich chocolate. With just 5 ingredients and no baking required, these treats are perfect for holiday gifting, cookie exchanges, or anytime you’re craving something special.
The Story Behind These Coconut Balls
This treasured recipe comes from grandma’s holiday collection, where it was a staple during Christmas seasons. The combination of sweet coconut and rich chocolate creates an irresistible treat that tastes like a professional candy but is surprisingly simple to make at home. What makes these coconut balls truly special is their versatility – they’re elegant enough for gifting but simple enough for everyday treats. The contrast between the sweet, moist coconut filling and rich chocolate coating creates a perfect balance of flavors and textures that keeps everyone coming back for more.
Why This Recipe Works
These chocolate coconut balls have stood the test of time for good reason. The no-bake preparation means anyone can make them successfully, while the simple ingredients list keeps them budget-friendly. The desiccated coconut provides the perfect texture, while the sweetened condensed milk binds everything together beautifully. The chocolate coating adds a professional finish that makes them gift-worthy, and the recipe can be easily doubled or tripled for larger gatherings. Best of all, they can be made well in advance, making them perfect for busy holiday seasons.
Ingredient Notes
Choosing the right ingredients makes all the difference in these coconut balls. The desiccated coconut creates a finer texture than regular shredded coconut, though either can work. Using high-quality chocolate for coating makes a noticeable difference in the final taste and appearance. The sweetened condensed milk not only binds the ingredients but also adds a rich, creamy sweetness that perfectly complements the coconut. The addition of shortening to the chocolate helps create a smooth, glossy coating that sets beautifully and prevents blooming.
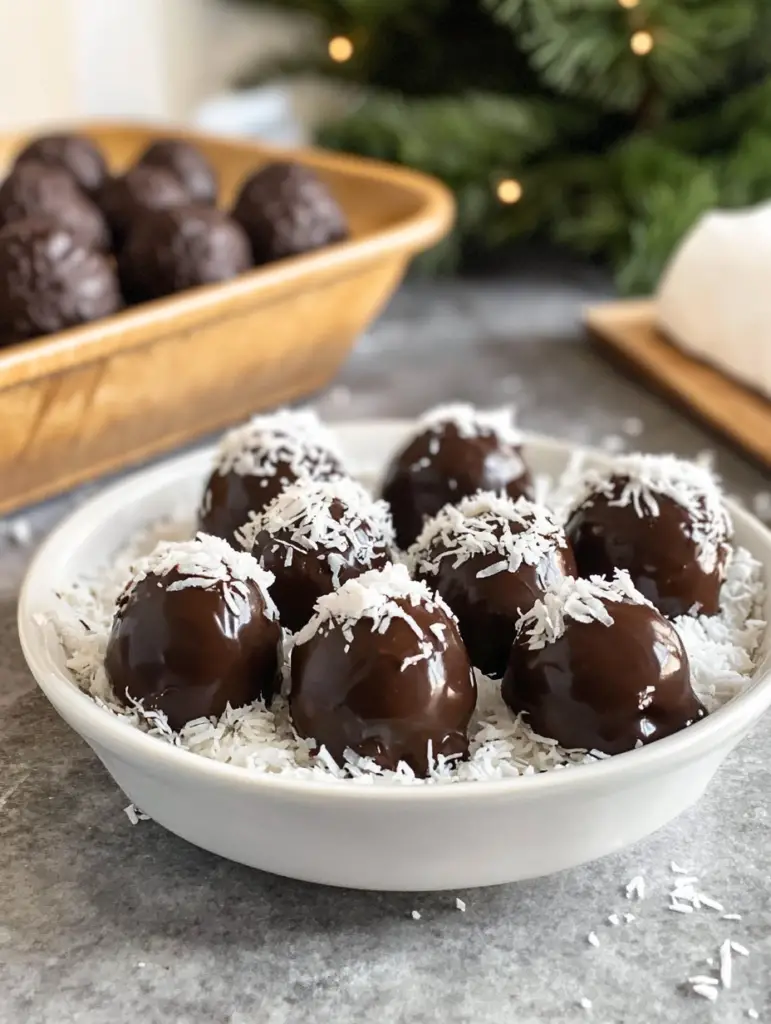
Step By Step Instructions
Making the Coconut Centers
The key to perfect centers lies in achieving the right consistency. Begin by thoroughly combining the coconut and powdered sugar in a large bowl, ensuring no lumps remain. Add the sweetened condensed milk gradually, mixing until you achieve a firm but moldable texture. The mixture should hold its shape when pressed but still be pliable enough to roll. If it feels too sticky, add a bit more coconut; if too dry, add small amounts of condensed milk until the texture is right.
Forming and Chilling
Take your time rolling the mixture into uniform balls – consistency in size ensures even coating and a professional appearance. A cookie scoop can help maintain uniform portions. Place the formed balls on a wax paper-lined baking sheet, leaving space between each one. The chilling step is crucial – don’t skip it. Cold centers are much easier to coat evenly with chocolate. Allow at least 30-45 minutes in the refrigerator, or even better, chill overnight.
The Perfect Chocolate Coating Process
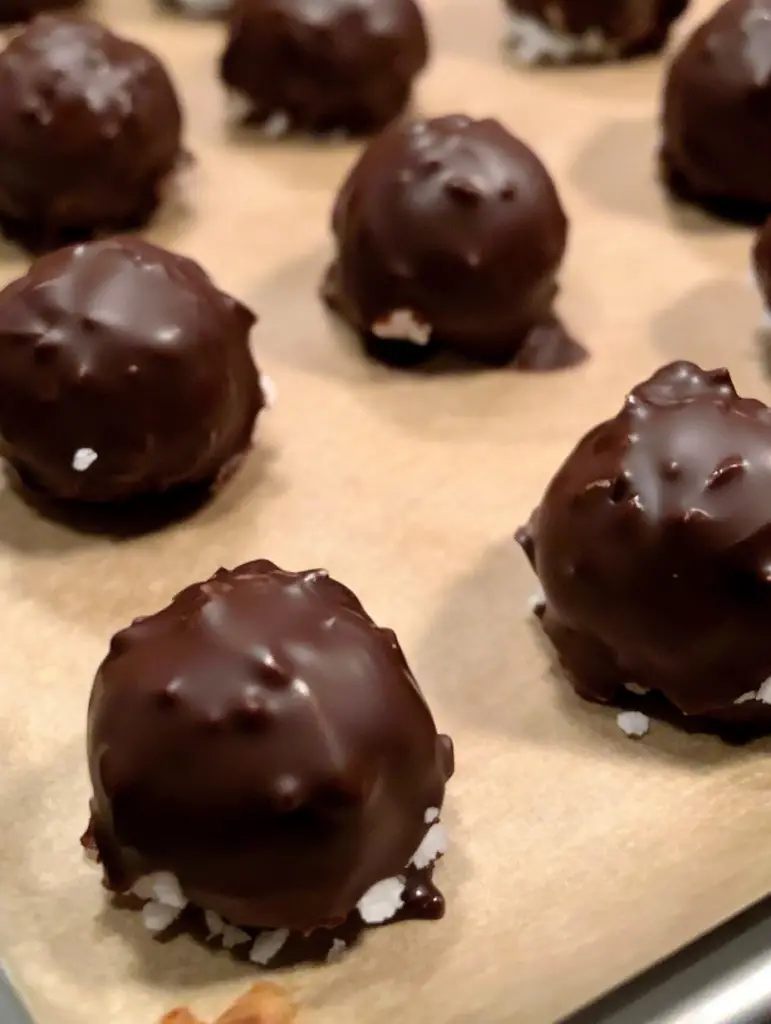
The success of these coconut balls largely depends on properly preparing and maintaining your chocolate coating. Start by combining quality chocolate chips with shortening in a microwave-safe bowl. Heat in 30-second intervals, stirring thoroughly between each session. The shortening helps achieve the perfect consistency for dipping and creates a beautiful shine when set. Your melted chocolate should be smooth and glossy, with no lumps or thick spots. Keep the temperature steady – if the chocolate gets too hot, it will become thick and difficult to work with.
Professional Dipping Technique
Working with chocolate requires patience and attention to detail. Remove only a few coconut balls from the refrigerator at a time – keeping the others chilled ensures they maintain their shape during dipping. Drop each ball into the melted chocolate mixture, fully submerging it. Using a dipping tool or fork, lift the ball and gently tap off excess chocolate. This creates a thin, even coating that will set beautifully. Place each dipped ball on wax paper, leaving space between them. If adding any toppings or decorations, do so immediately before the chocolate sets.
Storage and Make-Ahead Instructions
These chocolate coconut balls store beautifully, making them perfect for advance preparation. Once fully set, store them in an airtight container with wax paper between layers. They’ll keep at room temperature for up to 3 days, though in warmer climates, refrigeration is recommended. For longer storage, they can be refrigerated for up to two weeks or frozen for up to three months. When freezing, allow them to thaw overnight in the refrigerator before serving. For gifting, package them in decorative tins or boxes, maintaining layers between wax paper to prevent sticking.
Creative Variations
While the classic version is delicious on its own, there are numerous ways to customize these treats. Create an Almond Joy-inspired version by embedding a whole almond in the center before coating. For added texture, roll the coconut centers in finely chopped nuts before dipping in chocolate. During holiday seasons, add festive sprinkles or drizzle with contrasting chocolate for elegant decoration. For a sophisticated twist, use dark chocolate with a high percentage of cocoa and add a pinch of sea salt to the coating.
Chocolate Coconut Balls
Luxurious no-bake coconut candies perfect for gifting or special occasions.
Prep Time: 45 minutes
Chill Time: 30 minutes
Total Time: 1 hour 15 minutes
Servings: 30 balls
Calories: 149 kcal
Ingredients
For the Centers:
- 1¾ cups desiccated coconut
- 1¾ cups powdered sugar
- ½ cup sweetened condensed milk
For the Coating:
- 2 cups dark or semi-sweet chocolate chips
- 2 tablespoons shortening
Optional Decorations:
- Additional coconut for rolling
- Chopped nuts
- Festive sprinkles
Instructions
Base Mixture:
- In a large mixing bowl, thoroughly combine desiccated coconut and powdered sugar until evenly mixed. Add sweetened condensed milk gradually, mixing until a firm but moldable consistency is achieved. The mixture should hold its shape when pressed but remain pliable enough to roll.
- Using clean hands or a small cookie scoop (about 1-inch diameter), portion the coconut mixture and roll into smooth, uniform balls. Place each formed ball on a wax paper-lined baking sheet, leaving space between them.
- Refrigerate the coconut balls for at least 30-45 minutes or until firmly set. This step is crucial for achieving a clean chocolate coating.
Chocolate Coating:
- Place chocolate chips and shortening in a microwave-safe bowl. Heat in 30-second intervals, stirring thoroughly between each session. Continue until the mixture is completely smooth and glossy.
- Working with 4-5 balls at a time (keeping others refrigerated), drop each ball into the melted chocolate. Using a dipping tool or fork, ensure complete coverage, then lift and gently tap to remove excess chocolate.
- Place dipped balls on fresh wax paper. If adding any toppings, sprinkle them on immediately before the chocolate sets.
Setting and Storage:
- Allow the chocolate coating to set completely at room temperature, approximately 1-2 hours. For faster setting, refrigerate for 15-20 minutes.
- Once set, transfer to an airtight container, placing wax paper between layers to prevent sticking.
Recipe Notes:
- Use room temperature condensed milk for easier mixing
- Maintain chocolate temperature for smooth coating
- Clean dipping tools between batches
- Store in cool, dry place
Troubleshooting Tips:
- If mixture is too dry: Add condensed milk 1 teaspoon at a time
- If mixture is too wet: Add more coconut gradually
- If chocolate becomes too thick: Add 1 teaspoon shortening
- If chocolate seizes: Start fresh batch
Nutrition Information (per ball):
- Calories: 149
- Fat: 8g
- Saturated Fat: 7g
- Carbohydrates: 18g
- Protein: 2g
- Fiber: 1g
- Sugar: 14g
- Sodium: 21mg
- Calcium: 52mg
- Iron: 1mg
Storage Time Guidelines:
- Room temperature: 3 days
- Refrigerated: 2 weeks
- Frozen: 3 months
- For gifting: Keep cool and consume within 5 days
Gift Packaging Suggestions:
- Small decorative tins lined with wax paper
- Clear cellophane bags tied with ribbon
- Holiday-themed cookie boxes
- Mini cupcake liners in gift boxes
- Mason jars with decorative labels
Remember to store and transport in cool conditions to maintain the perfect chocolate coating. These coconut balls make wonderful gifts for teachers, neighbors, or anyone who appreciates a homemade treat!

can almond bark be used to coat the coconut cream balls