WANT TO SAVE THIS RECIPE?
Alright, my fellow cookie aficionados, gather ’round! Today, we’re diving headfirst into a batch of cookies that are as beautiful as they are utterly delicious: Chocolate Crinkle Cookies. These aren’t just any cookies; they’re a textural masterpiece, a dance of fudgy centers meeting crisp, sugary edges. I mean, seriously, who can resist that gorgeous cracked pattern?
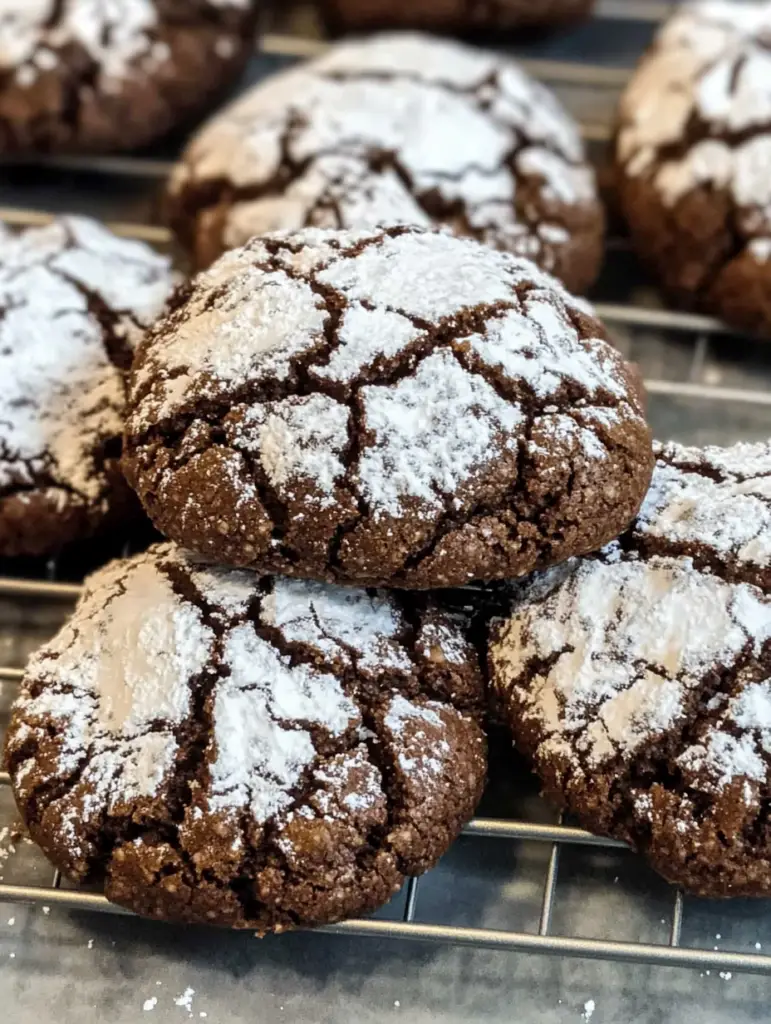
Hi there, it’s me! If you’ve ever found yourself scrolling through my recipes, you probably know that I’m all about crafting dishes that are both simple and deeply satisfying. And these Chocolate Crinkle Cookies? They’re a perfect testament to that idea. They bring such joy to your kitchen!
Why I’m Obsessed with These Cookies (and You Will Be Too!)
Pantry-Friendly: You probably already have everything you need hanging out in your kitchen!
Quick to Make: The dough comes together so easily and with minimal effort, and you can make it ahead for easy baking.
Unbelievable Texture: Soft and chewy insides with crisp, sugary outsides – it’s a total mouth party!
Taste Even Better Later: I know it sounds crazy, but these cookies taste even more amazing the day after you bake them.
Seriously, these are the perfect cookies to share with loved ones, and you’ll absolutely want to make an extra batch for yourself (you deserve it!).
The Allure of the Crinkle
Chocolate Crinkle Cookies are like a harmonious blend of two of my favorite treats. Imagine a rich, fudgy brownie having a love affair with a perfectly crisp chocolate chip cookie – and that’s what these taste like. The “crinkle” is a magical transformation that happens when you roll the dough in powdered sugar before they bake. As the cookies expand, the powdered sugar breaks apart, forming that lovely, signature cracked surface.
And here’s the kicker: like a truly great Baklava, these cookies develop even more personality when they’ve had some time to rest. The outside develops an amazing crunch, and the interior becomes even more gooey and tender. Just a heads up – they tend to vanish quickly once they appear in my house!
Let’s Get Baking (It’s Easier Than You Think!)
Making these cookies is honestly so much fun and if you’ve got little ones, they’ll love helping out. The kids will adore rolling the soft chocolate dough into balls and completely coating them in a blanket of sweet powdered sugar. It’s like making miniature snowy worlds, similar to how you prepare Russian Tea Cakes.
Combine the Wet: Whisk together the sugar, cocoa powder, oil, vanilla extract, and eggs in a bowl until smooth.
Mix the Dry: In a separate bowl, whisk together the flour, baking powder, and salt.
Blend: Gently combine the dry ingredients with the wet ingredients until just incorporated, taking care not to overmix.
Chill: Cover the dough and let it chill in the refrigerator for at least three hours or, ideally, overnight.
Time to Bake
Preheat: Set your oven to 350°F (175°C).
Roll & Coat: Scoop the chilled dough into evenly sized balls (a cookie scoop makes this so much easier!) and generously roll each one in powdered sugar.
Bake: Arrange the sugar-coated dough balls onto a baking sheet, leaving space for them to spread, and bake for 10 to 12 minutes. They’ll be soft when you take them out, but don’t worry, they’ll firm as they cool.
Cool: Allow the cookies to rest on the baking sheet for a few minutes before transferring them to a wire rack to cool completely.
Helpful Hints and FAQs
Why are my cookies flat? Usually, it’s either because the dough wasn’t chilled enough or you used too little flour. Measure your flour precisely using the scoop-and-level method to avoid any errors.
Where did these cookies come from? They first showed up in Betty Crocker’s beloved “Cooky Carnival” cookbook. It’s rumored that a home baker, Helen Fredell, served them to Betty who instantly fell in love and begged for the recipe. Now, we can see them grace holiday tables all over the world.
How do you know when they’re done? The cookies are ready when the signature cracks form on top, usually after about 10-12 minutes of baking.
Why is my dough so sticky? The dough should be a little sticky for these cookies, which helps them stay moist. Make sure you’re measuring the flour accurately, and try wetting your hands before rolling the dough.
Storing Your Delicious Creations
Room Temperature: Keep your cookies in an airtight container at room temperature. They’ll stay fresh for up to a week (though they’ll probably be gone before then!).
Freezer-Friendly: The dough balls can be frozen for up to 2 months. When you’re ready to bake, just let them thaw in the fridge for 30 minutes, roll them in powdered sugar, and bake according to the directions.
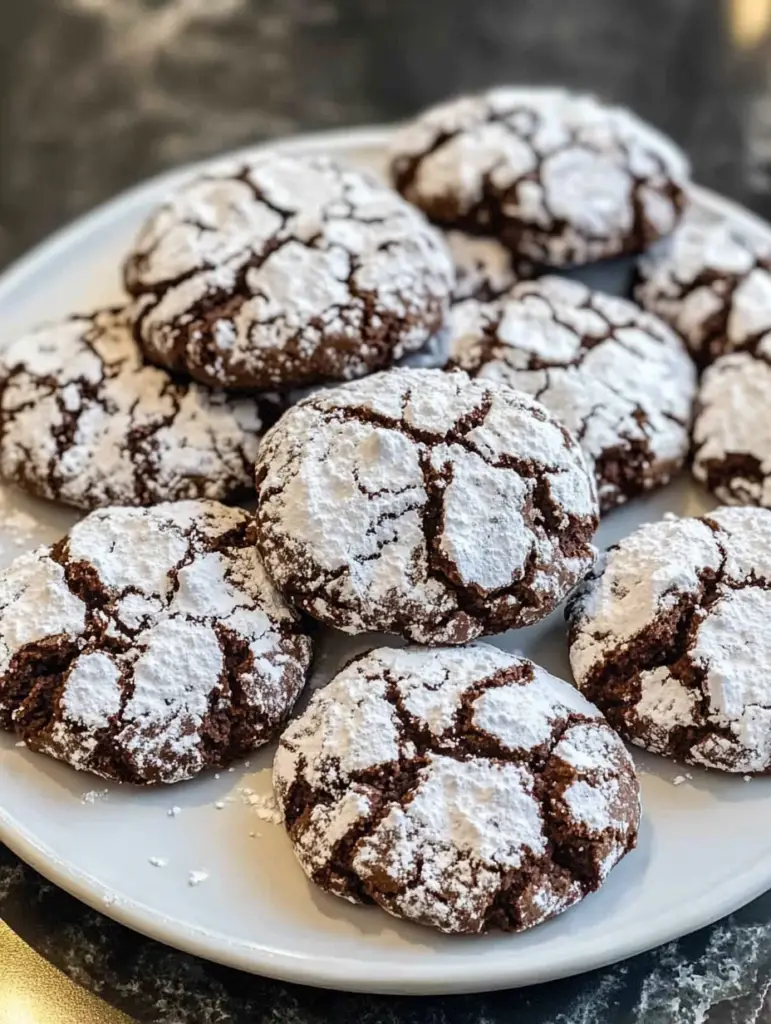
Chocolate Crinkle Cookies: The Recipe
These are the perfect cookies for any occasion. They’re easy to make, fun to bake, and completely irresistible. With their fudgy centers, crisp edges, and beautiful, crackly tops, they are sure to be a hit.
Author: It’s Me!
Yields: 20 cookies
Calories: Approximately 85 per cookie (estimated)
Prep Time: 15 minutes
Cook Time: 10 minutes
Total Time: 25 minutes
The Essentials
- ½ cup unsweetened cocoa powder
- 1 cup granulated sugar
- ¼ cup vegetable oil (can use canola or light olive oil)
- 2 large eggs
- 1 teaspoon vanilla extract
- 1 cup all-purpose flour
- 1 teaspoon baking powder
- ¼ teaspoon salt
- ½ cup powdered sugar
Baking Instructions
- In a medium mixing bowl, combine the granulated sugar, cocoa powder, oil, vanilla extract, and eggs. Whisk until smooth.
- In a separate bowl, whisk together the all-purpose flour, baking powder, and salt.
- Gradually add the dry ingredients to the wet ingredients and mix until just combined. Do not overmix.
- Cover the dough and refrigerate for at least 3 hours (overnight is best).
- Preheat your oven to 350°F. Scoop the dough into 20 evenly sized portions, roll each into a ball, and generously coat in powdered sugar.
- Arrange the coated dough balls on a baking sheet, leaving space between them, and bake for 10 to 12 minutes. The cookies should be soft when they come out and will firm up as they cool.
- Let the cookies rest on the baking sheet for a few minutes before transferring them to a wire rack to cool completely.

