
If there’s one thing I absolutely can’t resist, it’s the melt-in-your-mouth magic of Butter Swim Biscuits. Whether it’s a weekend brunch or a family dinner, these biscuits have an unparalleled power to bring a homely warmth to any meal. So let’s dive deep into the flaky, buttery goodness of this Southern delight.

Why are they called “Butter Swim Biscuits”?
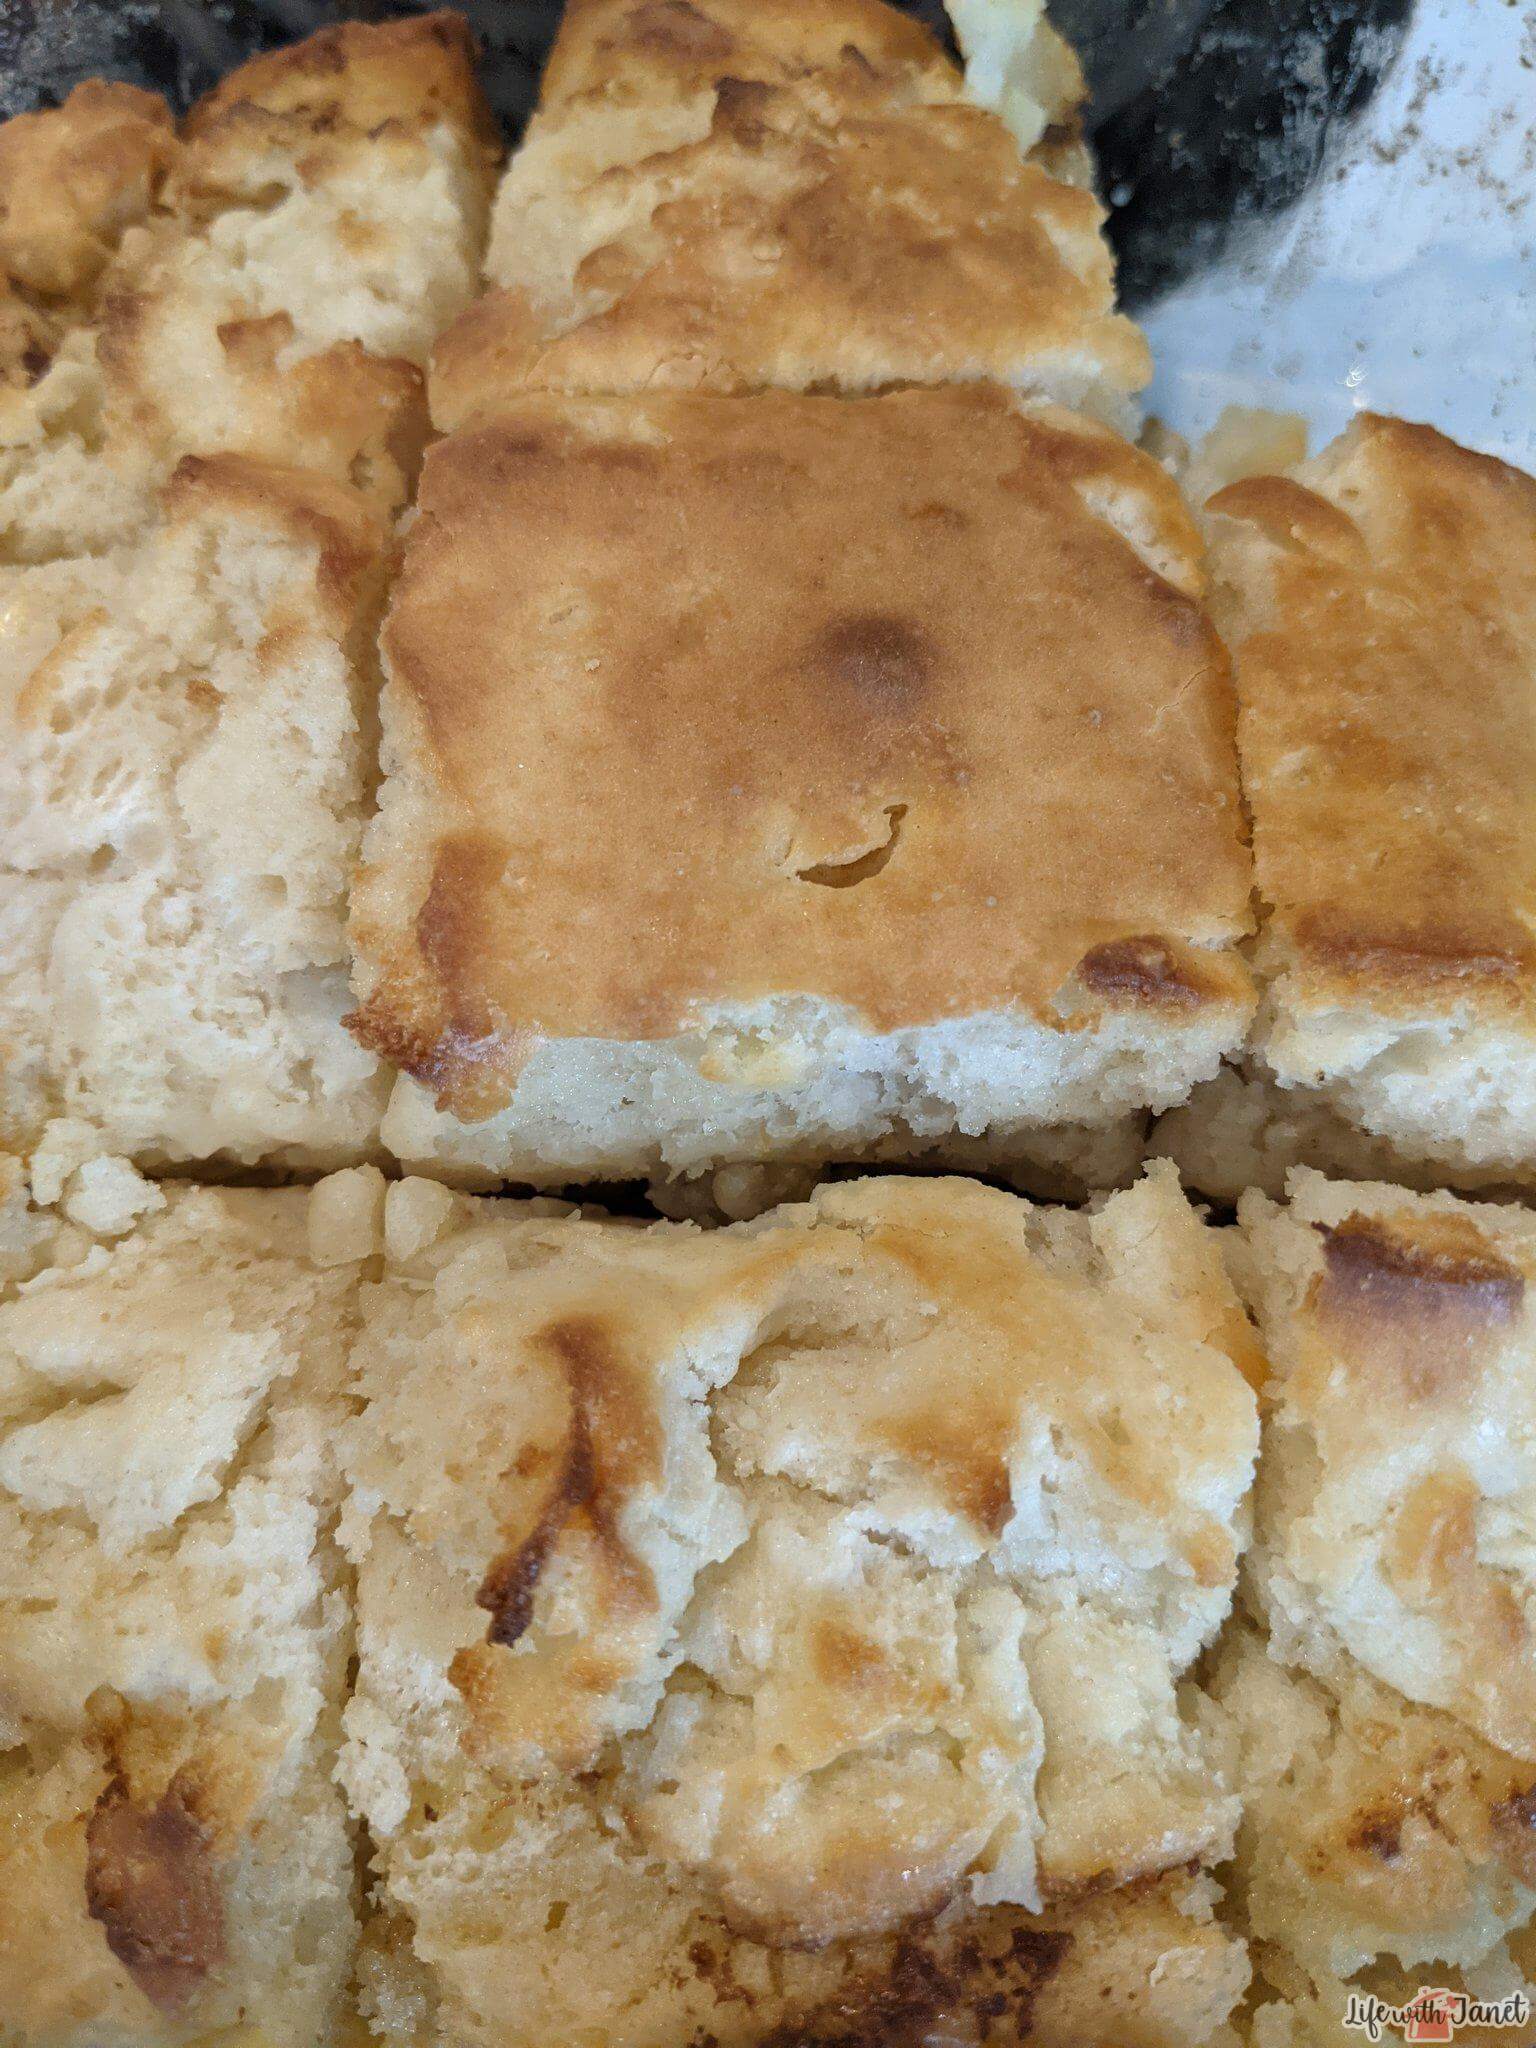
A name like “Butter Swim” sounds indulgent, doesn’t it? The very essence of these biscuits lies in the technique. Instead of incorporating the butter into the dough as with traditional biscuits, these beauties literally “swim” in melted butter while baking. This results in a rich, flavorful crust on the bottom and sides, with a soft and fluffy center. The name might sound a tad extravagant, but one bite and you’ll understand its perfect appropriateness!
Are Butter Swim Biscuits a Southern Tradition?
Absolutely! Many Southern households pride themselves on their biscuit recipes, and Butter Swim Biscuits are a popular variation in this tradition. Biscuits are as Southern as sweet tea and magnolia trees. They’ve been passed down through generations, tweaked and perfected over the years. While there are countless variations – from drop biscuits to angel biscuits – Butter Swim Biscuits hold a special place because of their unique preparation and oh-so-delicious outcome.

Can I use any type of butter?
The simple answer is yes, you can technically use any butter. However, if you’re aiming for that authentic taste and texture, unsalted butter is the preferred choice. It allows you to control the salt content and ensures a purely buttery flavor. Remember, these biscuits are all about that buttery experience, so quality matters. Opting for a high-quality, unsalted butter will make all the difference in the world.
Is it true they are easier to make than regular biscuits?
Many folks claim (myself included!) that Butter Swim Biscuits are a bit more forgiving for the beginner baker than the classic biscuit. Traditional biscuits require a certain finesse with the dough to ensure they rise just right and come out flaky. With Butter Swim Biscuits, the process is more straightforward – no need for biscuit cutters or worrying about overworking the dough. Just pour, bake, and be ready to fall in love with the result!
How do I serve Butter Swim Biscuits?
These biscuits are incredibly versatile! You can serve them alongside a hearty stew, smother them in gravy, or simply enjoy them with a dollop of jam or honey. Their buttery richness complements a variety of dishes, making them a staple for any meal. Whether it’s breakfast, lunch, or dinner, Butter Swim Biscuits are always a crowd-pleaser.
Final Thoughts:
There’s a reason why Butter Swim Biscuits have gained such popularity – they embody comfort food at its finest. Their rich, buttery flavor paired with a soft and fluffy texture makes them a treat for the senses. So, the next time you’re looking to add some warmth to your table, remember these biscuits. Trust me, your taste buds will thank you!
Butter Swim Biscuits
Ingredients
Method
- First things first, round up all your ingredients. It’s always smoother when you’re not searching high and low mid-process.
- Fire up that oven to a blazing 450 degrees F (or 230 degrees C for our metric-loving friends).
- Take your trusty 8-inch square baking dish, glass or ceramic works best. Pop the butter in and give it a good melt in the microwave. Start with a minute, then check and stir. If it needs a tad more melting, go in 20-second spurts until it’s all liquid gold.
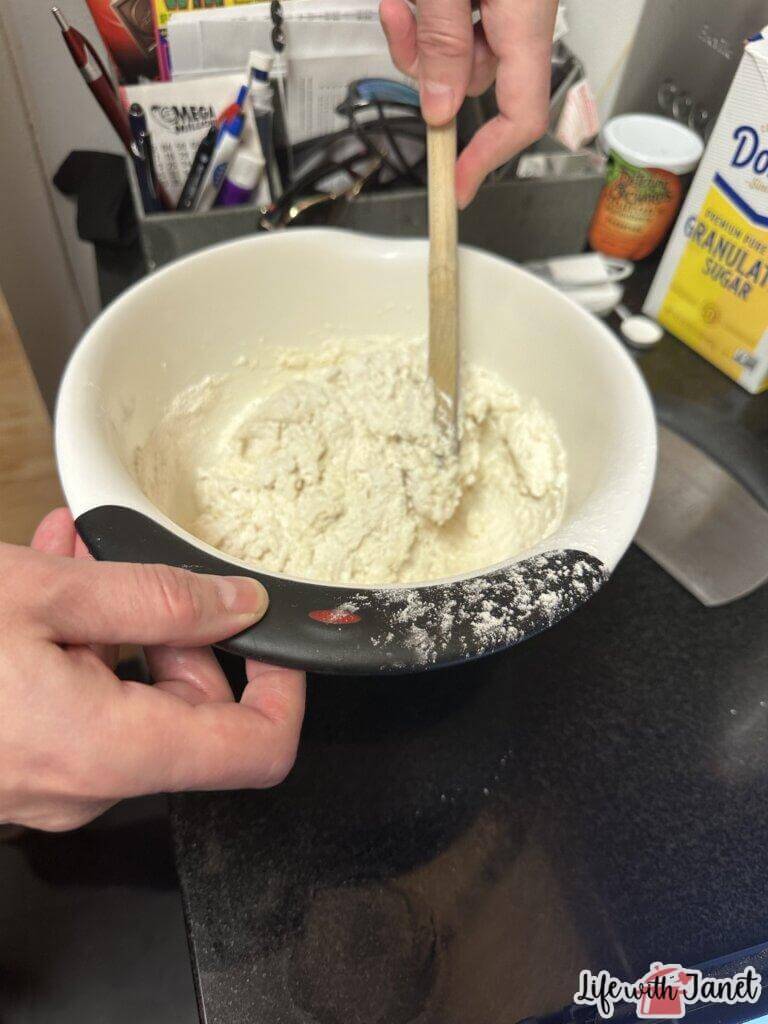
- Grab a bowl and sift in your flour, baking powder, sugar, and salt. Give it a good whisk – we want all those ingredients mingling.
- Now for the magic – pour in that buttermilk and stir until you have a lovely, cohesive mix.
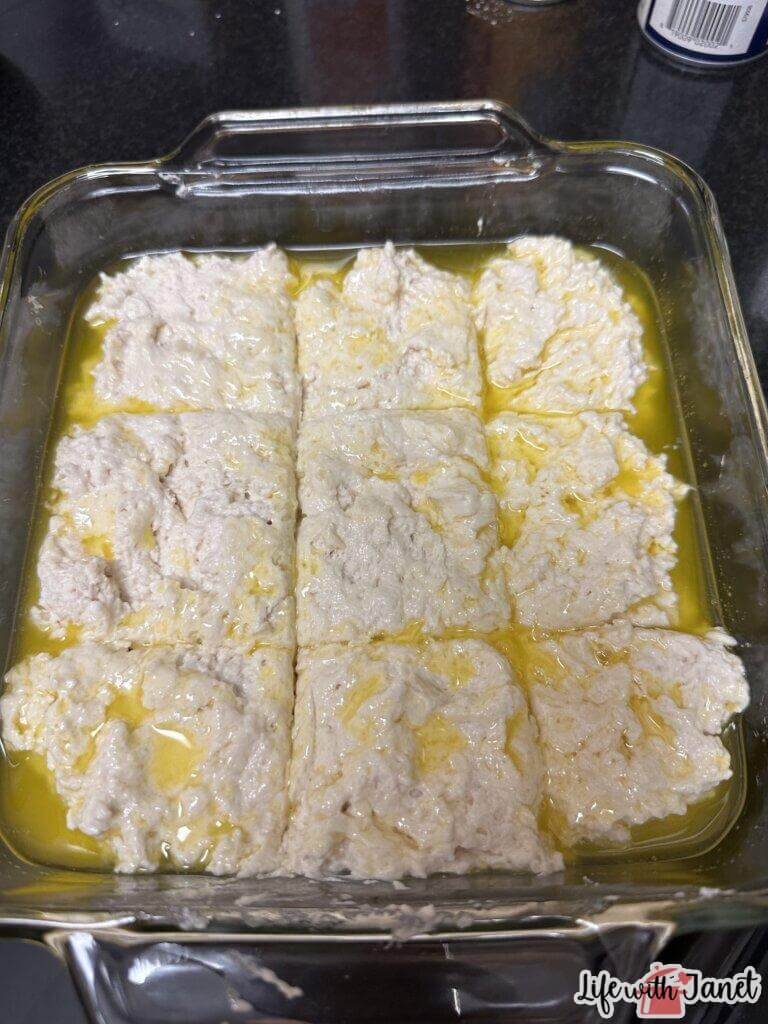
- Gently pour your biscuit mixture over that melted butter in the dish. To get those perfect portions, use a bench scraper (or a trusty old knife) and mark out 9 squares.
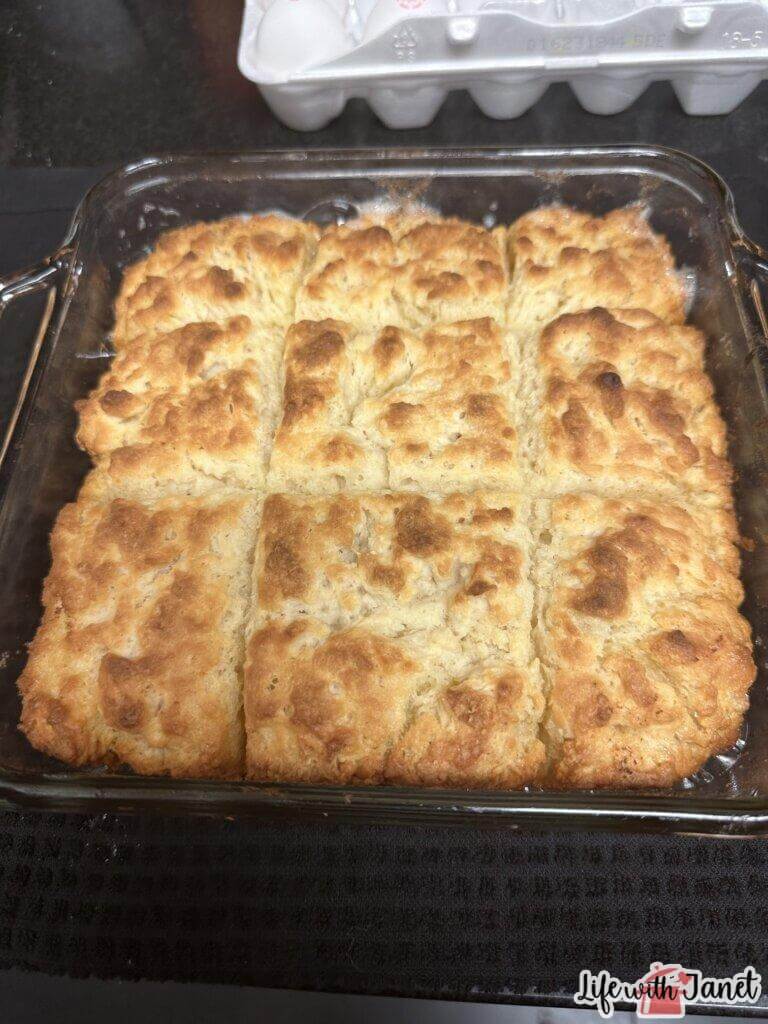
- Into the oven they go! Keep a keen eye on them, and in about 20 to 25 minutes, they should be turning a lovely golden brown on top.


Love all your recipes ❤️
Love your recipes!
your recipes always look delisious
LOVE THESE SPECIAL RECIPES.THEY ARE THE BEST EVER .T.Y. FOR SHARING KEEP THEM COMING.PURE GOODNESS.