
Hello everyone, welcome back to my kitchen! Today we’re diving into a classic foundation that’s been requested by both my viewers and my daughter: German Chocolate Cake. But first things first, we need to master a base chocolate cake that serves as the building block for this delectable dessert. So, let’s channel our inner culinary scholars and crack open that timeless cookbook—today we’re whipping up an Old-Fashioned Swiss Chocolate Cake. Stay tuned for a future video where we’ll transform this into a full-fledged German Chocolate Cake!
The Creaming Method Demystified:
We kick things off by creaming butter and sugar until light and fluffy, a process that takes about 3 to 5 minutes. Now, here’s the lowdown: don’t be deceived by the simplicity of “creaming.” When you start, the mixture will resemble wet sand—grainy and clumped together. With continuous beating, the texture undergoes a noticeable metamorphosis. It’ll eventually take on a Play-Doh-like consistency, and that’s when you know you’ve hit the sweet spot (pun intended).
The Right Way to Incorporate Eggs:
Once your butter and sugar have reached creamy nirvana, add the eggs one by one. After that, blend in melted chocolate that’s been cooled.
Leavening Agents—Why They Matter:
Next up are the leavening agents. I always prefer adding baking soda, baking powder, and salt to the wet ingredients. It ensures a uniform distribution, which is crucial for that light, airy crumb we all adore.
Cornstarch as a Cake Flour Substitute:
A pro-tip here: I use cornstarch in combination with all-purpose flour as a workaround for cake flour, enhancing the cake’s tenderness.
The Art of Alternating:
For the final act, alternately add the flour and evaporated milk to the wet mixture. Start and finish with the flour. When the batter looks slightly foamy, don’t panic. It’s just the harmonious interaction of chocolate and leavening agents doing their magic.
The Oven Saga:
Preheat your oven to 325 degrees Fahrenheit. Spoon your batter into 9-inch pans and bake for 20-25 minutes or until a toothpick inserted in the center comes out clean.
The Final Touch:
Once out of the oven, your cakes should look nothing short of perfection—smooth and crumb-free. Allow them to cool in the pan for about 5 minutes before transferring them to a cooling rack.
And there you have it, an old-fashioned Swiss Chocolate Cake that’s not only scrumptious on its own but also sets the stage for more elaborate creations, like a German Chocolate Cake!
Wrap-Up:
If you found this recipe guide helpful, don’t forget to give it a thumbs-up and hit the subscribe button to stay updated on all the culinary adventures that await us! Thanks for joining me in my kitchen, and I’ll see you next time!
Intrigued about what we’ll tackle next? Stick around, as we’ve got a ton of deliciousness coming your way!
Ingredients
Method
- Preheat the Oven: Start by preheating your oven to 325 degrees Fahrenheit (163 degrees Celsius). This will give you enough time to prep while ensuring your oven reaches the ideal baking temperature.
- Creaming the Basics: In a large mixing bowl, cream together the softened butter and granulated sugar. Use an electric mixer on medium speed, beating until the mixture turns light and fluffy, roughly 3-5 minutes.
- Eggcellent Addition: Add the eggs one by one, thoroughly mixing after each addition to ensure a smooth batter.
- Chocolate Meltdown: Fold in the melted chocolate that’s cooled to room temperature. The color of your batter will not be dark; it’s meant to be lighter for this recipe.
- Leavening Components: Add baking powder, baking soda, and salt to the wet mixture. This better distributes the leavening agents, making your cake light and airy.
- Cornstarch Trick: Stir in the cornstarch. This is a nifty workaround for those without cake flour, helping improve the cake’s texture.
- Flour & Milk: Add the all-purpose flour and evaporated milk alternately to the wet mixture, beginning and ending with the flour. Blend just until combined, avoiding overmixing.
- Vanilla Splash: Pour in the vanilla extract, giving your batter that classic flavor undertone.
- Baking Time: Pour the prepared batter into two greased 9-inch round cake pans. Bake for 20-25 minutes, or until a toothpick inserted into the center of the cakes comes out clean.
- Cooling Phase: Allow the cakes to cool in their pans for about 5 minutes before transferring them to a wire rack to cool completely.
- Serving: Once the cakes are cool, they’re ready to be frosted or enjoyed as-is. They make an excellent base for future dessert innovations.


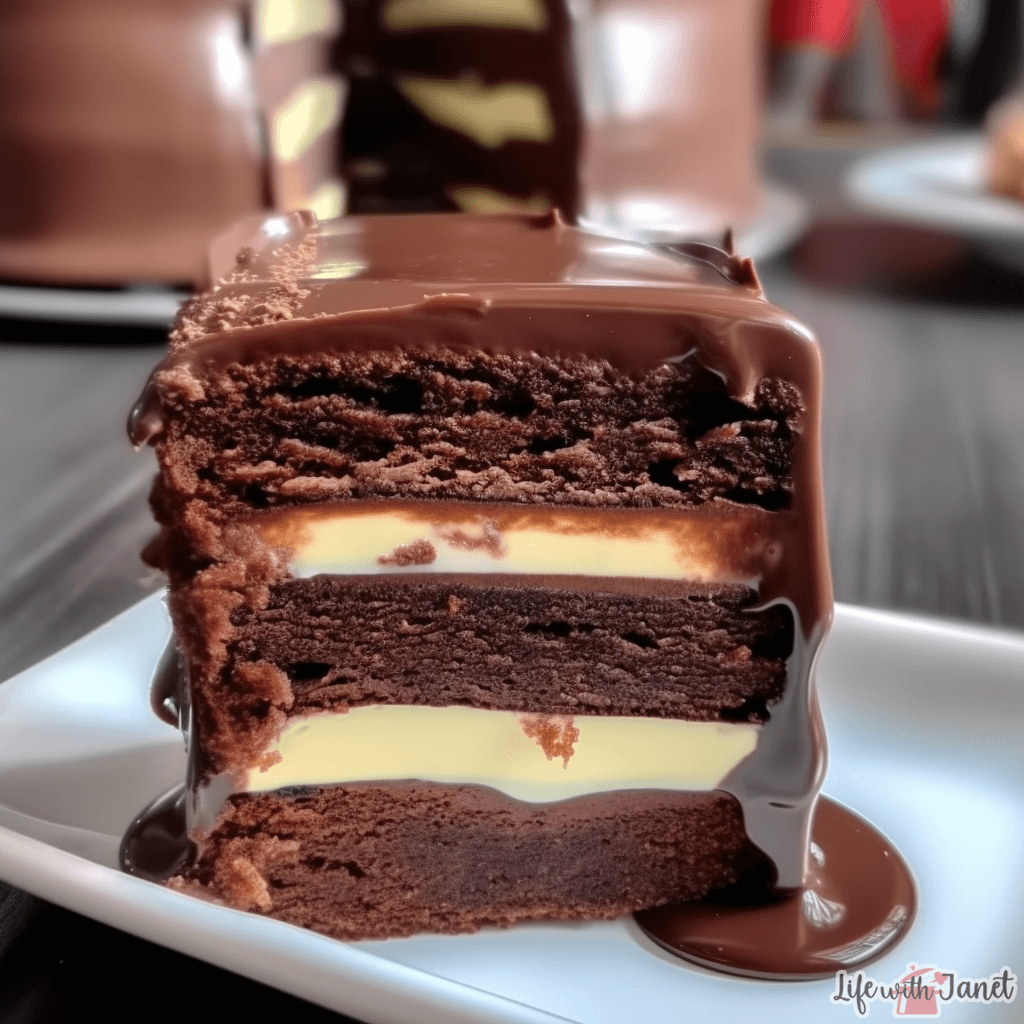
What is the white filling used? I’m assuming the outer layer is ganache?
I love your recipes. You are very thorough and the finished product is always delightful.
This cake always catches my eye and makes my mouth water. But I don’t see where the white layer comes from or the pudding layer. It does look involved. So I may just have to admire it. It’s good to have you back. And easy to get recipes Thanks so much!
It looks delicious and I really appreciate your attention to detail, so we can make it successful too. You don’t continue with the name or how to make the cake that you have shown in the picture? Can you say what that is so we can continue to that recipe too?
Looks scrumptious, going to make it & comment after. Thank you!