
Ah, Old-Fashioned Chocolate Fudge—a timeless classic that never fails to bring joy to every palate. In this guide, we’ll dive deep into the art and science of creating this delicious chocolate treat. Using a simple, 5-ingredient recipe, you’ll learn how to craft a fudge so mouthwatering, you’ll want to make it a staple in your holiday gatherings, parties, and maybe even just because it’s Tuesday!
What Sets Old-Fashioned Chocolate Fudge Apart from Regular Chocolate?
Old-Fashioned Chocolate Fudge and regular chocolate might seem like similar treats, but there are key differences. While chocolate primarily relies on cocoa as its main ingredient, fudge is a sugar-based delicacy. Heating sugar beyond its boiling point creates a crystalline structure that gives fudge its unique texture. So, if you’re seeking a rich, creamy experience different from your usual chocolate bars, this fudge is the way to go.
Can I Customize My Fudge?
Absolutely, the beauty of this Old-Fashioned Chocolate Fudge recipe lies in its adaptability. When adding butter, feel free to mix in 1 cup of your favorite add-ins. Whether you’re partial to chocolate chips, nuts, or even mini candies, your personalized touch will only make these yummy bars even more delightful. Just remember, if you’re aiming for nut-free fudge, choose add-ins accordingly!
What’s the Importance of Using a Candy Thermometer?
Don’t underestimate the power of a candy thermometer. It’s crucial for ensuring your fudge reaches the ideal temperature of 238 degrees F. Any deviation can lead to fudge that’s either too soft or too hard. Using a candy thermometer removes the guesswork and allows you to create a batch of fudge with perfect consistency.
How Should I Store My Delicious Chocolate Fudge?
After crafting these heavenly squares, storing them properly is key to maintaining their taste and texture. Place the cut fudge in an airtight container, layering parchment paper or aluminum foil between each piece. You can store it at room temperature for up to two weeks or in the fridge for up to three weeks.
Can I Freeze My Fudge for Later?
Yes, freezing your Old-Fashioned Chocolate Fudge is not only possible but also practical. Wrap each square individually in plastic wrap and store them in a zip-top freezer bag or an airtight container. These delicious chocolate pieces can remain frozen for up to three months. When you’re ready to indulge, simply thaw them in the fridge overnight.
Is This Recipe Suitable for Hot Chocolate with Cocoa Powder?
While this article focuses on Old-Fashioned Chocolate Fudge, the cocoa powder used here can be a versatile ingredient. Try using it for hot chocolate with cocoa powder, or even cacao powder hot chocolate. The rich, complex flavors will make for a real hot chocolate experience unlike any other.
Any Tips for Fudge-Making Success?
Patience is your friend when making this fudge. Resist the urge to stir the boiling mixture; this can crystallize the sugar and ruin your fudge. Take your time, follow the steps, and relish the art of making this classic treat.
So there you have it, a comprehensive guide to making your own Old-Fashioned Chocolate Fudge. Whether you’re an experienced confectioner or a beginner in the kitchen, this recipe is your ticket to fudge nirvana. Enjoy!
Old-Fashioned Chocolate Fudge
Ingredients
Method
- Assembly First: Collect all ingredients to ensure a seamless cooking experience.
- Pan Prep: Liberally grease an 8-inch square baking dish to avoid any sticky situations.
- The Mix: Unite granulated sugar and unsweetened cocoa powder in a medium saucepan. Stir in the whole milk and blend until you achieve a uniform mixture. Crank up the heat to medium-high and keep stirring to bring the concoction to a bubbling boil.
- Temperature Control: Lower the heat to a gentle simmer and introduce a candy thermometer into the pan. Allow the mixture to simmer, undisturbed, until it clocks in at 238°F (or 114°C), which should take around 10 minutes.
- The Water Test: If a candy thermometer isn’t at your disposal, use the water test. Drop a minuscule amount of the fudge mixture into cold water. If a soft ball forms and flattens upon contact with a flat surface, your mixture is good to go.
- The Waiting Game: Take the saucepan off the heat and let it cool down to 110°F (43°C), which should take between 50 and 70 minutes. It’s crucial that the fudge is left undisturbed during this period.
- Butter & Vanilla: Introduce the softened unsalted butter and vanilla extract. Vigorously beat the mixture with a wooden spoon until it’s not just incorporated but also loses its glossy appearance.
- The Final Pour: Empty the now-perfect fudge mixture into the pre-greased pan and gently press to even out the surface.
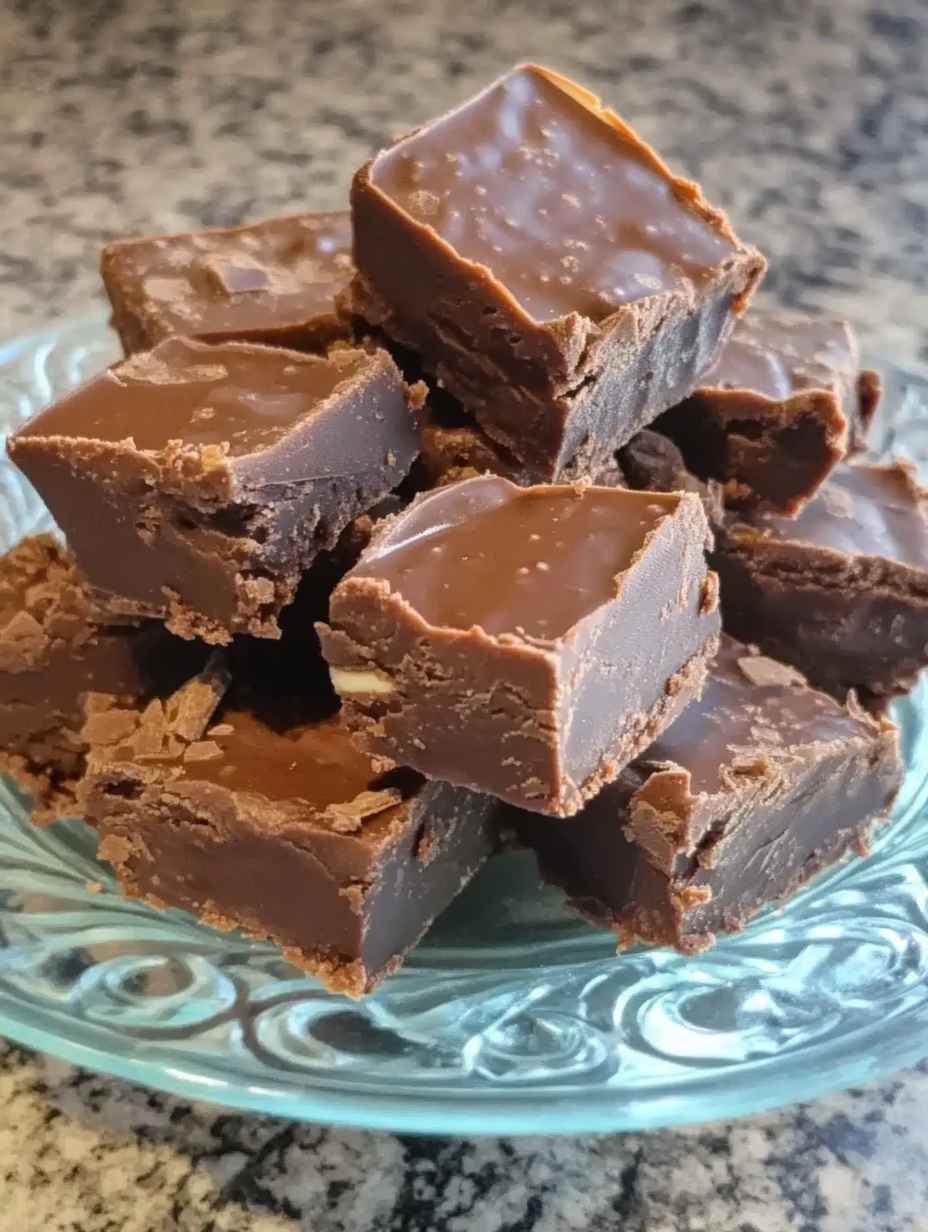
- Cool & Cut: Allow the fudge to cool down either at room temperature or in the fridge. Once solidified, cut it into 1-inch squares.


looks great like momma used to make.
This is the same recipe that my grandmother used to make fudge. Adding nuts is a plus too. I’ve been using this recipe myself for 40 plus years.