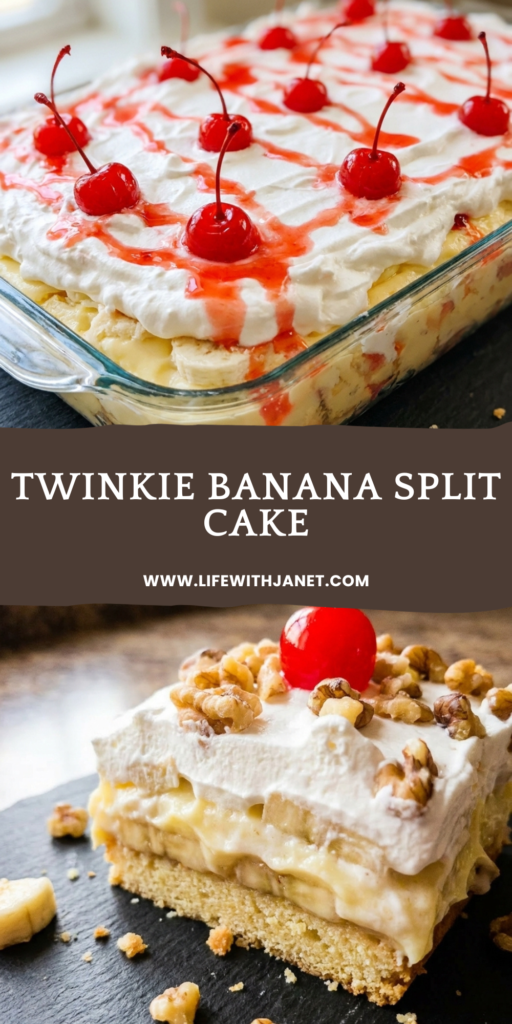
This no-bake Twinkie Banana Split Cake is the ultimate crowd-pleasing dessert! Layers of golden Twinkies, fresh bananas, creamy pudding filling, crushed pineapple, whipped topping, and all your favorite banana split toppings come together in one gorgeous, easy-to-make dish!
A Banana Split in Cake Form
If you are a fan of banana splits and you are also a fan of desserts that come together without turning on your oven, then this is absolutely the recipe for you. This Twinkie Banana Split Cake is one of those desserts that disappears at every single gathering I bring it to. I’m always asked for the recipe before the night is even over! It has all the nostalgic flavors of a classic banana split but layered up in a gorgeous 9×13 dish that feeds a crowd with zero fuss.
I love keeping this one in my back pocket for potlucks, summer cookouts, and those nights when you want to impress everyone without spending hours in the kitchen. It’s the kind of dessert that looks like it took a lot of effort but is honestly one of the easiest things you’ll ever make. Once you try it, it’s going to become a permanent part of your recipe rotation!
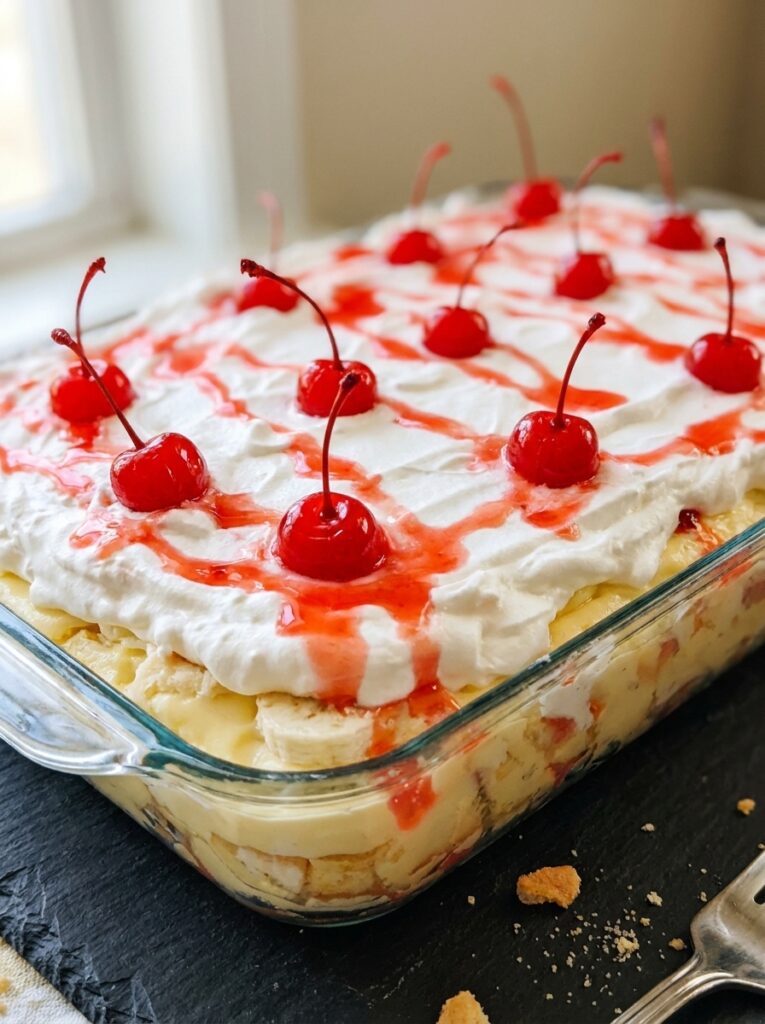
“I made this for my family’s Fourth of July cookout and it was completely gone in less than 20 minutes. Everyone was asking me for the recipe! I’ve already made it twice more since then. It is so easy and so delicious!” – Maria
Frequently Asked Questions
Can I use a different snack cake instead of Twinkies?
Absolutely! This recipe is very versatile. You can use Ho Hos, Ding Dongs, golden sponge cake, or even a layer of lady fingers. Just keep in mind that the flavor and texture of the base layer will change slightly depending on what you use. Twinkies give you that perfect golden, slightly sweet base that pairs beautifully with all the other layers.
Can I make this ahead of time?
Yes! In fact, I actually recommend it. This cake gets even better after it sits in the refrigerator for a few hours. The layers settle, the flavors meld together, and everything sets up beautifully. I like to make it the night before and just add the maraschino cherries and any garnishes right before serving.
What can I use instead of Cool Whip?
If you prefer, you can use freshly whipped heavy cream instead of Cool Whip. Just beat about 2 cups of heavy whipping cream with a couple tablespoons of powdered sugar until stiff peaks form. It’s a great substitution and gives it a slightly richer flavor.
How do I keep the bananas from browning?
Great question! You can toss your sliced bananas in a little bit of lemon juice before layering them in. It won’t affect the flavor but it will definitely slow down the browning process. Just make sure your pineapple layer is drained well and sitting directly on top of the banana layer, which also helps protect them.
Can I add strawberries?
Of course! This recipe is very easy to customize. Fresh sliced strawberries make a wonderful addition – you can add them right alongside the banana layer or use them as a garnish on top. A drizzle of strawberry ice cream topping on the finished cake is also really delicious!
How do I store leftovers?
Cover the dish tightly with plastic wrap or foil and store it in the refrigerator for up to 3 days. I do not recommend freezing this one as the bananas and pudding layer don’t hold up well once thawed.
Ingredients Needed: (See Recipe Card Below for the Full Recipe)
- Twinkies – You’ll need two boxes. They form the base layer of this cake and give it that iconic golden sponge cake flavor. Make sure they are arranged cut-side up so the cream filling side is facing upward to help anchor the layers above it.
- bananas – Use ripe but still firm bananas. If they are too soft, they will get mushy in the layers. You want them to hold their shape and give you that classic banana split flavor.
- crushed pineapple – You absolutely must drain this very well. Squeeze out as much liquid as possible so your cake layers don’t get soggy. The pineapple adds such a wonderful bright, tropical sweetness to the whole dessert.
- instant vanilla pudding mix – This is the base of the creamy middle layer. Make sure you are using instant pudding and not cook-and-serve.
- cream cheese – Softened cream cheese mixed into the pudding layer makes it extra rich and thick so it holds up beautifully between the layers.
- milk – Used to prepare the pudding. Whole milk gives you the creamiest result but 2% works just fine.
- powdered sugar – Just a little bit added to the cream cheese to sweeten it and help it blend smoothly into the pudding mixture.
- Cool Whip – This is your top layer and also gets folded into the pudding mixture to keep everything light and fluffy. See my FAQ above for a homemade whipped cream substitute.
- chocolate syrup – Drizzled over the top just like a classic banana split! Use as much or as little as you like.
- chopped peanuts – Totally optional but they add a wonderful salty crunch that takes this dessert over the top. You can also use chopped walnuts or pecans.
- maraschino cherries – Because no banana split is complete without a cherry on top! Place these on right before serving.
- rainbow sprinkles – Optional, but they make the presentation absolutely beautiful and really fun for kids!
How to Make Twinkie Banana Split Cake
Slice each Twinkie in half lengthwise. Arrange them in a single layer in the bottom of a 9×13-inch baking dish with the cut cream-side facing up. Press them together snugly so you get an even, solid base layer with no gaps.
Slice your bananas into even rounds and layer them directly on top of the Twinkies in a single layer. Make sure to cover the Twinkies as evenly as possible so you get banana in every bite.
Take your well-drained crushed pineapple and spread it evenly over the banana layer. Use the back of a spoon or a spatula to spread it right to the edges of the dish. Press it down gently so it sits flush and doesn’t slide around on the next layer.
In a large mixing bowl, beat your softened cream cheese until it is smooth and fluffy with no lumps. Add the powdered sugar and beat again until combined. In a separate bowl, whisk together the instant vanilla pudding mix and cold milk for about 2 minutes until it begins to thicken. Pour the pudding into the cream cheese mixture and beat until the whole thing is smooth and completely combined. Fold in one 8-ounce container of Cool Whip until the mixture is light and fluffy.
Spread this creamy pudding mixture evenly over the pineapple layer. Take your time here and get it all the way to the edges and into the corners so every slice gets that full creamy layer.
Spread the remaining container of Cool Whip over the top of the pudding layer. Smooth it out into an even layer with an offset spatula or the back of a large spoon. Then drizzle generously with chocolate syrup and sprinkle with your chopped peanuts, maraschino cherries, and sprinkles if using.
Cover the dish with plastic wrap and refrigerate for at least 4 hours before serving, or overnight for best results. The longer it chills, the better it gets! Slice into squares and serve cold directly from the refrigerator.
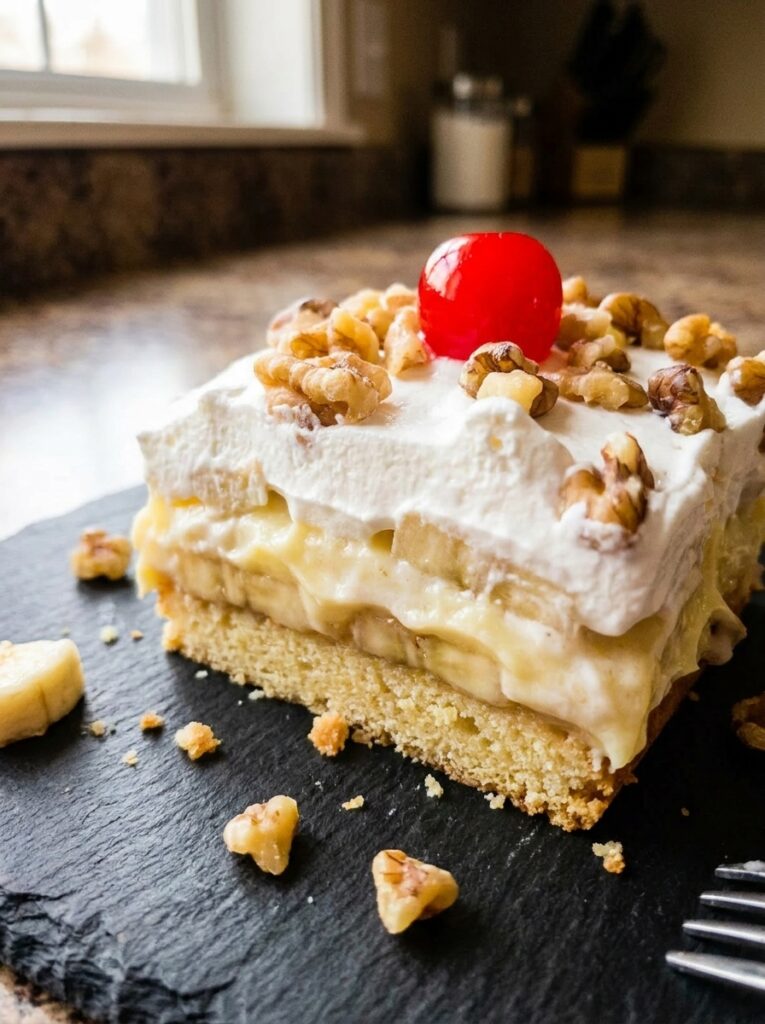
Pro Tips for the Best Twinkie Banana Split Cake
- Drain that pineapple really well. I cannot stress this enough. Press it firmly in a fine mesh strainer or squeeze it with your hands over the sink. Extra liquid from the pineapple is the number one reason this dessert can get watery and soggy. Take the extra minute to do this step right and you’ll be so glad you did.
- Soften your cream cheese completely. Cold cream cheese will leave lumps in your pudding layer no matter how long you beat it. Set it out on the counter for at least 30-45 minutes before you start. A smooth, lump-free pudding layer makes all the difference in how this cake looks and tastes.
- Don’t skip the chilling time. I know it’s tempting to dig in right away but giving this cake at least 4 hours in the refrigerator allows all those layers to set up firmly so you can slice it into clean, beautiful squares. Overnight is truly the sweet spot.
- Wait to add the cherries. Add your maraschino cherries right before serving. If they sit in the fridge overnight, the red color can bleed into your Cool Whip layer and make the top look a little pink. Nobody wants a pink cake they didn’t plan on!
What to Serve with Twinkie Banana Split Cake
This dessert is really a complete showstopper all on its own, but it pairs beautifully alongside a simple summer cookout spread. Serve it after a big family dinner with some Grilled Chicken, a fresh garden salad, or alongside some other potluck favorites. It also makes a wonderful dessert to follow a casual weeknight meal. A scoop of vanilla ice cream on the side never hurts either – if you really want to lean into those banana split vibes!
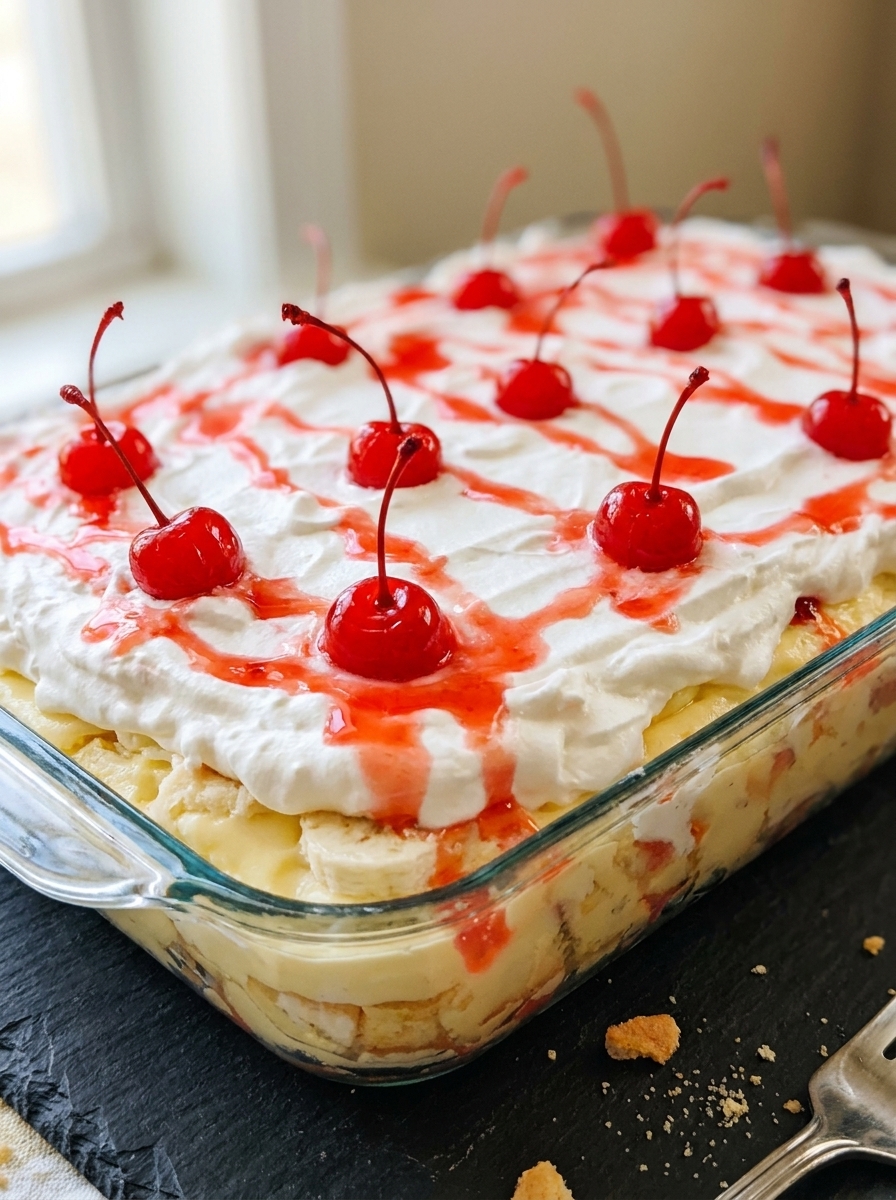
Twinkie Banana Split Cake
Ingredients
Method
- Slice all 20 Twinkies in half lengthwise. Arrange them cut-side up in a single snug layer in the bottom of a 9×13-inch baking dish, pressing them together to fill any gaps.
- Layer the sliced bananas evenly over the top of the Twinkies in a single layer, covering as much surface area as possible.
- Spread the well-drained crushed pineapple evenly over the banana layer, pressing gently with the back of a spoon to create an even, flat layer.
- In a large mixing bowl, beat the softened cream cheese with an electric mixer on medium speed until completely smooth, about 2 minutes. Add 1 cup of powdered sugar and beat until fully combined.
- In a separate bowl, whisk together both packages of instant vanilla pudding mix with 3 cups of cold whole milk for 2 minutes until thickened. Pour the pudding into the cream cheese mixture and beat on medium speed until smooth and no lumps remain.
- Fold one 8-ounce container of Cool Whip into the pudding and cream cheese mixture using a rubber spatula until light and fluffy and evenly combined.
- Spread the pudding mixture evenly over the pineapple layer, smoothing it all the way to the edges and corners of the dish.
- Spread the remaining 8-ounce container of Cool Whip evenly over the top of the pudding layer.
- Cover tightly with plastic wrap and refrigerate for at least 4 hours or overnight until fully set.
- Just before serving, drizzle with ¼ cup chocolate syrup, scatter the chopped peanuts evenly over the top, place maraschino cherries across the surface, and add sprinkles if desired. Slice into squares and serve cold.