
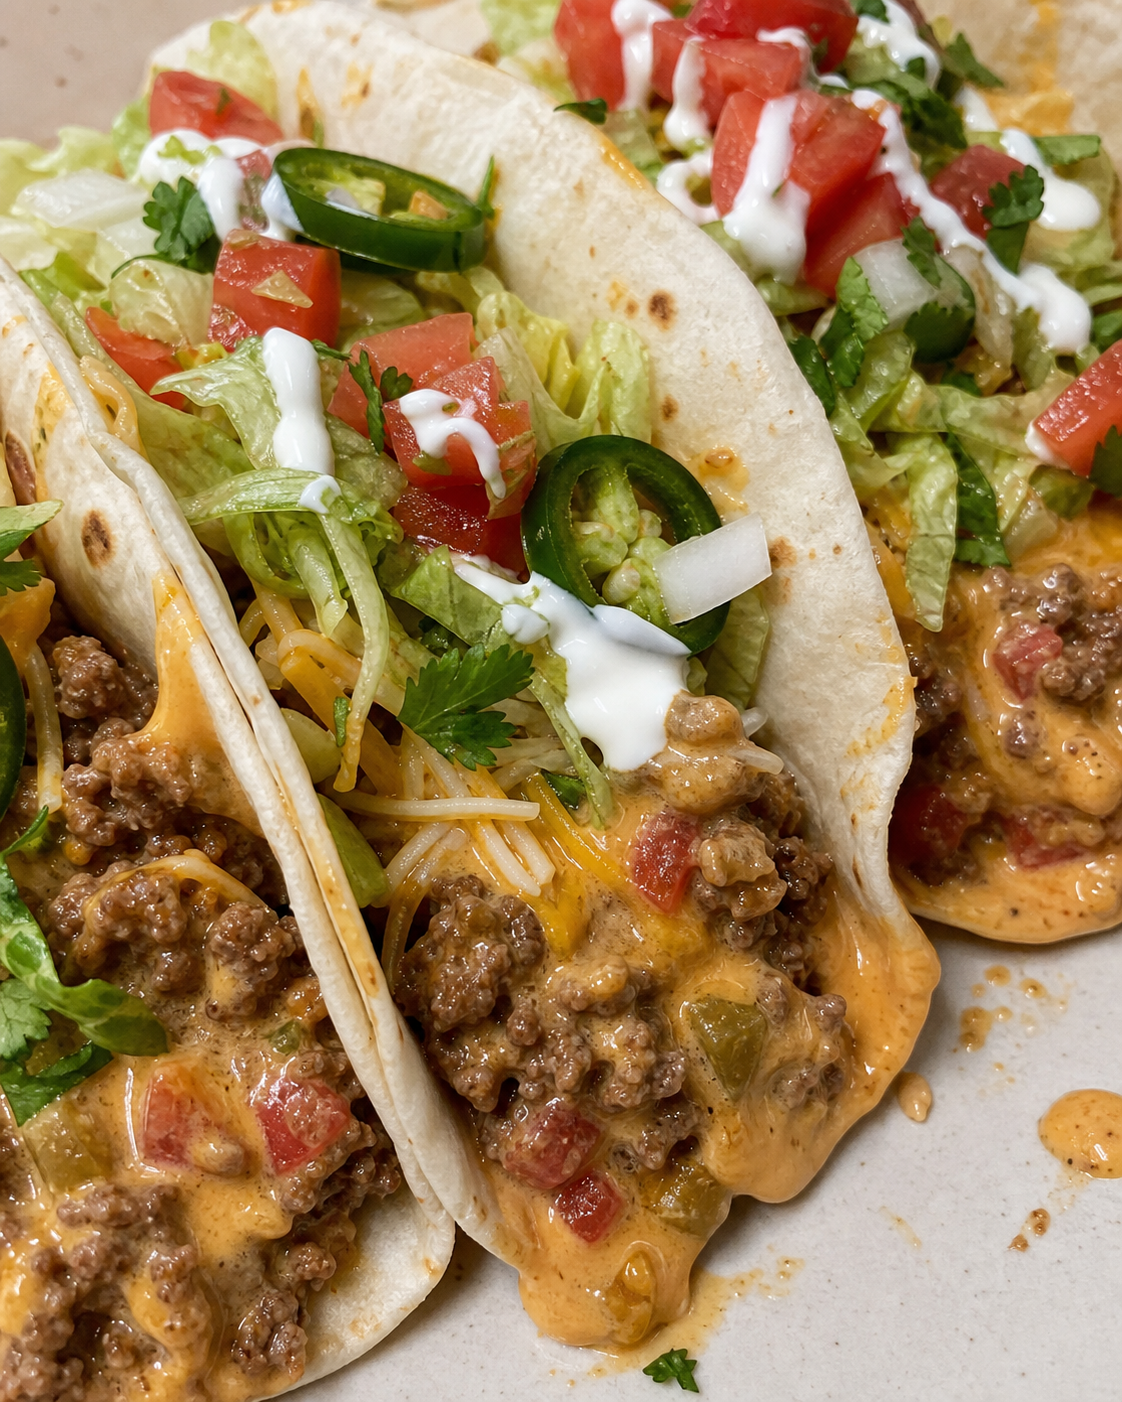
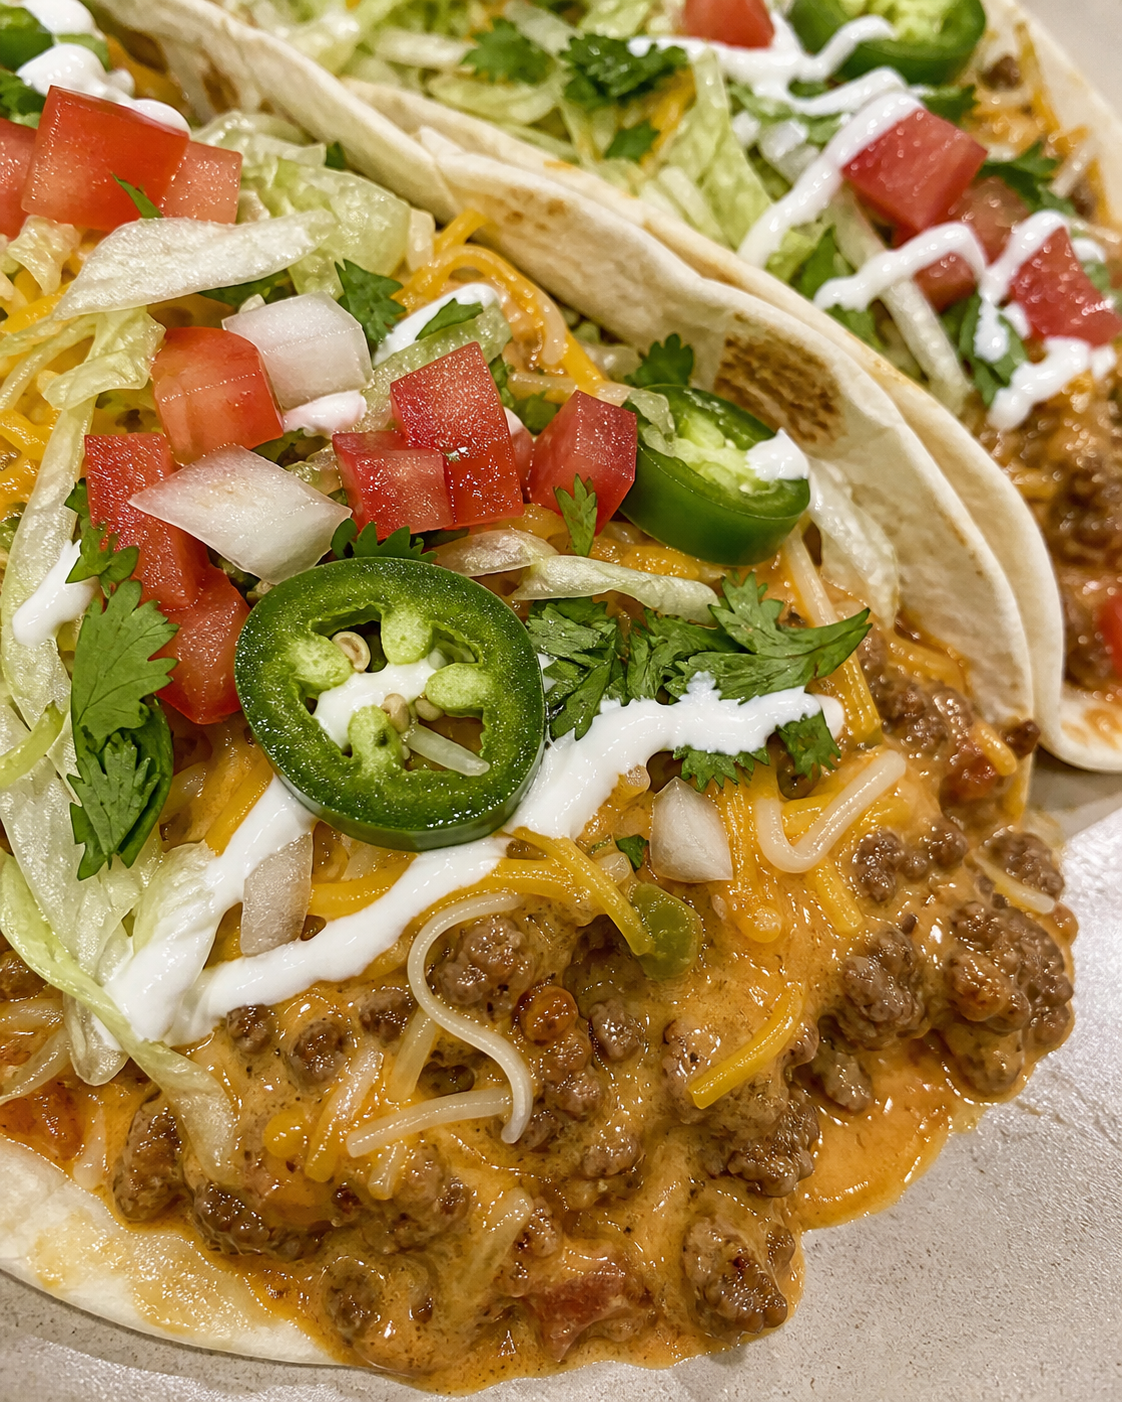
Seasoned ground beef, zesty Rotel tomatoes, and melty cheese all piled into warm taco shells — this is the kind of weeknight meal that disappears off the table in minutes!
THE EASIEST, CHEESIEST TACO NIGHT RECIPE YOUR FAMILY WILL BEG FOR!
I make these Cheesy Rotel Beef Tacos on repeat around here, and honestly, I don’t see that changing anytime soon. There’s something about that combination of well-seasoned beef, the little kick from Rotel, and all that gooey melted cheese that just makes everyone at the table ridiculously happy. This is one of those highly requested recipes in my house — my kids start asking about taco night by Tuesday every single week.
What I love most is that this comes together in about 30 minutes flat, which makes it an absolute lifesaver on busy weeknights. I’m talking one skillet, simple ingredients you probably already have on hand, and zero stress. It’s budget friendly, totally family friendly, and I promise even your pickiest eaters will clean their plates. I am a happy camper every single time I make this.
For a complete meal, I usually set out a big bowl of cilantro-lime rice and some refried beans on the side. Throw together a simple green salad, and boom — dinner is served! It’s the kind of spread that feels way more impressive than the effort it actually took you to pull it together.
“I made these last Tuesday and my husband said they were the best tacos he’s ever had! The Rotel adds so much flavor and the cheese just pulls everything together perfectly. This is absolutely a keeper of a recipe — already on our weekly rotation!”
– Melissa
Frequently Asked Questions
Can I use a different protein instead of ground beef?
Absolutely! Ground turkey or ground chicken work really well here and are a great leaner option. You can even use plant-based ground meat if that’s your thing — I’m not judging! Just keep the seasoning and Rotel the same and you’ll be good to go.
What kind of Rotel should I use?
I use the original Rotel diced tomatoes and green chiles, but you can absolutely use the mild version if you’re cooking for little ones or folks who are sensitive to spice. If you love heat, grab the hot variety and go for it! Whatever you prefer works perfectly in this recipe.
Can I make this ahead of time?
Yes, of course! The beef filling actually gets even more flavorful as it sits, so making it a day ahead is a great move. Just store it in an airtight container in the fridge for up to 3 days and reheat it in a skillet over medium heat until warmed through. Add a splash of water or broth if it looks a little dry.
Can I freeze the beef filling?
Absolutely! This filling freezes beautifully for up to 3 months. Let it cool completely, then transfer it to a freezer-safe bag or container. Thaw it overnight in the fridge and reheat on the stovetop — easy weeknight meal done and done.
What type of taco shells should I use?
Honestly, whatever you prefer! I love crunchy hard shells for that satisfying snap, but warm flour tortillas are absolutely delicious with this cheesy filling too. Corn tortillas are a great gluten-friendly option if you need them. You really can’t go wrong here.
What cheese works best?
I use sharp cheddar because it melts beautifully and has great flavor, but a Mexican cheese blend is super simple to grab at the store and works just as well. Pepper Jack is another fantastic option if you want a little extra heat. The key is to use freshly shredded cheese when you can — it melts so much better than pre-shredded.
How do I keep hard taco shells from getting soggy?
Great question! I like to warm the shells in the oven for just a few minutes right before serving so they’re nice and crispy. Also, make sure to drain your beef filling well before adding it to the shells. The less liquid sitting in there, the crunchier your shell stays — at least long enough to eat it!
Ingredients Needed: (See Recipe Card Below for the Full Recipe)
- Ground beef (80/20) — The fat content keeps the meat juicy and flavorful. You can use 90/10 for a leaner option, just know you may need a tiny splash of oil in the pan.
- Rotel diced tomatoes and green chiles — This is the magic ingredient that makes this recipe! Do not drain it — all that liquid adds amazing flavor to the beef.
- Sharp cheddar cheese — Freshly shredded is best here for maximum meltiness. A Mexican blend works great too.
- Taco seasoning — I use store-bought for convenience, but homemade taco seasoning is super simple if you want to go from scratch and control the sodium.
- Onion — Diced yellow or white onion adds a savory base flavor. You can use onion powder in a pinch.
- Garlic — Fresh minced garlic makes such a difference here. I always say don’t skip the garlic!
- Beef broth — Just a small amount to help the filling come together and keep it saucy and flavorful.
- Cream cheese — This is my little secret weapon! It makes the filling incredibly creamy without being heavy. Trust me on this one.
- Taco shells or flour tortillas — Whatever you prefer! Hard shells for crunch, soft tortillas for a more classic feel.
- Toppings — Sour cream, shredded lettuce, diced tomatoes, sliced jalapeños, fresh cilantro, hot sauce — load them up however your family likes!
How to Make Cheesy Rotel Beef Tacos
Start by heating a large skillet over medium-high heat. Add your ground beef and diced onion and cook, breaking the meat up as you go, for about 6 to 8 minutes until the beef is completely browned and the onion is softened. You want to really break it up into fine crumbles here — nobody wants a big chunk of beef in their taco. Once it’s browned, go ahead and drain off any excess grease. Don’t skip this step or your filling will be too greasy.
Next, add the minced garlic and cook for about 30 seconds, stirring constantly, until fragrant. I like to push the meat to the side and let the garlic hit the pan directly so it blooms in the fat. Now sprinkle the taco seasoning right over the beef and stir everything together so the meat is evenly coated. You want every single piece of that beef to be seasoned — that’s where all the flavor lives.
Pour in the entire can of Rotel — juice and all — along with the beef broth. Stir everything together and let it simmer over medium heat for about 5 minutes until most of the liquid has reduced and the filling is thick and saucy but not dry. Keep an eye on it and stir occasionally. You don’t want it to scorch on the bottom of the pan.
Now for the creamy, cheesy part! Reduce the heat to low and add the cream cheese, cut into small cubes. Stir it in until it melts completely into the beef — this takes about 2 minutes and makes the filling absolutely irresistible. Then stir in about half of your shredded cheddar right into the pan and let it melt in. Keep tasting until it’s seasoned the way you like, adding a pinch more salt or taco seasoning if needed.
Warm your taco shells in the oven at 350°F for about 5 minutes until crispy and hot. Spoon that gorgeous cheesy beef filling into each shell and top generously with the remaining shredded cheddar. Add all your favorite toppings — sour cream, lettuce, tomato, whatever makes your heart happy — and boom, dinner is served!
Pro Tips
- Don’t drain the Rotel — The liquid in the can is full of flavor and it helps the filling stay saucy and moist. Let it reduce down in the pan rather than draining it away.
- Cut the cream cheese into small cubes — This helps it melt evenly and quickly into the hot meat mixture without leaving any lumps behind. I like to let it sit at room temperature for a few minutes before adding it to the pan.
- Shred your own cheese — Pre-shredded cheese is coated in starch to prevent clumping, which means it doesn’t melt as smoothly. A block of sharp cheddar run through a box grater takes two minutes and the difference is absolutely worth it.
- Brown the meat well — Don’t rush the browning step! Getting a good brown on your beef adds so much flavor to the whole dish. Let it sit undisturbed for a minute or two before stirring so it actually browns rather than steams.
- Warm your shells right before serving — Crispy shells make all the difference. Pop them in the oven for 5 minutes at 350°F right when the filling is finishing up so everything hits the table hot and perfect at the same time.
- Set up a toppings bar — I love setting out all the toppings in little bowls so everyone can build their own tacos. It makes the whole meal interactive and fun, especially for kids!
What to Serve with Cheesy Rotel Beef Tacos
Taco night is always more fun with a spread of great sides! These tacos are filling on their own, but a few easy additions make the whole meal feel complete and super satisfying. My personal favorite side is cilantro-lime rice — it just belongs next to tacos.
- Cilantro-Lime Rice — My absolute favorite pairing! The bright, fresh flavors balance the richness of the cheesy beef perfectly.
- Refried Beans — Creamy, nutritious, and so easy. Canned refried beans warmed up with a little butter and cumin are always a hit.
- Mexican Street Corn (Elote) — Smoky, creamy corn on the cob or in a cup is always a crowd-pleaser alongside tacos.
- Simple Green Salad — Something fresh and light balances out all that delicious cheesy richness beautifully.
- Guacamole and Chips — A classic for good reason! Homemade or store-bought guac, I’m not judging either way.
- Pico de Gallo — Fresh, bright, and so easy to make from scratch. It doubles as a taco topping too!
However you round out the meal, I hope your family loves every single bite of these Cheesy Rotel Beef Tacos as much as mine does!
Cheesy Rotel Beef Tacos
Ingredients
Method
- Heat a large skillet over medium-high heat. Add the ground beef and diced onion and cook, breaking the meat into fine crumbles, for 6 to 8 minutes until the beef is browned and the onion is softened. Drain off any excess grease.
- Add the minced garlic to the skillet and cook for 30 seconds, stirring constantly, until fragrant. Sprinkle the taco seasoning over the beef and stir until every piece of meat is evenly coated.
- Pour in the undrained Rotel and the beef broth. Stir to combine and bring to a simmer over medium heat. Cook for 5 minutes, stirring occasionally, until most of the liquid has reduced and the filling is thick and saucy.
- Reduce the heat to low. Add the cubed cream cheese and stir continuously until it melts completely into the beef mixture, about 2 minutes. Stir in 1 cup of the shredded cheddar cheese until fully melted and combined. Taste and adjust seasoning with salt and pepper as needed.
- Preheat oven to 350°F and warm taco shells for 5 minutes until crispy. Spoon the cheesy beef filling into each shell and top with the remaining ½ cup of shredded cheddar. Add your desired toppings and serve immediately.