

These Bakery Style Chocolate Muffins are rich, deeply chocolatey, and incredibly moist — with those gorgeous tall, domed tops that make you feel like you just walked into your favorite bakery!
THE BEST HOMEMADE CHOCOLATE MUFFINS YOU’LL EVER MAKE!
I am not exaggerating when I say these chocolate muffins have completely taken over my kitchen. I make them on repeat — weekend mornings, school lunchboxes, bake sales, you name it. There is something so satisfying about pulling a tray of these tall, bakery-worthy beauties out of your own oven. My kids go absolutely wild for them, and honestly? So do I.
What I love most is that this recipe comes together in one bowl with simple pantry staples you almost certainly already have on hand. No stand mixer, no fancy techniques — just real, from scratch chocolate muffins that taste like they cost four dollars each at a coffee shop. We’re talking super simple, weeknight-friendly, and totally budget friendly. I literally make these several times a month.
These muffins are perfect on their own, but if you want to round out a cozy breakfast spread, pair them with some fresh fruit and a glass of cold milk. They also make an amazing after-school snack that feels like a treat but is actually more nutritious than anything you’d grab from a wrapper — especially with the whole wheat flour swap in the tips below!
“I made these for my daughter’s class party and every single muffin was gone in minutes. The tops were so perfectly domed — everyone thought I bought them from a bakery! This is absolutely a keeper of a recipe. Thank you so much for sharing!
– Sandra”
Frequently Asked Questions
Can I use Dutch-process cocoa instead of regular cocoa powder?
Absolutely! Dutch-process cocoa will give your muffins a slightly darker color and a smoother, more mellow chocolate flavor. Just keep in mind that Dutch-process cocoa doesn’t react with baking soda the same way, so make sure you’re using baking powder as well — which this recipe already calls for. Either type of cocoa works great here, so use whatever you prefer!
How do I get that tall, domed bakery-style top?
Great question — this is the secret! You want to start the muffins at a higher temperature (425°F) for the first 5 minutes, then drop it down to 350°F for the remainder of the bake time. That initial blast of heat causes the muffins to shoot up fast and dome beautifully. Also, make sure you fill your muffin cups all the way to the top — don’t be shy!
Can I make these ahead of time?
Yes, of course! These muffins actually taste even better the next day once everything has had time to settle. Store them in an airtight container at room temperature for up to 3 days. You can also bake them ahead and freeze them for up to 3 months — just thaw overnight or pop them in the microwave for about 30 seconds.
Can I add mix-ins like chocolate chips or nuts?
Absolutely, and I highly recommend it! I almost always fold in a generous handful of semi-sweet or dark chocolate chips — it makes the muffins extra indulgent and gooey in the best way possible. Chopped walnuts or pecans are also amazing if your family enjoys a little crunch. I’m not judging whatever you prefer!
Can I make these muffins dairy-free?
Yes! Simply swap the buttermilk for a dairy-free alternative like oat milk or almond milk with a splash of apple cider vinegar or lemon juice stirred in — let it sit for 5 minutes and you’ve got a perfect dairy-free buttermilk substitute. Use melted coconut oil or a neutral dairy-free butter in place of the regular butter. They come together just as beautifully!
How do I store leftover muffins?
Store your muffins in an airtight container or zip-top bag at room temperature for up to 3 days. For longer storage, wrap them individually in plastic wrap and place them in a freezer-safe bag. They freeze wonderfully for up to 3 months. To enjoy, just thaw at room temperature or warm them up for 20–30 seconds in the microwave.
Can I use a mini muffin tin instead?
Absolutely! If you’re making mini muffins, fill the cups about three-quarters of the way full and bake at 350°F for about 10–13 minutes, or until a toothpick inserted in the center comes out with just a few moist crumbs. Keep a close eye on them since mini muffins bake much faster. They’re adorable for parties and snack time!
Ingredients Needed: (See Recipe Card Below for the Full Recipe)
- All-purpose flour — The base of these muffins. You can swap up to half the amount for whole wheat flour for a more nutritious option without sacrificing too much texture.
- Unsweetened cocoa powder — This is what gives the muffins their deep, rich chocolate flavor. Use regular or Dutch-process, whatever you have on hand.
- Baking powder and baking soda — Both are needed here to give the muffins that beautiful rise and those tall domed tops we’re after.
- Salt — Don’t skip it! Salt brings out the chocolate flavor in a big way.
- Granulated sugar — Keeps the muffins perfectly sweet without being over the top. You could reduce this slightly if you prefer a less sweet muffin.
- Brown sugar — Adds moisture and a subtle caramel depth that makes these muffins extra special.
- Eggs — Room temperature eggs blend more evenly into the batter and help with structure.
- Buttermilk — This is the secret to an incredibly moist, tender crumb. No buttermilk? Make your own by adding 1 tablespoon of white vinegar or lemon juice to 1 cup of regular milk. Let it sit for 5 minutes and boom — done!
- Melted butter — Butter gives these muffins a rich flavor and keeps them moist. Neutral oil like vegetable or avocado oil works as a substitute.
- Vanilla extract — Pure vanilla extract is always worth it. It rounds out the chocolate flavor beautifully.
- Hot coffee or hot water — This is a game-changer! Hot liquid blooms the cocoa powder and intensifies the chocolate flavor incredibly. Don’t worry — the muffins won’t taste like coffee at all.
- Semi-sweet chocolate chips — Optional but highly recommended! Folded into the batter and sprinkled on top for extra chocolatey goodness in every single bite.
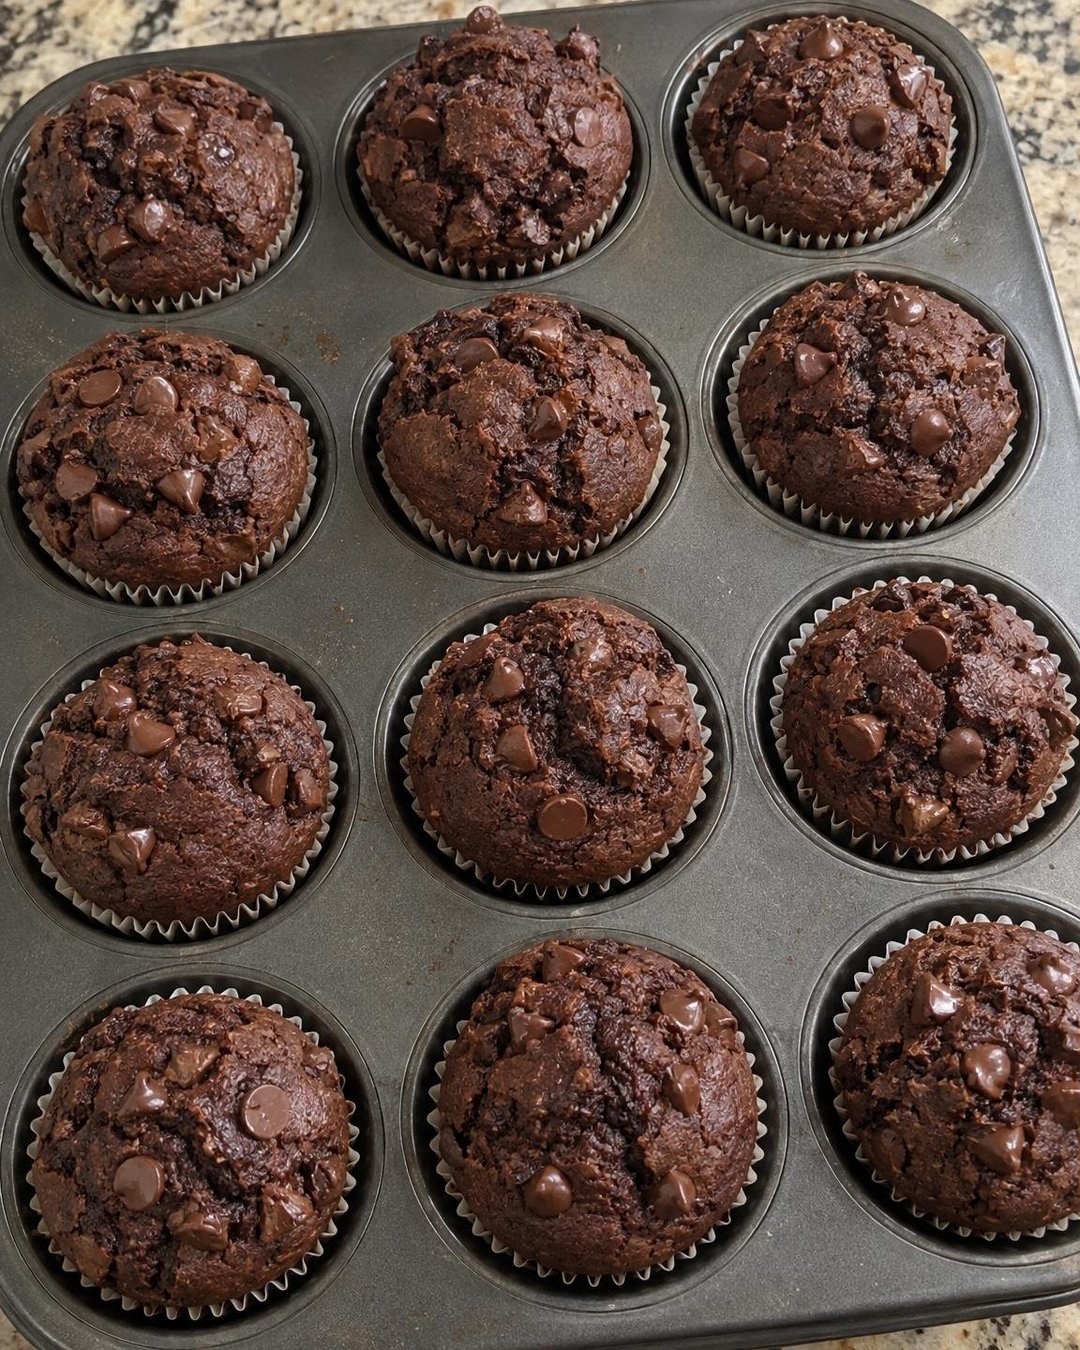
How to Make Bakery Style Chocolate Muffins
Start by preheating your oven to 425°F — that high initial temperature is the key to those gorgeous domed tops, so don’t skip this step! Line a standard 12-cup muffin tin with paper liners or spray generously with non-stick cooking spray. Set it aside while you pull the batter together.
In a large mixing bowl, whisk together your all-purpose flour, cocoa powder, baking powder, baking soda, and salt until well combined. In a separate medium bowl, whisk together the granulated sugar, brown sugar, eggs, melted butter, buttermilk, and vanilla extract until smooth and well blended. You want to make sure the eggs are fully incorporated here — take an extra 30 seconds and really whisk it out.
Pour the wet ingredients into the dry ingredients and stir gently with a spatula — I like to use just about 10–12 stirs, leaving the batter slightly lumpy. This is super important! Overmixing will make your muffins dense and tough, so resist the urge to stir until it’s perfectly smooth. Now carefully pour in the hot coffee or hot water and fold it in gently until just combined. If you’re adding chocolate chips, fold them in now — I always do!
Use a large cookie scoop or spoon to divide the batter evenly among the 12 muffin cups, filling each one all the way to the top. Sprinkle a few extra chocolate chips on top of each muffin if you like — it makes them look absolutely irresistible straight out of the oven. Place the tin in the preheated 425°F oven and bake for exactly 5 minutes.
Without opening the oven door, reduce the oven temperature to 350°F and continue baking for an additional 15–17 minutes, or until a toothpick inserted in the center comes out with just a few moist crumbs (not wet batter). Let the muffins cool in the pan for 5 minutes before transferring to a wire rack. And just like that — boom, bakery style muffins are served!
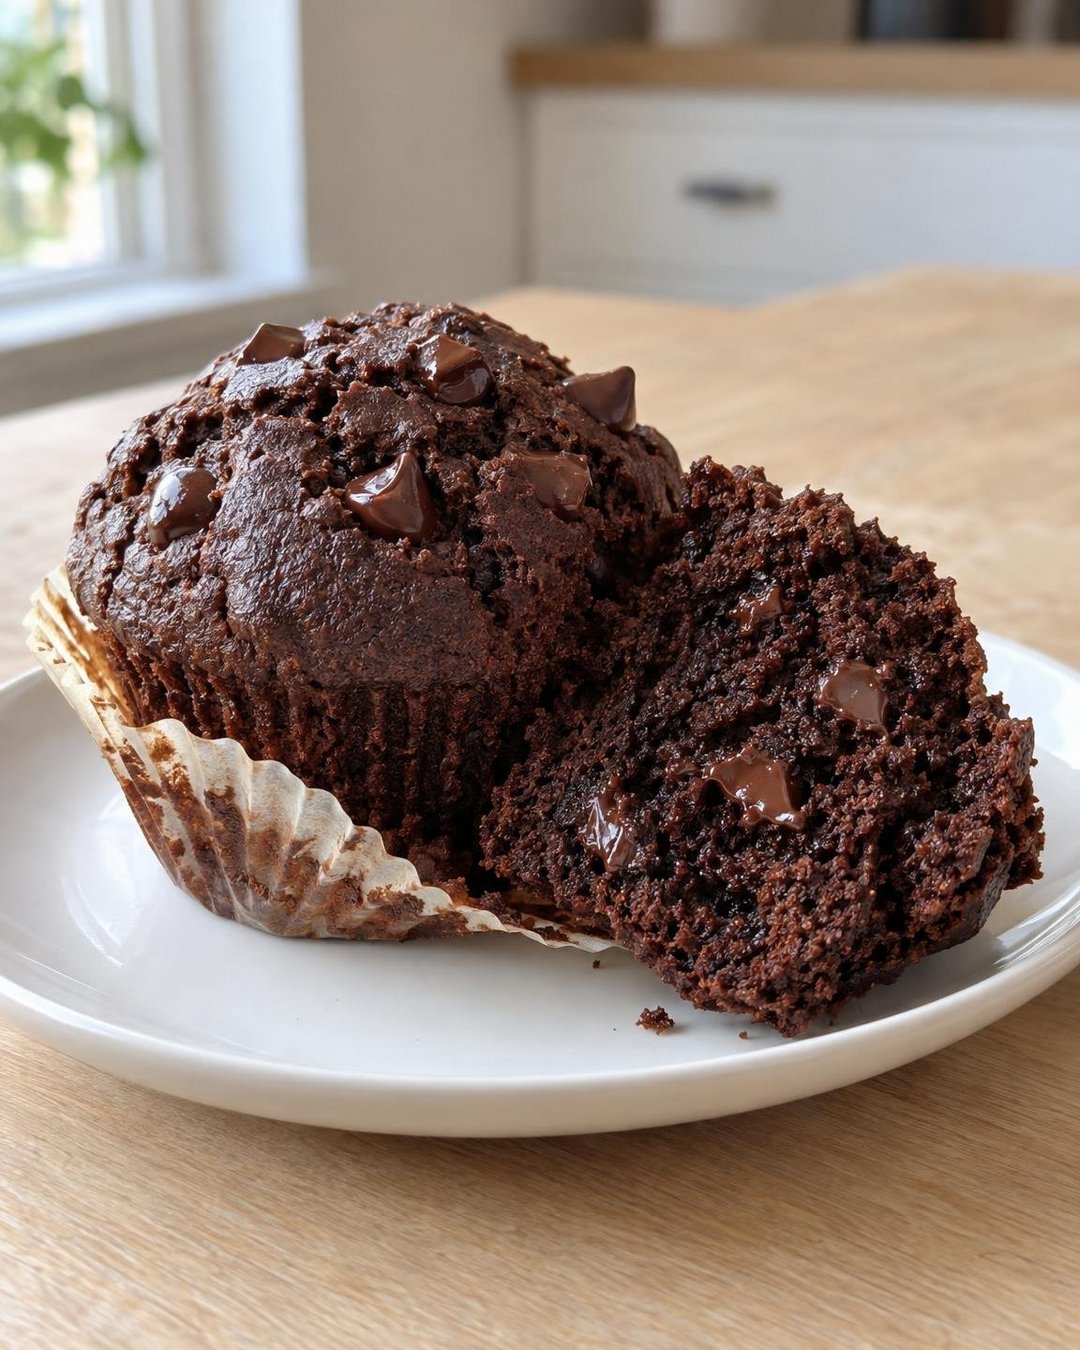
Pro Tips
- Don’t overmix the batter — Stir just until the dry ingredients are incorporated and the batter is still slightly lumpy. Overmixing develops the gluten and leads to dense, rubbery muffins. A few streaks are totally fine!
- Use room temperature eggs and buttermilk — Cold ingredients don’t blend as smoothly into the batter. Pull them out of the fridge about 30 minutes before you start baking for the best results.
- Fill the muffin cups all the way to the top — This is non-negotiable for that tall bakery-style dome! If you only fill them two-thirds full, you’ll get flat, sad muffins. We’re going for drama here.
- Bloom the cocoa with hot liquid — Whether you use hot coffee or hot water, that heat activates the cocoa powder and deepens the chocolate flavor significantly. This one little step makes a huge difference.
- Let them cool slightly before eating — I know, I know — it’s hard. But letting the muffins sit for at least 5–10 minutes allows the crumb to set properly so they don’t fall apart when you bite into them.
- Try a healthier flour swap — Replacing half the all-purpose flour with white whole wheat flour adds fiber and makes these muffins a little more nutritious without changing the taste or texture you love.
What to Serve with Bakery Style Chocolate Muffins
These muffins are absolutely a star on their own, but if you want to build out a full breakfast or brunch spread, here are some of my favorite things to serve alongside them!
- Fresh fruit salad — A bright, colorful mix of strawberries, blueberries, and melon is my personal favorite pairing. The freshness balances the richness of the muffins perfectly.
- Greek yogurt with honey — Creamy, protein-packed, and the perfect contrast to that deep chocolate flavor.
- Scrambled eggs — For a balanced, more filling breakfast that keeps everyone satisfied until lunch!
- A cold glass of milk — Classic, simple, and absolutely the most iconic chocolate muffin pairing there is. My kids insist on this one every time.
- Hot coffee or a latte — For the grown-ups at the table — there is nothing better than a chocolate muffin and a hot cup of coffee on a slow weekend morning!
- Vanilla yogurt parfait — Layer yogurt, granola, and berries in a glass alongside your muffin for a breakfast that feels extra special without any extra effort.
However you serve them, I promise this will quickly become one of the most highly requested recipes in your house — just like it is in mine!
Bakery Style Chocolate Muffins
Ingredients
Method
- Preheat your oven to 425°F. Line a standard 12-cup muffin tin with paper liners or grease generously with non-stick cooking spray and set aside.
- In a large mixing bowl, whisk together the flour, cocoa powder, baking powder, baking soda, and salt until fully combined.
- In a separate medium bowl, whisk together the granulated sugar, brown sugar, eggs, buttermilk, melted butter, and vanilla extract until smooth and well blended.
- Pour the wet ingredients into the dry ingredients and fold gently with a spatula using about 10–12 strokes, leaving the batter slightly lumpy — do not overmix.
- Carefully pour in the hot coffee or hot water and fold gently until just combined. Fold in ¾ cup of the chocolate chips.
- Divide the batter evenly among the 12 muffin cups, filling each one all the way to the top. Sprinkle the remaining chocolate chips over the tops of the muffins.
- Bake at 425°F for 5 minutes. Without opening the oven door, reduce the temperature to 350°F and continue baking for 15–17 minutes, or until a toothpick inserted in the center comes out with just a few moist crumbs.
- Let muffins cool in the pan for 5 minutes, then transfer to a wire rack to cool completely. Serve and enjoy!