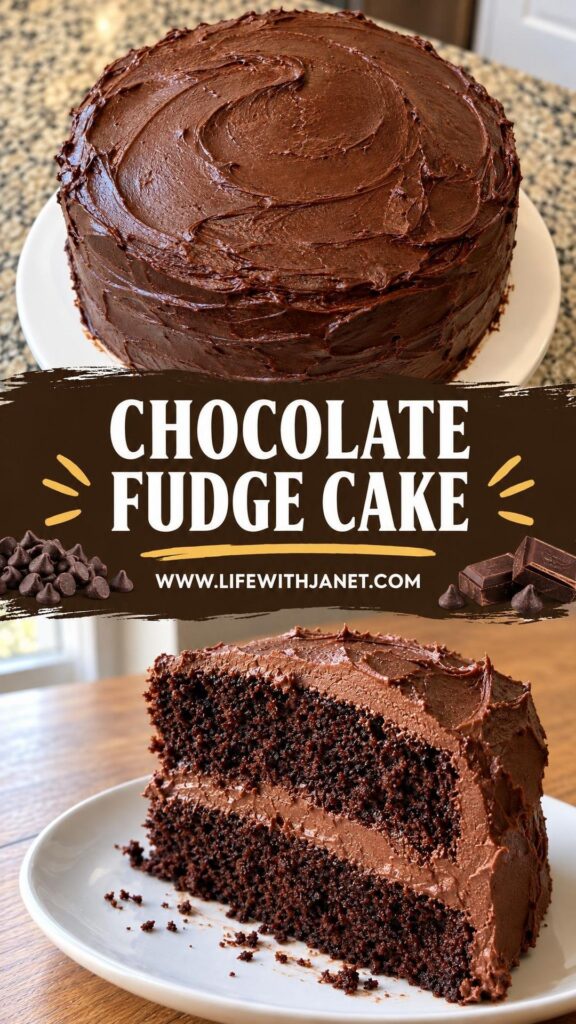
This Chocolate Fudge Cake is an incredibly rich, deeply chocolatey layer cake covered in the most luscious fudge frosting you have ever tasted — and it comes together with simple pantry staples that you probably already have on hand!
THE MOST DECADENT CHOCOLATE FUDGE CAKE YOU’LL EVER MAKE!
I am going to be completely honest with you — this Chocolate Fudge Cake has absolutely no business being this good. I literally make this several times a month, whether it’s for a birthday, a potluck, or honestly just because it’s Tuesday and my family deserves something special. It is super simple to pull together, the layers bake up incredibly tender, and that fudge frosting? I’m not even going to try to describe how amazing it is. You just need to make it.
What I love most about this cake is that it is totally from scratch but doesn’t require any fancy equipment or hard-to-find ingredients. On a busy weeknight when someone in my house is celebrating something, I can have this on the table without any stress. It is 100% a keeper of a recipe — the kind you write down on a card and tuck into your recipe box forever.
When I serve this, I love to pair it with a big scoop of vanilla ice cream or a dollop of freshly whipped cream on the side. A cold glass of milk never hurt anyone either! Boom — dessert is served!
“I made this for my son’s birthday and everyone at the party was asking me for the recipe! The frosting alone is worth making by itself — I could eat it with a spoon. Thank you so much for sharing this one, it is absolutely going on repeat in our house!”
– Sandra
Frequently Asked Questions
Can I make this cake ahead of time?
Absolutely! This cake is actually even better the next day once the frosting has had time to settle into the layers. You can bake the cake layers a day ahead, wrap them tightly in plastic wrap, and store them at room temperature. Then frost the cake the morning of your event — easy as that!
Can I freeze Chocolate Fudge Cake?
Yes, of course! You can freeze the unfrosted cake layers individually — just wrap each one tightly in plastic wrap and then in foil. They’ll keep well in the freezer for up to 2 months. When you’re ready to use them, let them thaw at room temperature for a couple of hours before frosting.
Can I use a different pan size?
Absolutely! This recipe works beautifully as a 9×13 sheet cake if you don’t want to deal with layers — just increase the bake time slightly, checking for doneness around 35-40 minutes. You can also make it into cupcakes, which bake at the same temperature for about 18-20 minutes. Whatever you prefer works great here!
What can I substitute for buttermilk?
If you don’t have buttermilk on hand, no worries at all! Just add one tablespoon of white vinegar or lemon juice to a measuring cup, then fill it up to the one-cup line with regular whole milk. Let it sit for about 5 minutes and you’ve got a perfect homemade buttermilk substitute. It works every single time.
How should I store leftover cake?
Store any leftover cake in an airtight container or under a cake dome at room temperature for up to 3 days. If your kitchen runs warm, you can refrigerate it for up to 5 days — just let individual slices come to room temperature before serving for the best texture and flavor.
Why do I add hot coffee to the batter?
The hot coffee doesn’t make the cake taste like coffee at all — I promise! It actually deepens and intensifies the chocolate flavor in a way that hot water simply can’t match. If you’d rather not use coffee, you can absolutely substitute hot water and you will still get a wonderfully rich, tender chocolate cake.
Can I make this cake gluten-free?
Yes, you can! Swap the all-purpose flour for a good 1-to-1 gluten-free baking flour blend — I’ve tried a couple of brands and they work really well here. Just make sure your baking powder and cocoa powder are certified gluten-free as well. The texture will be just slightly different but still super delicious!
Ingredients Needed: (See Recipe Card Below for the Full Recipe)
- All-purpose flour — The base of our cake. For a gluten-free version, a 1-to-1 gluten-free baking blend works perfectly.
- Unsweetened cocoa powder — Use a good quality Dutch-process cocoa for the deepest, richest chocolate flavor. Regular natural cocoa works too!
- Granulated sugar — Sweetens the cake and helps keep it moist. You can swap half for brown sugar for extra depth if you’d like.
- Baking soda and baking powder — The combination of both gives this cake a beautiful rise and a perfectly tender crumb.
- Salt — Don’t skip it! Salt balances and enhances all that chocolate flavor.
- Eggs — Room temperature eggs are best here — they incorporate into the batter much more smoothly.
- Buttermilk — This is the secret to an incredibly tender, moist cake. See my FAQ above for an easy homemade substitute!
- Vegetable oil — Oil keeps this cake super moist for days. Melted coconut oil or canola oil work great too.
- Pure vanilla extract — Always use pure vanilla, not imitation — it really makes a difference in the final flavor.
- Hot brewed coffee — Deepens the chocolate flavor without making the cake taste like coffee. Hot water is a fine substitute.
- Butter (for frosting) — Unsalted butter is my preference so I can control the saltiness of the frosting.
- Powdered sugar (for frosting) — Sifted powdered sugar gives you the smoothest, creamiest fudge frosting with no lumps.
- Heavy cream (for frosting) — Makes the frosting perfectly spreadable and creamy. Whole milk can work in a pinch.
- Semi-sweet chocolate chips (for frosting) — Melted into the frosting for that true fudge flavor and texture. Dark chocolate chips work beautifully here too!
How to Make Chocolate Fudge Cake
Start by preheating your oven to 350°F and greasing two 9-inch round cake pans really well — I like to grease them, line the bottoms with parchment paper circles, and then grease the parchment too. This is the best insurance against sticking and your layers will come out perfectly every time. In a large mixing bowl, whisk together the flour, cocoa powder, sugar, baking soda, baking powder, and salt until everything is well combined.
In a separate medium bowl, whisk together the eggs, buttermilk, vegetable oil, and vanilla extract until smooth. Pour the wet ingredients into the dry ingredients and stir gently until just combined — you don’t want to overmix here, because that can make the cake tough. Then slowly pour in the hot coffee and stir it in gently. The batter will look quite thin and that is completely normal, so don’t panic! That’s exactly what gives us that wonderfully moist, tender crumb.
Divide the batter evenly between your two prepared pans and bake for 30-35 minutes, or until a toothpick inserted into the center comes out clean or with just a few moist crumbs. I like to start checking around the 30-minute mark — every oven is a little different, so keep an eye on it. Let the cakes cool in their pans for about 10 minutes before turning them out onto a wire rack to cool completely. And I really do mean completely — frosting a warm cake is a recipe for a melty mess!
While the cakes are cooling, make your fudge frosting. Melt the chocolate chips in a microwave-safe bowl in 30-second intervals, stirring between each one, until completely smooth. Set it aside to cool slightly. In a large bowl, beat the softened butter with an electric mixer until fluffy, about 2 minutes. Add the melted chocolate, sifted powdered sugar, heavy cream, and a pinch of salt, then beat on medium-high speed for 3-4 minutes until the frosting is incredibly creamy, fluffy, and comes together beautifully.
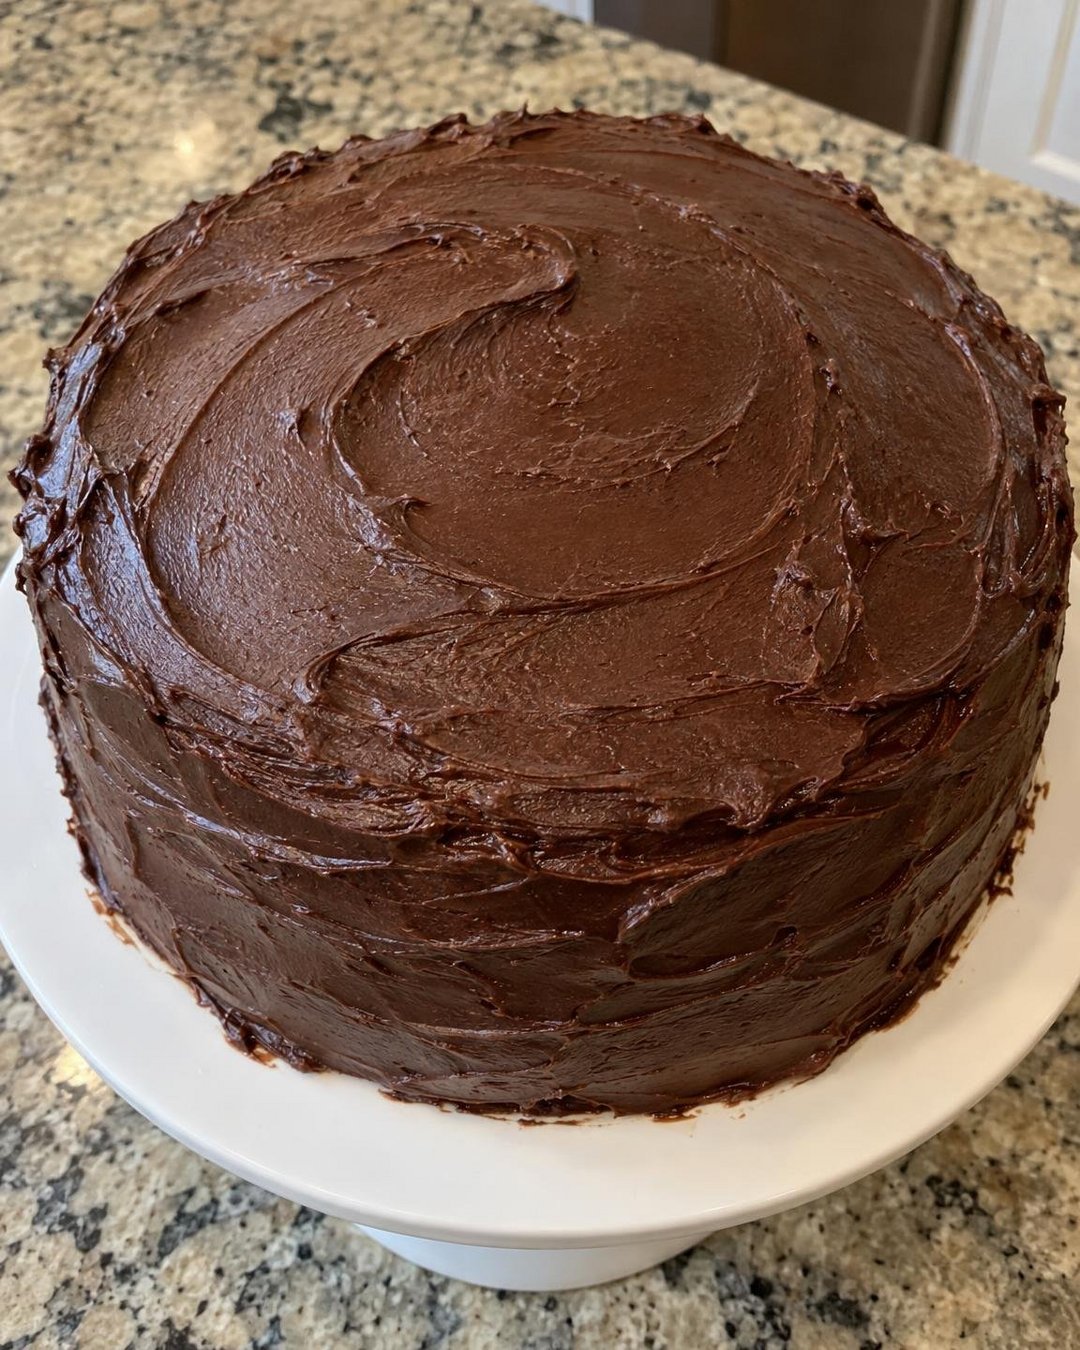
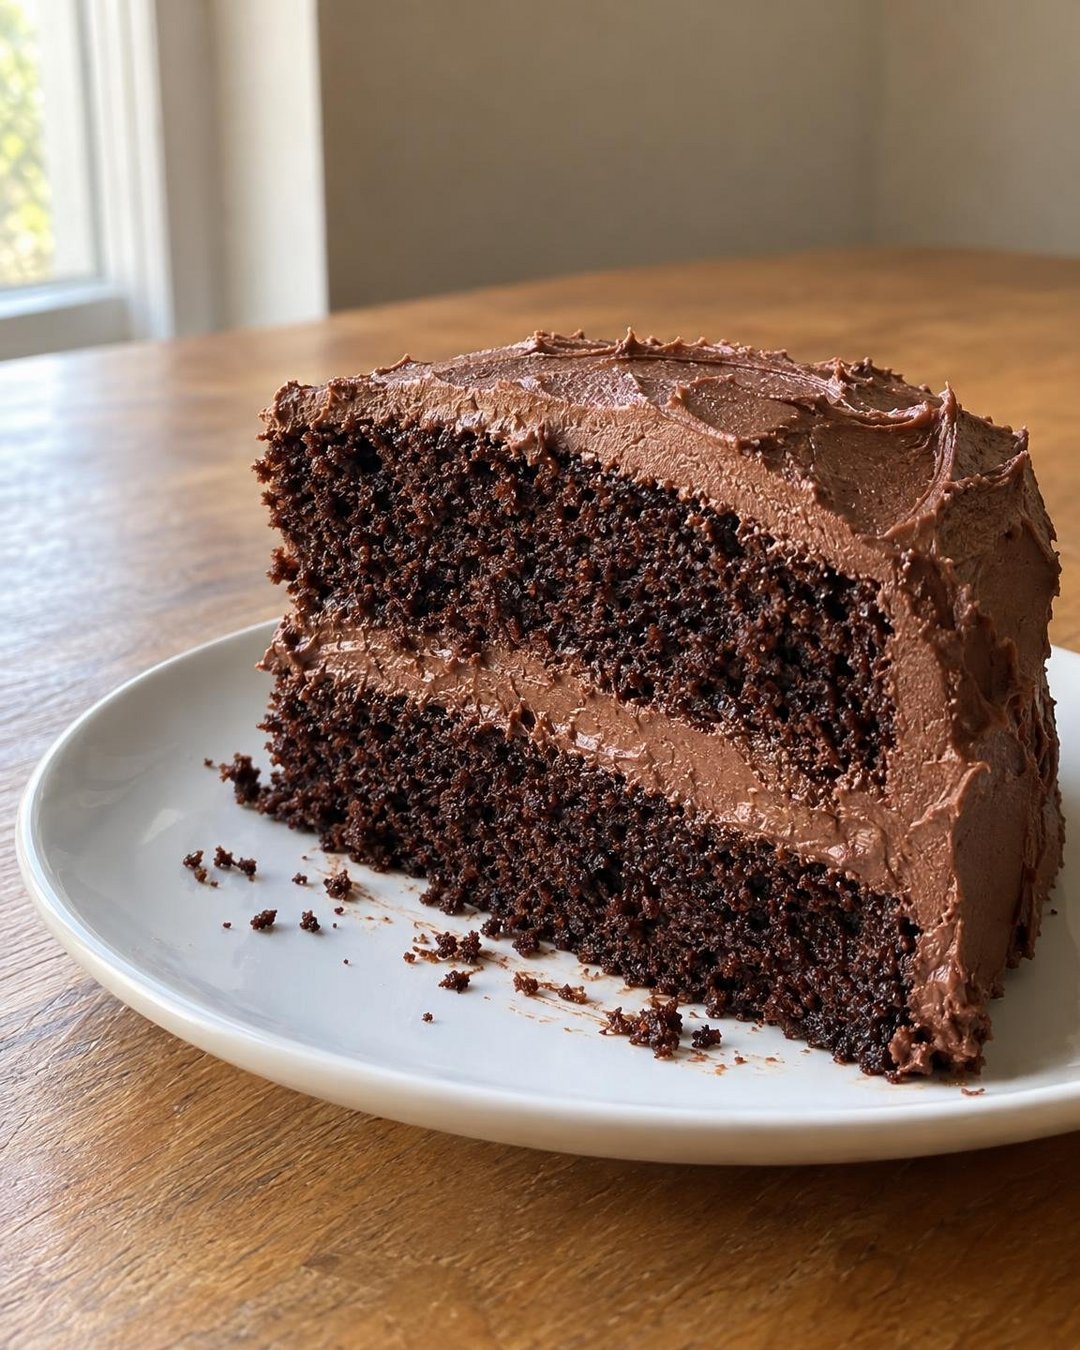
Place one completely cooled cake layer on your cake stand or plate and spread a generous, thick layer of frosting on top. Place the second layer on top, then frost the top and sides of the entire cake. I like to do a rough, swoopy finish on the sides — it looks rustic and beautiful and honestly it’s way less stressful than trying to get it perfectly smooth. Slice it up, and boom — dessert is served!
Pro Tips
- Use room temperature ingredients — Room temperature eggs and buttermilk blend into the batter much more evenly, giving you a smoother, more consistent cake. Just set them out about 30 minutes before you start baking.
- Don’t overmix the batter — Once the wet and dry ingredients come together, stir just until you no longer see streaks of flour. Overmixing develops gluten and can leave you with a dense, rubbery cake instead of a tender one.
- Weigh your flour if you can — If you have a kitchen scale, weigh your flour instead of scooping it. Scooping can pack the flour and add more than you need. The correct weight for this recipe is 240 grams of flour per cup.
- Cool your cakes completely before frosting — I know it’s tempting, but please wait! Even a slightly warm cake will melt your frosting and cause it to slide right off. I usually bake my layers the night before and frost the next day.
- Sift your powdered sugar — Sifting removes lumps and gives you an incredibly smooth, silky frosting that spreads like a dream. It takes an extra two minutes and it is absolutely worth it.
- Taste and adjust your frosting — Keep tasting the frosting as you make it! Add a tiny pinch more salt if it tastes too sweet, or a splash more cream if you want it a little looser. Make it exactly the way you like it.
What to Serve with Chocolate Fudge Cake
This cake is absolutely stunning all on its own, but if you want to turn it into a full-on dessert spread or just make each slice even more special, here are some of my favorite things to serve alongside it!
- Vanilla bean ice cream — My personal favorite! That cold, creamy scoop against the rich, fudgy cake is just perfection. I always keep a container in the freezer for exactly this purpose.
- Fresh whipped cream — Light and airy, it balances out the richness of the cake beautifully. Just a dollop on top of each slice is all you need.
- Fresh berries — Strawberries, raspberries, or sliced bananas add a fresh, bright element that pairs wonderfully with deep chocolate flavor.
- A drizzle of caramel sauce — If you are feeling extra indulgent, a warm caramel drizzle over the top of a slice is an absolutely incredible combination.
- A glass of cold milk — Classic, simple, and honestly the most perfect pairing for chocolate cake. Never underestimate it!
- Hot coffee or espresso — For the adults at the table, a strong cup of coffee alongside a slice of this cake is a genuinely wonderful combination.
However you choose to serve it, I promise this Chocolate Fudge Cake is going to be the star of the show every single time — enjoy every single bite!
Chocolate Fudge Cake
Ingredients
Method
- Preheat your oven to 350°F (175°C). Grease two 9-inch round cake pans, line the bottoms with parchment paper circles, and grease the parchment as well. Set aside.
- In a large mixing bowl, whisk together the flour, cocoa powder, sugar, baking soda, baking powder, and salt until well combined.
- In a separate medium bowl, whisk together the eggs, buttermilk, vegetable oil, and vanilla extract until smooth and fully combined.
- Pour the wet ingredients into the dry ingredients and stir gently until just combined, being careful not to overmix. Slowly pour in the hot coffee and gently stir until the batter is smooth — it will be thin, and that's perfectly normal.
- Divide the batter evenly between the two prepared cake pans. Bake for 30-35 minutes, or until a toothpick inserted into the center comes out clean or with just a few moist crumbs.
- Allow the cakes to cool in their pans for 10 minutes, then carefully turn them out onto a wire rack. Let them cool completely to room temperature before frosting, at least 1-2 hours.
- Make the frosting: Place the chocolate chips in a microwave-safe bowl and microwave in 30-second intervals, stirring between each, until fully melted and smooth. Set aside and let cool for 10 minutes.
- In a large bowl, beat the softened butter with an electric hand mixer or stand mixer on medium speed for 2 minutes until fluffy. Add the cooled melted chocolate, sifted powdered sugar, heavy cream, vanilla extract, and salt. Beat on medium-high speed for 3-4 minutes until the frosting is creamy, smooth, and fluffy.
- Place one cooled cake layer on a cake stand or serving plate. Spread a generous layer of frosting evenly over the top. Place the second cake layer on top and frost the top and sides of the entire cake. Slice and serve!