The magnificence of a perfectly cooked cheesy chicken fritter extends far beyond its golden, crispy coating. Upon biting into one, you’re met with tender, flavorful chicken wrapped in a delightful blend of batter and cheese – a true culinary delight. To master the art of creating these mouthwatering morsels, understanding the ins and outs of preparing the chicken, crafting the perfect batter, and employing the right cooking techniques is key. Lay these stepping stones correctly, and you’re paving your path towards creating the ultimate cheesy chicken fritter.
Preparing the Chicken
Preparing the Chicken
Begin by selecting good quality, fresh chicken breasts for your fritters. For best results, select boneless, skinless breasts that provide a uniform size for even cooking. Remove the chicken from its packaging and rinse each piece under cool running water to remove any residual blood or packaging debris.
Then, using a clean kitchen towel, pat the chicken pieces dry. This step is necessary for the marinade to adhere to the chicken properly. Having your chicken properly dried will also aid in the browning process when it’s time to cook.
Marinating the Chicken
Once the chicken is prepared, it’s time to marinate. Place the chicken in a bowl or a sealable plastic bag. Add in your chosen marinade. For cheesy chicken fritters, you could use a simple marinade made by combining salt, pepper, garlic powder, and a dash of Worcestershire sauce for a savory touch.
After adding the marinade to the chicken, toss well to ensure all pieces are nicely coated. Make sure each piece of chicken is well coated in the marinade to flavor the meat evenly.
You should let your chicken marinate by refrigerating it for a minimum of 30 minutes, although an hour or two is ideal for a more robust flavor. Remember not to marinate chicken for too long, especially if your marinade contains acidic ingredients (like vinegar or lemon juice), as it can start to break down the chicken and make it tough.
Adding Cheese to the Chicken
Once the chicken is done marinating, it’s time to add the cheese. Cheeses that melt well and have a mild flavor, such as mozzarella or mild cheddar, are good options for cheesy chicken fritters.
Cut the cheese into small cubes or shred it, then mix it into the chicken pieces until they are evenly distributed. The cheese should stick to the chicken thanks to the marinade and will melt to provide a cheesy flavor throughout each fritter.
Now, your chicken is effectively prepared and ready to be transformed into delicious, cheesy chicken fritters. The next steps will include creating a light, crispy batter, cooking the fritters to perfection, and serving them with a cheesy, delightful dipping sauce.
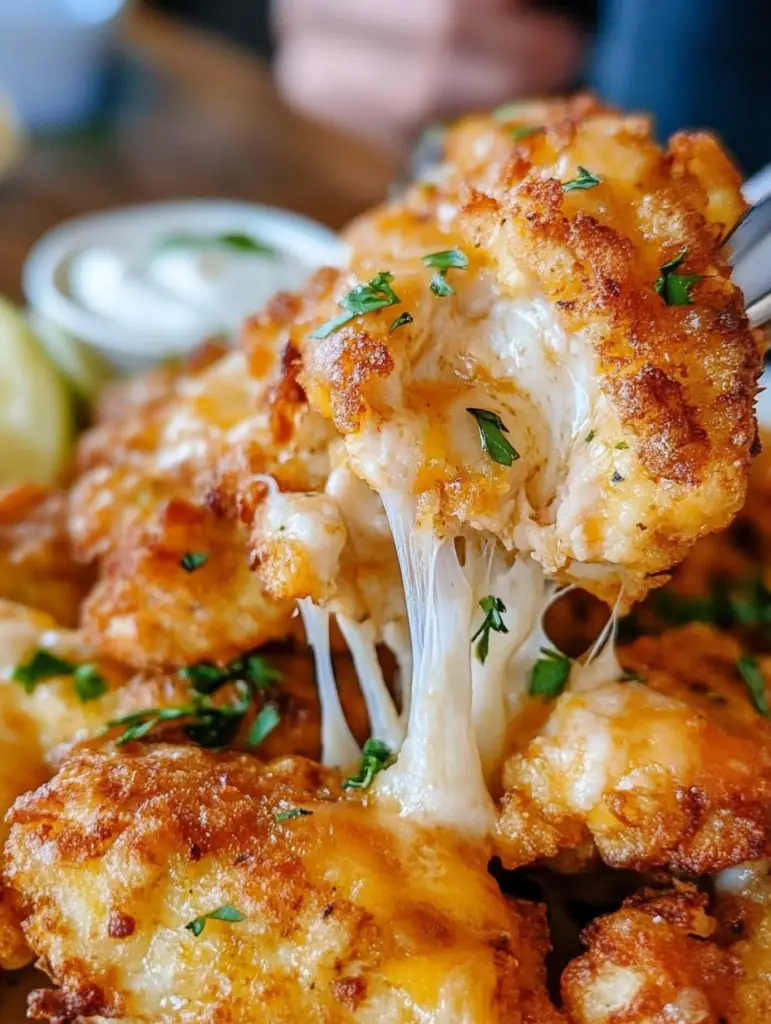
Making the Batter
Selecting the Right Ingredients for the Batter
To prepare the batter for your cheesy chicken fritters, the selection of ingredients greatly matters. The first key ingredient is flour, which will serve as the base of the batter. An all-purpose flour is a good option. Beside this, you’ll need eggs which provide structure while aiding in even browning during frying. The next key ingredient is cheese, which will introduce the cheesy element into your batter. Mozzarella cheese or cheddar cheese are an excellent choice for this.
Achieving the Correct Batter Consistency
A correct batter consistency is paramount for making cheesy chicken fritters. You need a well-blended batter that is neither too thin that it won’t cling to the chicken nor too thick that the fritters become doughy. To start, combine the flour, eggs, and few tablespoons of water in a bowl. The mixture should have a thick and sticky consistency to coat the chicken nicely without running off. Next, grate or finely chop the appropriate quantity of cheese into the batter. The incorporation of cheese also plays a role in achieving the batter consistency.
Introducing The Cheesy Element Into The Batter
The cheesy element can be introduced by incorporating the chosen cheese into the batter. Remember to use a mild-flavored cheese that can melt easily and evenly distribute within the batter. This will assist in ensuring the cheese fully combines rather than clumps together. You will want to gently mix the cheese into the batter until it is evenly dispersed. Adding the cheese to the batter not only provides an ooey-gooey texture and flavor but also contributes to a crispier outside layer.
The Secret to a Crispy Outer Layer
The secret to a crispy outer layer for your cheesy chicken fritters relies significantly on the frying technique. However, the batter does play a role too. Introducing a pinch of baking powder to the batter can help in achieving a crispier fritter. Baking powder creates small air bubbles on the surface of the batter, giving it a crispier texture when cooked. Ensuring that the batter has the correct consistency will also provide for a well-coated chicken that results in a crispier outer layer when fried.
Remember to keep the heat high enough to create a crispy shell and cook quickly without drying out (about 350°F is an ideal temperature), but not so high that the fritter burns before the chicken is cooked. Always deep-fry in small batches to avoid dropping the temperature of the oil.
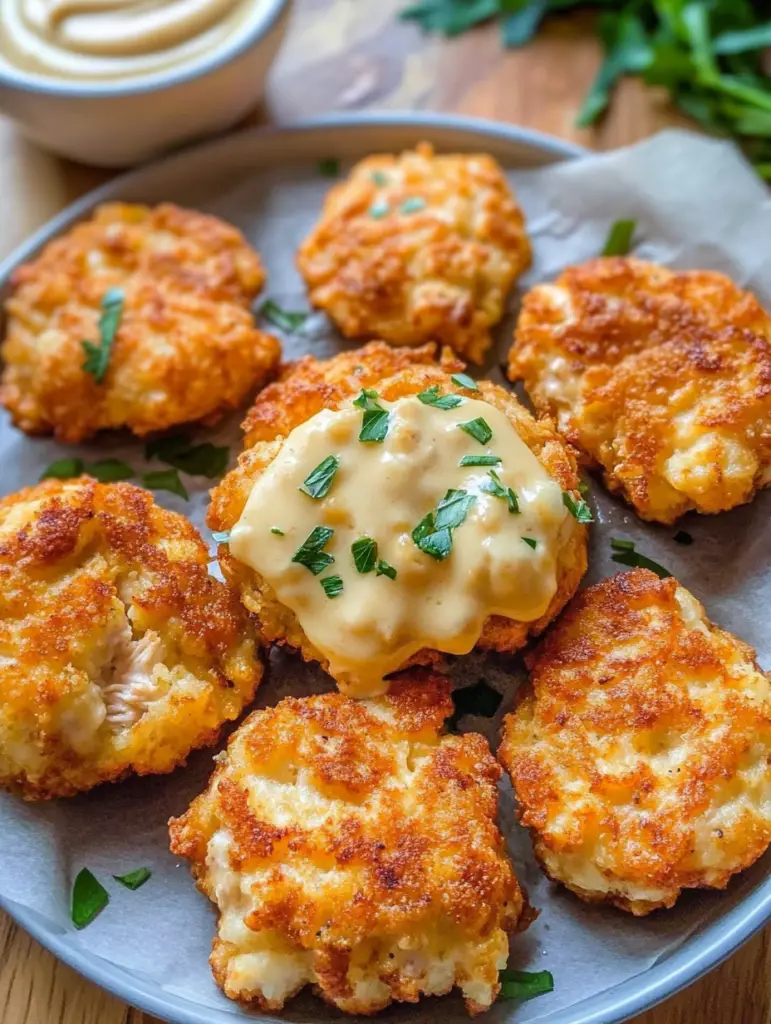
Cooking Techniques
Understanding your Ingredients
Before beginning, ensure you have all the essential ingredients for your cheesy chicken fritters: chicken breast, grated cheese, egg, flour, and spices according to your preference. It’s important to cut the chicken into small, even pieces so they cook uniformly, preventing raw spots or overcooking.
Prepping the chicken
Season your chicken breast with salt, pepper, and any other spices of your liking. To this, add one beaten egg, a cup of grated cheese, and about a half cup of flour. Mix well until everything is combined and your chicken is well coated.
Frying the Chicken Correctly
Heat a good amount of oil in a frying pan over medium heat. Using a pair of tongs or a fork, carefully drop the chicken pieces into the oil one by one. Make sure they are not overcrowded to maintain the oil’s temperature and allow even cooking. The chicken pieces should sizzle but not pop or burn – if this happens, adjust the heat.
Maintaining the Right Cooking Temperature
It’s essential to maintain the right temperature while frying your chicken fritters. The ideal frying temperature is between 350 to 375 degrees Fahrenheit. If your oil is too cool, the chicken will absorb excess oil, becoming greasy and undercooked. If it’s too hot, the chicken will brown too quickly on the outside, leaving the inside undercooked. Using a thermometer can help maintain an accurate temperature.
Ensuring the Chicken is Well Cooked Inside
Fry the chicken fritters for about 4 to 5 minutes per side until they turn golden brown. To confirm that they are fully cooked, use a meat thermometer – the internal temperature should be at least 165 degrees Fahrenheit. It’s also good practice to cut into one piece to ensure it is white and firm, indicating it is thoroughly cooked. If the chicken is pinkish and flaky, it needs to be fried longer.
Avoiding Over Browning
To avoid over-browning, keep watching the chicken’s color while it fries. If the chicken is darkening too quickly, lower your stove’s heat setting. If you find it necessary, you can also remove overly browned chicken pieces and transfer them to a baking sheet. They can finish cooking in the oven at a lower temperature, preventing the outside from burning.
Remember, good frying comes with practice
If your first batch doesn’t turn out exactly as you expected, don’t give up. Learn from the process, adjust your technique, and keep trying.
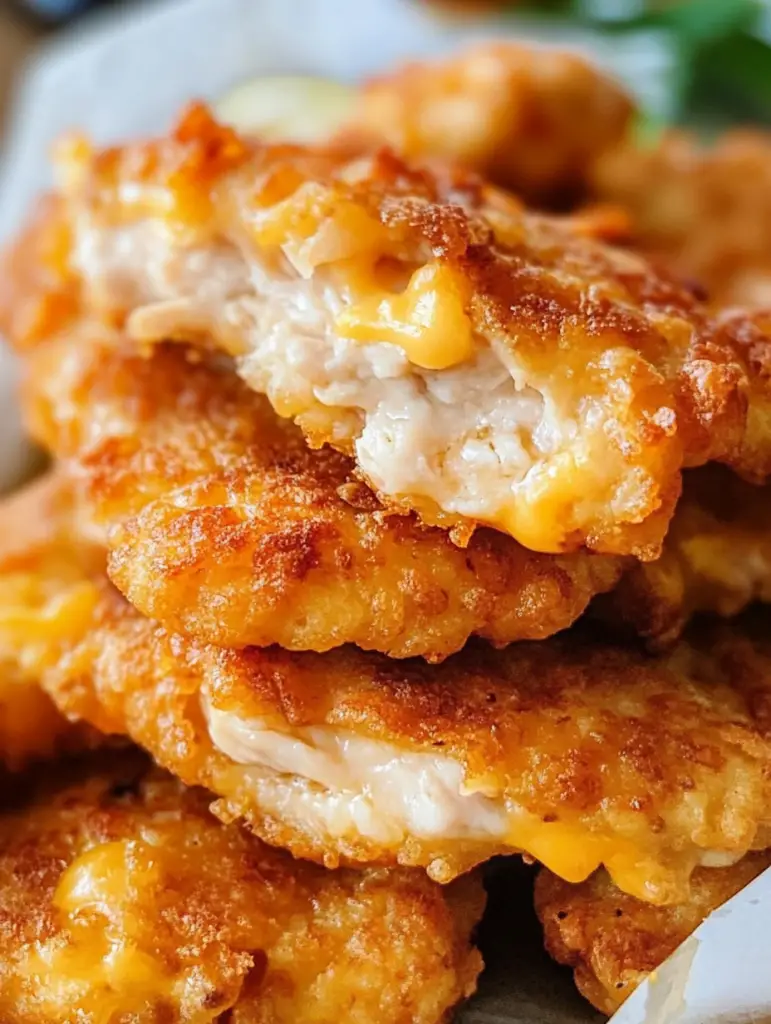
Mastering the art of the cheesy chicken fritter is more than just a culinary journey, it’s an exploration of flavor, texture, and technique. From the intricate process of preparing and marinating the chicken, through creating the cheesy batter with the ideal consistency and flavor, to precisely executing the cooking process – you’re not only cooking food. You are creating an experience. A cheesy chicken fritter, when crafted well, is more than a dish. It’s an expression of patience, care, and culinary finesse. Continue on this path of exploration and refine these skills – every chicken fritter you cook thereafter will be a testament to your craft and dedication.
Cheesy Chicken Fritters
Ingredients
- Ingredients for Hearty Chicken Delights:
- 1 1/2 lbs plump chicken breasts around 3 large ones
- 2 fresh eggs
- 1/3 cup creamy mayonnaise
- 1/3 cup versatile flour swap with cornstarch or potato starch for a gluten-free option
- 4 oz flavorful mozzarella cheese roughly 1 1/3 cups, finely grated
- 1 1/2 Tbsp freshly plucked dill finely chopped
- 1/2 tsp sea salt adjust as per your taste
- 1/8 tsp freshly ground black pepper
- 2 Tbsp light olive oil or any oil suitable for high-temperature cooking
- For the Zesty Garlic Dip Highly Recommended!:
- 1/3 cup creamy mayonnaise
- 1 clove of garlic finely minced
- 1/2 Tbsp fresh lemon juice
- 1/4 tsp sea salt
- 1/8 tsp freshly ground black pepper
Instructions
- Begin by dicing the chicken breasts into approximately 1/3″ thick chunks. If you have semi-frozen chicken breasts on hand, they’re slightly easier to slice. Place these in a deep bowl.
- Into this bowl, mix in the eggs, mayonnaise, flour, grated mozzarella, fresh dill, salt, and black pepper. Ensure everything is well combined. Cover the bowl with cling film and let it rest in the refrigerator for a minimum of 2 hours. If you can wait, leaving it overnight intensifies the flavors.
- Once you’re ready to cook, heat up a non-stick skillet on a medium flame. Drizzle in the olive oil. Once the oil is shimmering, scoop out generous tablespoons of the chicken mixture onto the pan. Using your spoon, gently flatten the tops for an even cook. Let them sizzle for about 3-4 minutes until they turn golden-brown. Flip them over and give them another 3 minutes or until they’re cooked through and have that irresistible golden hue.
- For the dip: In a separate bowl, whisk together mayonnaise, minced garlic, lemon juice, salt, and pepper until it achieves a smooth consistency.



Sounds good but have you tried doing it in an air fryer with good results?