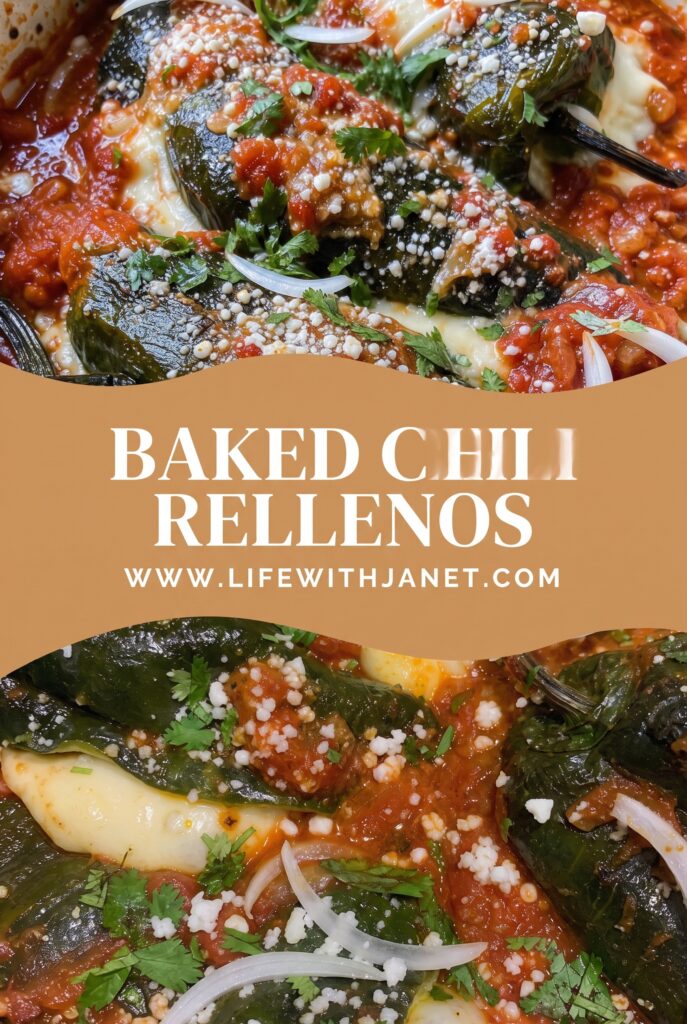
Tender roasted poblano peppers stuffed with a cheesy, seasoned filling, baked until golden and bubbly — this is the kind of comforting, crowd-pleasing meal that belongs in your regular dinner rotation!
THE EASIEST BAKED CHILI RELLENOS YOU’LL EVER MAKE!
I honestly cannot believe it took me so long to start making baked chili rellenos at home. I grew up eating the fried version at Mexican restaurants and always assumed it was one of those dishes that was just too complicated to pull together on a weeknight. Spoiler alert: I was so wrong! This baked version is super simple, comes together in about an hour, and my whole family absolutely devours it every single time I put it on the table.
This is one of those weeknight meals I keep on repeat because it checks every box — it’s budget friendly, it’s packed with good stuff, and even my pickiest eaters clean their plates. I stuff the peppers with a simple but incredibly satisfying mixture of seasoned ground beef and cheese, but I’ll give you plenty of ways to switch it up below. Once you try this from scratch, you will never go back to the restaurant version!
I love serving these with a simple side of Mexican rice and a big scoop of refried beans. Add a little sour cream and fresh salsa on top — boom, dinner is served! It honestly feels like a special meal even on the most chaotic Tuesday night.
“I made these for my family last weekend and they were an absolute hit! My husband said they were better than any restaurant version he’d had. I love that they’re baked and not fried — so much easier and still so satisfying. This is a keeper of a recipe for sure!”
— Maria
Frequently Asked Questions
Can I use a different type of pepper?
Absolutely! Poblano peppers are the traditional choice here and they have a mild, slightly smoky flavor that works perfectly. If you can’t find poblanos, you can use Anaheim peppers, which are a little milder and slightly smaller. For a spicier kick, you could try pasilla peppers — whatever you prefer works great!
Can I make these ahead of time?
Yes, of course! You can roast and stuff the peppers up to a day in advance, cover them tightly, and keep them in the refrigerator until you’re ready to bake. Just add about 5-10 extra minutes to the bake time if they’re going straight from the fridge to the oven. This makes them a fantastic make-ahead option for busy weeknights.
Can I freeze baked chili rellenos?
Absolutely! Let them cool completely, then wrap each one individually in plastic wrap and store them in a freezer-safe bag or container for up to 3 months. Reheat them straight from frozen in a 350°F oven for about 25-30 minutes, or thaw overnight in the refrigerator and reheat for 15 minutes. They hold up really well — I’m always so happy when I find a batch in my freezer on a crazy evening!
How do I roast the poblano peppers?
You want to char the outside of the peppers directly over a gas flame or under your oven broiler, turning them every couple of minutes until the skin is blistered and blackened all over. Then you place them in a bowl covered with plastic wrap or a kitchen towel for about 10-15 minutes — this steams the skin loose so it peels right off. Don’t skip this step! It’s what gives the peppers that amazing, slightly smoky flavor that makes this dish so special.
What cheese works best for this recipe?
I use a combination of Monterey Jack and sharp cheddar because it gets wonderfully melty and has great flavor. You could also use pepper jack if you want a little extra heat, or a Mexican cheese blend from the store works perfectly too. Oaxacan cheese is the most traditional option if you can find it at your local grocery store — I’m not judging whatever you grab!
Can I make these vegetarian?
Yes, of course! Simply swap the ground beef for a can of drained black beans, seasoned with the same spices, and add some diced sautéed mushrooms or corn for extra heartiness. The filling is still super satisfying and packed with good, nutritious ingredients. My vegetarian friends always request this version!
How do I store leftovers?
Store any leftover baked chili rellenos in an airtight container in the refrigerator for up to 4 days. Reheat them in the oven at 350°F for about 15 minutes or in the microwave for 1-2 minutes until warmed through. I personally prefer the oven reheat method because it keeps the egg coating from getting rubbery.
Ingredients Needed: (See Recipe Card Below for the Full Recipe)
- Poblano peppers — The star of the show! Look for large, firm peppers with smooth skin. Anaheim peppers are a great substitute if poblanos aren’t available.
- Ground beef (90% lean) — I use lean ground beef to keep things a little lighter. Ground turkey, ground chicken, or a can of black beans all work wonderfully too.
- Yellow onion — Adds a savory base to the filling. White onion works just as well.
- Garlic cloves — Fresh minced garlic is always my preference here, but garlic powder in a pinch is totally fine.
- Cumin, chili powder, smoked paprika, and oregano — This spice combo gives the filling so much flavor without any heat. Adjust amounts to your family’s taste!
- Canned diced tomatoes (drained) — Adds moisture and a little tang to the beef filling. Fire-roasted diced tomatoes are absolutely incredible here if you can find them.
- Monterey Jack cheese — Super melty and mild — perfect for the inside of the pepper.
- Sharp cheddar cheese — For the topping! It gets golden and a little crispy on top, which I absolutely love.
- Eggs — These are separated and whipped to create a light, fluffy egg coating that bakes up beautifully. This is the classic chili relleno technique!
- All-purpose flour — Just a light dusting inside the pepper helps the egg coating stick. You can use gluten-free flour if needed.
- Salt and black pepper — Season to taste throughout the cooking process. Always keep tasting!
- Cooking spray or olive oil — For the baking dish to prevent sticking.
How to Make Baked Chili Rellenos
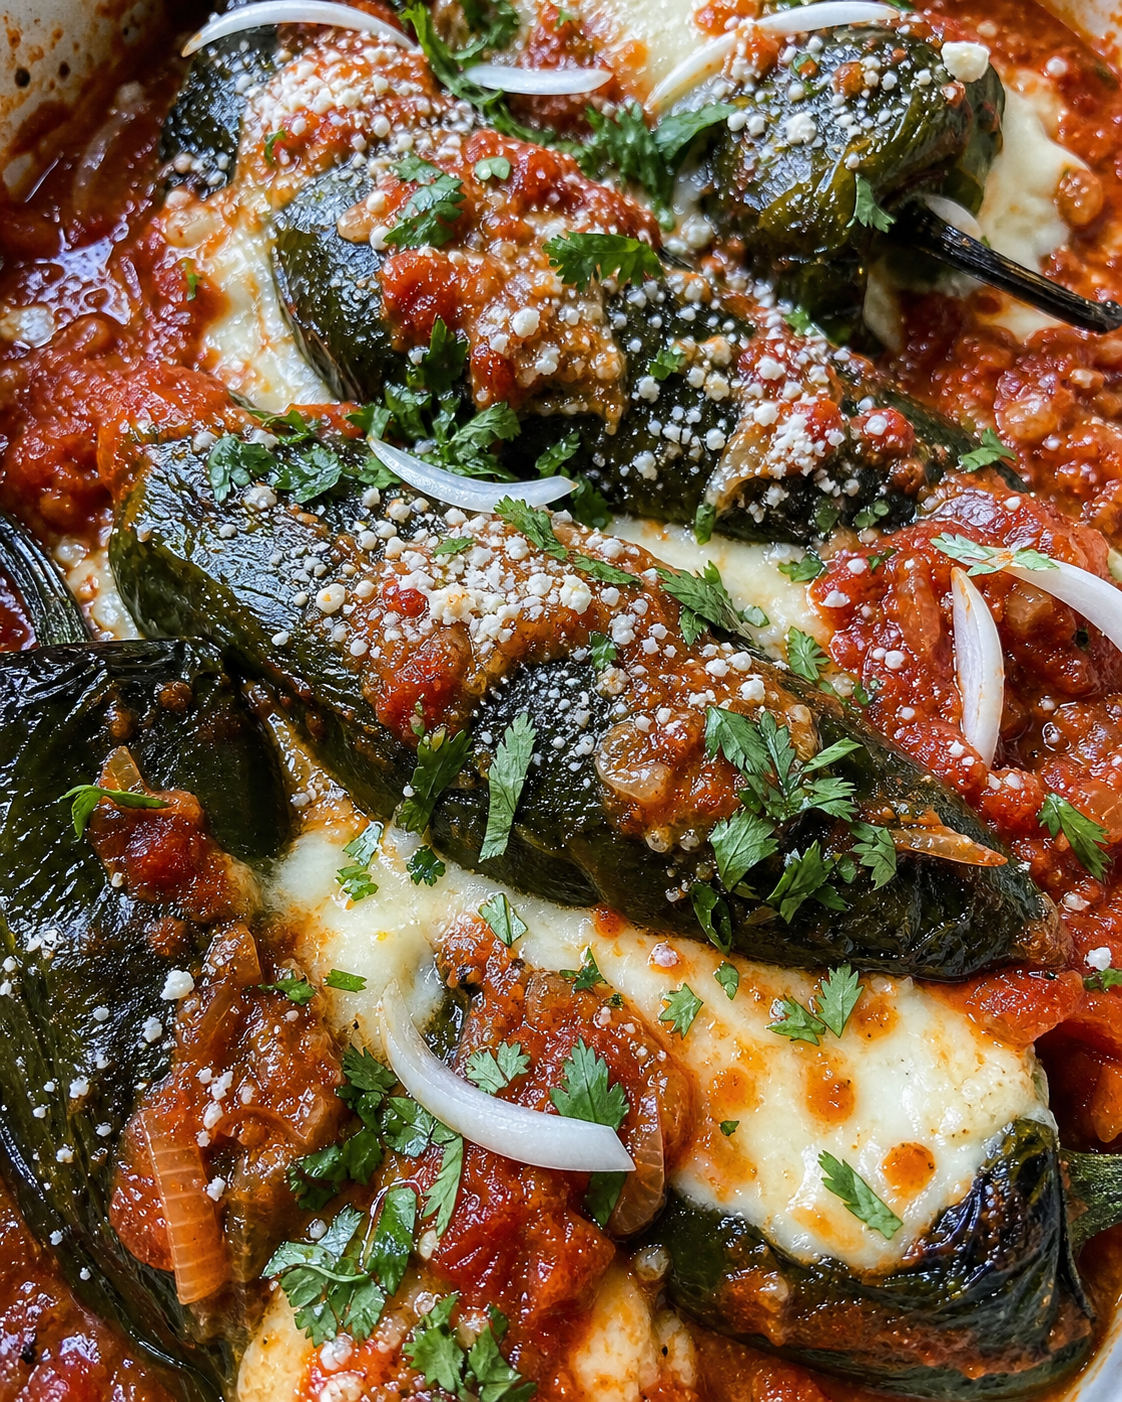
The very first thing you want to do is roast your poblano peppers, and honestly this step is so satisfying! Place them directly over a gas burner on high heat or on a foil-lined baking sheet under your oven broiler set to high. You’re turning them every 2-3 minutes with tongs until the skin is charred and blistered on all sides — this takes about 8-10 minutes total. Once they’re nicely blackened, pop them into a bowl and cover it tightly with plastic wrap or a clean kitchen towel. Let them steam for 10-15 minutes. After that, the skin peels right off! Peel each one carefully, then make a small lengthwise slit down the side of each pepper and gently remove the seeds. Try to keep the pepper mostly intact — you want that pocket for the filling!
While the peppers are steaming, go ahead and make your filling. Heat a large skillet over medium-high heat and add a drizzle of olive oil. Add your diced onion and cook for about 3-4 minutes until it softens, then add the minced garlic and cook for 30 seconds more until fragrant — don’t let it burn! Add the ground beef and cook, breaking it up as you go, until it’s completely browned, about 7-8 minutes. Drain any excess fat, then stir in your cumin, chili powder, smoked paprika, oregano, salt, and pepper. Add the drained diced tomatoes and cook everything together for another 2-3 minutes until most of the liquid has cooked off. You want the filling to be flavorful and not too wet. Remove from heat and stir in the Monterey Jack cheese — it’ll get melty and amazing right in the pan.
Now preheat your oven to 375°F and spray a 9×13-inch baking dish with cooking spray. Give the inside of each peeled pepper a very light dusting of flour — just a little pinch rubbed around the inside — this helps everything hold together. Then stuff each pepper generously with the beef and cheese filling and lay them seam-side up in your prepared baking dish. Don’t worry if they’re not perfectly uniform — it all tastes the same and this is home cooking!
Here’s the fun part — the egg coating! Separate your eggs, placing the whites in a large clean bowl and the yolks in a small bowl. Beat the egg whites with a hand mixer or stand mixer until stiff peaks form, about 3-4 minutes. Then gently whisk the yolks with a pinch of salt and fold them into the whipped whites until just combined — you want to keep as much air in there as possible. Spoon and spread this fluffy egg mixture generously over the top of each stuffed pepper, covering them completely. Sprinkle the shredded sharp cheddar cheese right over the egg coating.
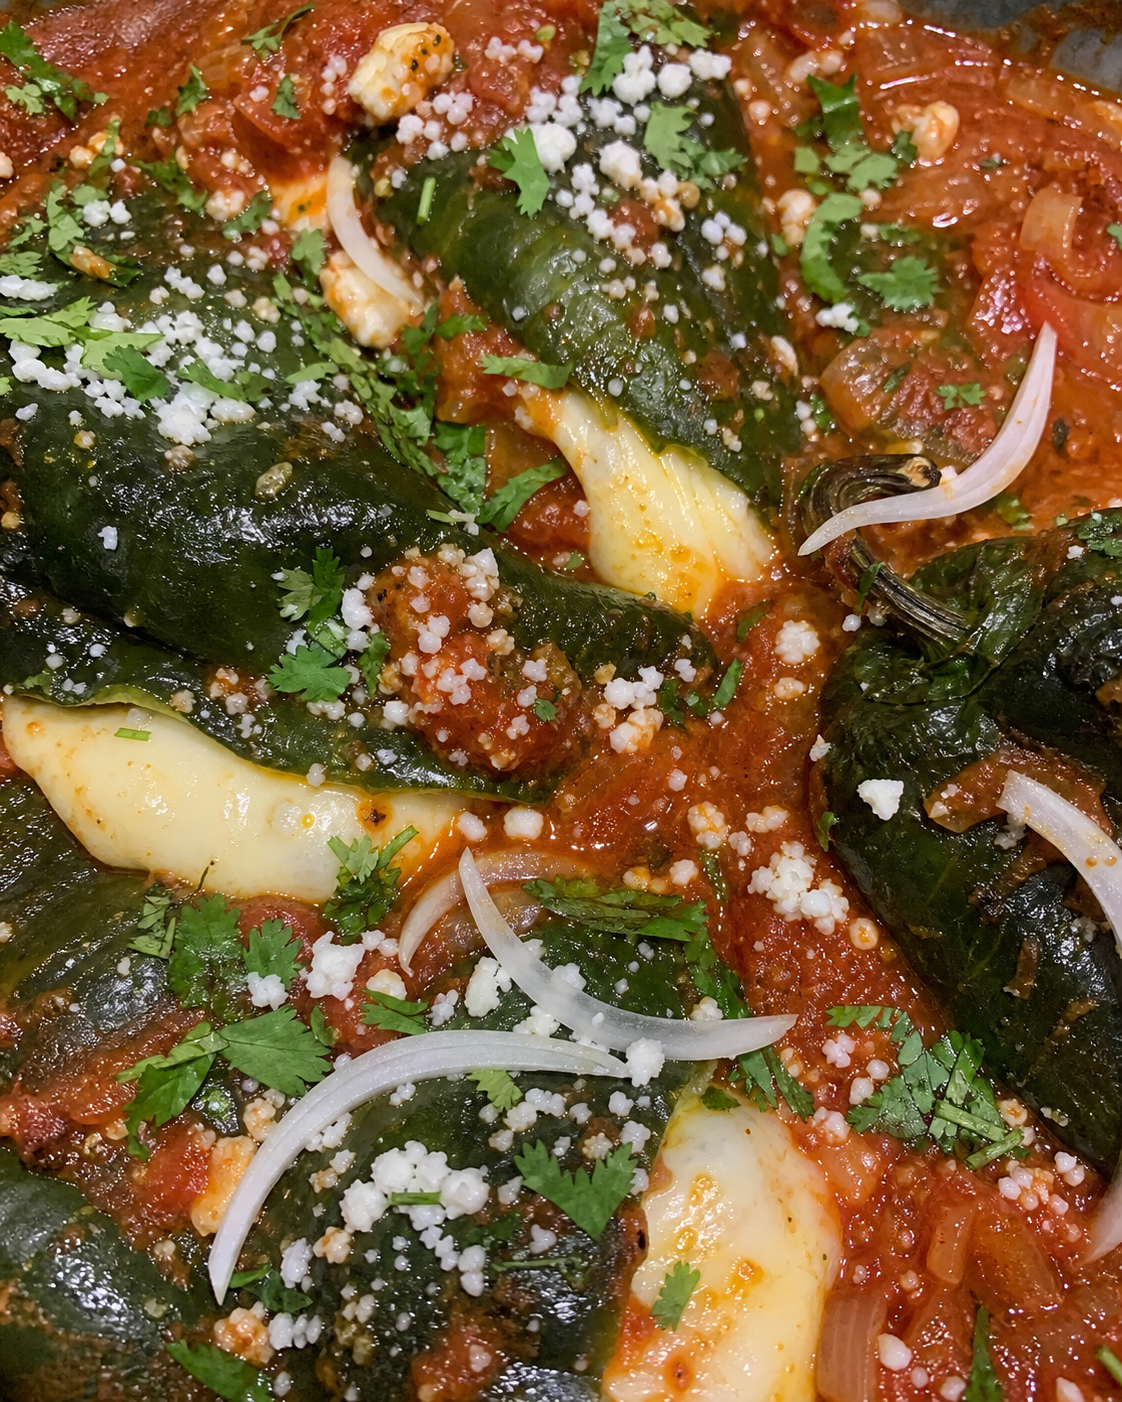
Slide the baking dish into the preheated 375°F oven and bake for 25-30 minutes, until the egg coating is set and lightly golden on top and the cheese is bubbly and beautiful. Let them rest for about 5 minutes before serving — they firm up just a little and are so much easier to serve. Top with a dollop of sour cream, some fresh pico de gallo, a little hot sauce if you like — I am a happy camper every single time I pull this out of the oven!
Pro Tips
- Don’t rush the steaming step — Giving your charred peppers a full 15 minutes under that plastic wrap makes the skin slide off easily without tearing the pepper. Rushing this step means wrestling with stuck skin, and nobody has time for that on a weeknight!
- Drain your tomatoes really well — Press them gently with the back of a spoon after draining. Extra liquid in the filling will make the egg coating soggy during baking, and you want it to stay fluffy and light.
- Use room-temperature eggs for the coating — Room-temperature egg whites whip up to much higher, fluffier peaks than cold ones. Pull them out of the fridge about 20-30 minutes before you plan to make the coating. It makes a real difference!
- Make sure your bowl is clean and dry for whipping egg whites — Any trace of fat or moisture will prevent the whites from whipping properly. I always wipe my bowl with a little white vinegar on a paper towel just to be safe.
- Let the filling cool slightly before stuffing — Super hot filling will start cooking the egg coating before you even get them in the oven. Give it 5-10 minutes off the heat before you start stuffing for the best results.
- Gently score each pepper before serving — Running a knife lightly down each pepper right before plating makes them easier to cut through at the table and makes for a much prettier presentation!
What to Serve with Baked Chili Rellenos
These baked chili rellenos are honestly a complete meal on their own, but if you want to round out your dinner spread, there are so many great options that pair perfectly with them!
- Mexican Rice — My absolute personal favorite side! The fluffy, tomato-seasoned rice soaks up any extra sauce or filling that spills out and it’s just classic comfort food perfection.
- Refried Beans — Creamy, warm, and so nutritious — a small scoop on the side makes this a truly filling and satisfying meal.
- Street Corn Salad (Esquites) — The sweet, creamy corn salad balances the savory pepper filling so well. It’s a highly requested side in my house!
- Simple Green Salad — A light salad with lime vinaigrette keeps things fresh and balances the richness of the cheesy filling.
- Warm Flour or Corn Tortillas — Perfect for scooping up all the cheesy, saucy goodness. Nobody leaves anything on their plate this way!
- Chips and Fresh Salsa or Guacamole — Put these out while the rellenos are baking and everyone will be in such a good mood by the time dinner hits the table.
However you decide to serve them, I promise this meal is going to make your family very, very happy!
Baked Chili Rellenos
Ingredients
Method
- Preheat your broiler to high. Place poblano peppers on a foil-lined baking sheet and broil for 8-10 minutes, turning every 2-3 minutes with tongs, until the skin is charred and blistered on all sides. Transfer to a large bowl, cover tightly with plastic wrap, and let steam for 15 minutes.
- While peppers steam, heat a drizzle of olive oil in a large skillet over medium-high heat. Add the diced onion and cook for 3-4 minutes until softened. Add the minced garlic and cook for 30 seconds until fragrant.
- Add the ground beef to the skillet and cook, breaking it apart, for 7-8 minutes until fully browned. Drain any excess fat. Stir in the cumin, chili powder, smoked paprika, oregano, salt, and black pepper.
- Add the well-drained diced tomatoes to the skillet and stir to combine. Cook for 2-3 minutes until most of the liquid has evaporated. Remove from heat and stir in the Monterey Jack cheese until melted. Let the filling cool for 5-10 minutes.
- Preheat the oven to 375°F. Spray a 9x13-inch baking dish with cooking spray. Peel the charred skin off the steamed peppers. Carefully cut a slit lengthwise down each pepper and remove the seeds, keeping the pepper intact.
- Lightly dust the inside of each pepper with about 1 teaspoon of flour. Stuff each pepper generously with the beef and cheese filling and arrange them seam-side up in the prepared baking dish.
- Place the egg whites in a large clean bowl and beat with a hand mixer until stiff peaks form, about 3-4 minutes. In a small bowl, whisk the yolks with a pinch of salt. Gently fold the yolks into the whipped whites until just combined.
- Spoon the egg mixture over each stuffed pepper, covering them completely. Sprinkle the shredded sharp cheddar cheese evenly over the top.
- Bake at 375°F for 25-30 minutes until the egg coating is set and lightly golden and the cheese is bubbly. Let rest 5 minutes before serving. Top with sour cream, pico de gallo, and fresh cilantro if desired.