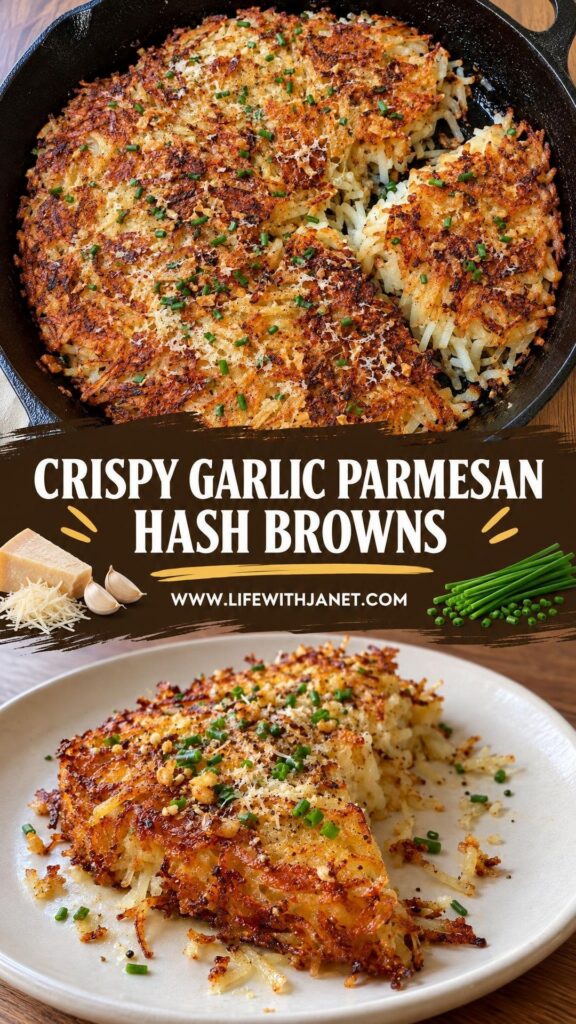
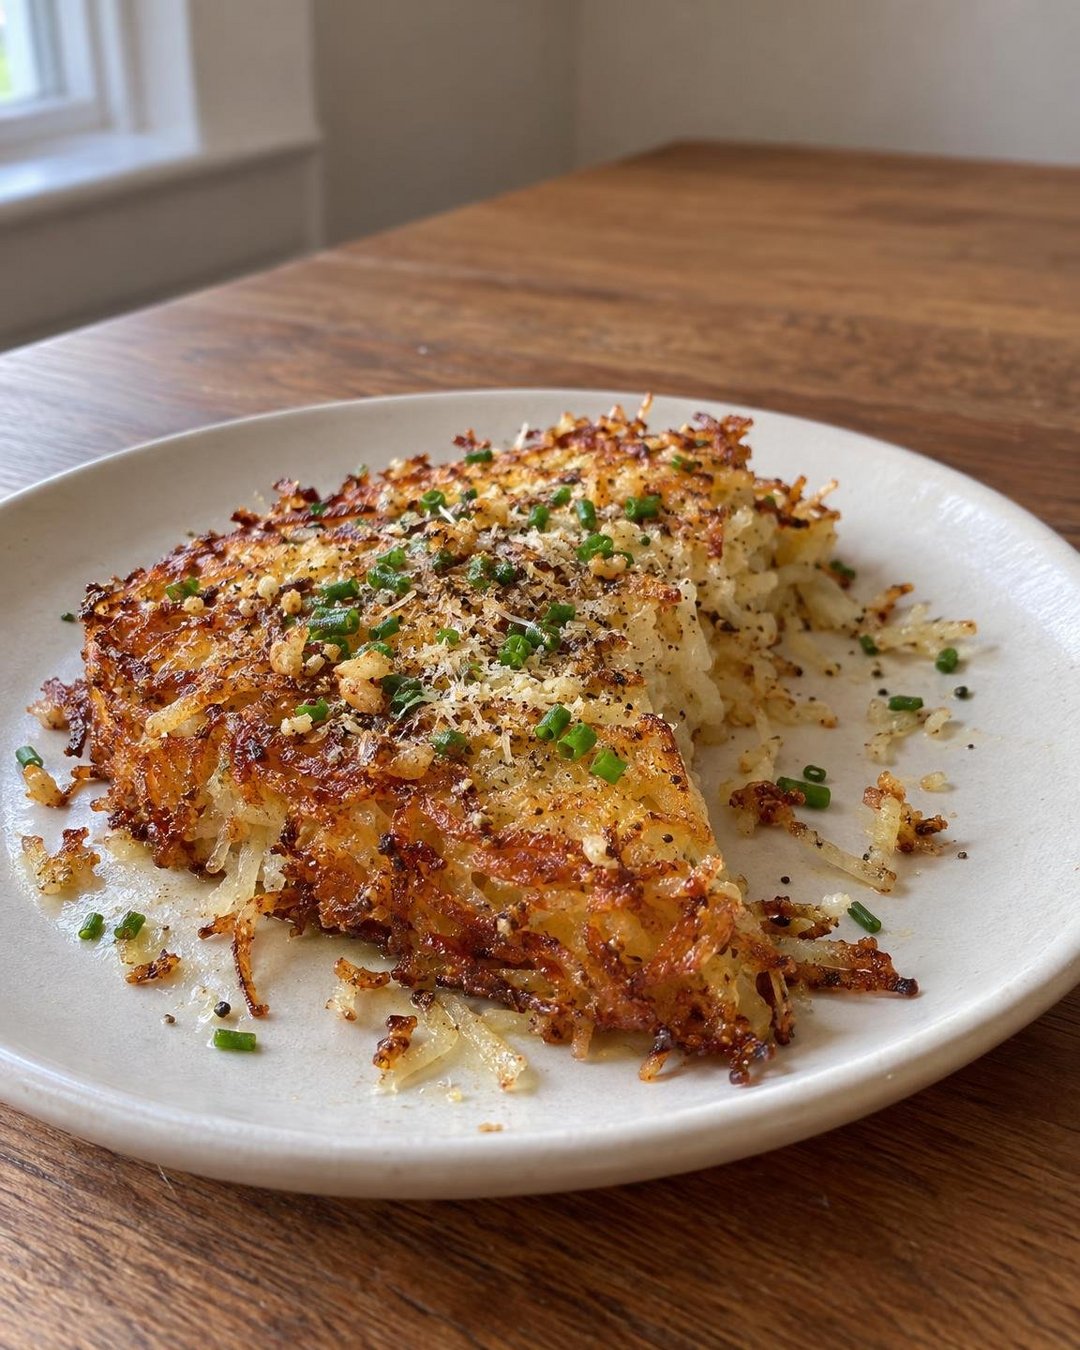
These golden, crispy hash browns are loaded with savory garlic and nutty Parmesan cheese — the ultimate comfort food breakfast side that comes together in under 30 minutes!
THE CRISPIEST, MOST IRRESISTIBLE HASH BROWNS YOU’LL EVER MAKE!
I am a happy camper every single time I pull these off the stovetop. There is something so deeply satisfying about perfectly golden, shatteringly crispy hash browns — and when you add garlic and Parmesan into the mix? Absolute game-changer. I literally make these several times a month, and my family absolutely loses their minds every single time I set them on the table. Even my pickiest eater clears the plate, which is saying a lot!
These are my go-to on slow weekend mornings, but honestly — don’t sleep on these for a weeknight meal side dish either. They pair beautifully with eggs and bacon for breakfast, but they also hold their own next to a simple grilled chicken on a Tuesday night. The fact that they come together with just a handful of budget friendly pantry staples makes them a keeper of a recipe that I keep on repeat all year long.
If you want a full spread, serve these alongside scrambled eggs, some fresh fruit, and a hot cup of coffee — boom, breakfast is served! Or plate them up next to a fried egg and roasted cherry tomatoes for the coziest, most nutritious little meal that feels totally indulgent but is actually pretty wholesome. Either way, you seriously cannot go wrong here.
“I made these on a Sunday morning and my husband said they were the best hash browns he’s ever had — better than any diner! The garlic and Parmesan combination is absolutely incredible. This is officially a family favorite in our house and I will be making these every single weekend. Thank you so much for sharing this recipe!”
– Melissa
Frequently Asked Questions
Can I use frozen shredded potatoes instead of fresh?
Absolutely! Frozen shredded hash brown potatoes work great here and save a ton of prep time — I’m not judging at all! Just make sure to thaw them completely and squeeze out as much moisture as humanly possible before cooking. Any extra moisture is the enemy of a crispy hash brown, so don’t skip that step.
Why do my hash browns always turn out soggy?
Soggy hash browns almost always come down to too much moisture in the potatoes. After you shred your potatoes, you want to squeeze them aggressively in a clean kitchen towel or through a fine mesh strainer until they are as dry as possible. Also, make sure your pan and oil are nice and hot before the potatoes hit the skillet — that initial sear is what creates the crust.
Can I make these ahead of time?
Yes, of course! You can shred and squeeze the potatoes the night before and store them in the fridge in an airtight container with a little squeeze of lemon juice to prevent browning. When you’re ready to cook, give them one more squeeze for moisture and you are good to go. The cooked hash browns can also be reheated in a skillet or in the oven at 375°F for about 10 minutes to get them crispy again.
Can I use a different cheese?
Absolutely! Parmesan is my personal favorite here because it melts into those crispy edges so beautifully and adds a salty, nutty depth — but shredded Gruyère, Pecorino Romano, or even sharp white cheddar would be super delicious too. Use whatever you prefer and have on hand!
How do I store leftover hash browns?
Store any leftover hash browns in an airtight container in the refrigerator for up to 3 days. To reheat, I highly recommend a hot skillet with a tiny bit of oil or butter rather than the microwave — the microwave will make them soft and sad, and nobody wants that. A few minutes per side in a hot pan brings them right back to life.
Can I freeze these?
Yes! Let the cooked hash browns cool completely on a wire rack, then freeze them in a single layer on a baking sheet before transferring to a freezer bag. They’ll keep well for up to 2 months. Reheat straight from frozen in the oven at 400°F for about 15 minutes, flipping halfway through, until heated through and crispy again.
What type of potato works best?
Russet potatoes are absolutely the best choice for hash browns — they are high in starch and low in moisture compared to waxy potatoes, which means they get extra crispy on the outside while staying tender on the inside. Yukon Golds can work in a pinch and will give you a slightly buttery flavor, but russets are the gold standard here, whatever you prefer!
Ingredients Needed: (See Recipe Card Below for the Full Recipe)
- Russet Potatoes — The high starch content is what gives you that incredible crispy exterior. You can also use frozen shredded hash browns if you’re short on time — just thaw and squeeze them dry first.
- Freshly Grated Parmesan Cheese — Freshly grated melts and crisps up so much better than the pre-shredded kind. I really recommend grating your own here for the best result — Pecorino Romano is a great swap if that’s what you have on hand.
- Fresh Garlic — Minced fresh garlic gives these hash browns the most incredible flavor. Garlic powder works in a pinch — about ½ teaspoon — but fresh is absolutely worth it here.
- Olive Oil — For cooking and getting that beautiful golden crust. You can also use avocado oil or a combination of olive oil and butter for extra richness, whatever you prefer.
- Unsalted Butter — Adding a little butter to the pan deepens the flavor and helps with browning. If you’re dairy-free, just use all oil instead.
- Fresh Chives — Stirred in at the end for a fresh, mild onion flavor and a pop of color. Green onions are a super simple swap if that’s what you have.
- Salt and Black Pepper — Essential for seasoning. Because Parmesan is already salty, start conservatively and taste as you go.
- Onion Powder — Adds a subtle savory depth without the texture of raw onion. Totally optional but I always add it!
- Garlic Powder — Just a small amount to layer the garlic flavor alongside the fresh garlic. It makes a noticeable difference.
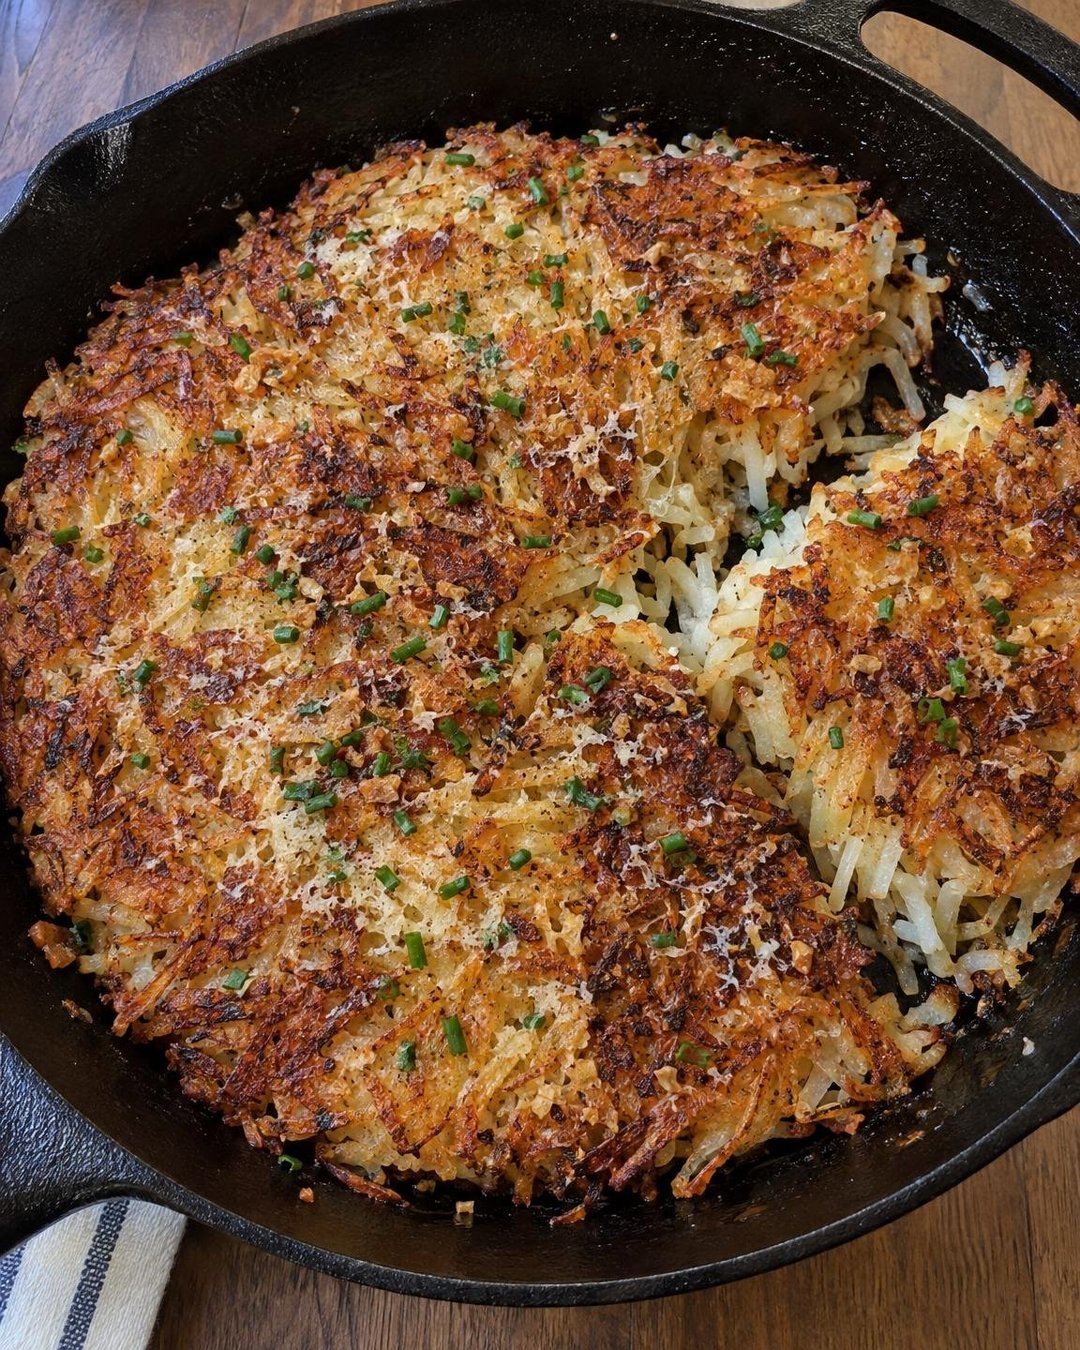
How to Make Crispy Garlic Parmesan Hash Browns
Start by peeling and shredding your russet potatoes using the large holes of a box grater. Once shredded, transfer them to a large clean kitchen towel or a few layers of paper towels and squeeze out as much liquid as you possibly can — seriously, do not rush this step. The drier your potatoes, the crispier your hash browns will be. I cannot stress this enough! Once squeezed, transfer them to a large bowl.
To the shredded potatoes, add your minced garlic, freshly grated Parmesan, onion powder, garlic powder, salt, and black pepper. Toss everything together until the potatoes are well coated and the garlic and cheese are evenly distributed throughout. You want every single shred of potato to have a little bit of that garlicky, cheesy goodness on it.
Heat a large 10 or 12-inch cast iron skillet or non-stick skillet over medium-high heat. Add 2 tablespoons of olive oil and 1 tablespoon of butter. Once the butter is melted and the pan is hot — and I mean really hot — add the potato mixture and press it down firmly into an even layer using a spatula. You want good contact between the potatoes and the pan so the bottom forms a solid, golden crust. Don’t touch it! Let it cook undisturbed for 6 to 8 minutes.
Once the bottom is a gorgeous deep golden brown, here’s the fun part — you can either flip the whole thing in one go if you’re feeling brave, or break it into sections and flip each piece individually. I usually go the section route, I’m not judging either way! Add the remaining tablespoon of butter to the pan and cook the second side for another 5 to 7 minutes until it’s just as golden and crispy as the first side. Keep an eye on the heat — if the potatoes are browning too quickly, turn it down just a notch.
Once both sides are perfectly crispy and golden, remove from the heat and scatter the fresh chives right on top. Give it a final taste for seasoning and add a little more salt and pepper if needed — keep tasting until it’s seasoned the way you like. Slide them onto a plate, maybe hit them with a tiny extra sprinkle of Parmesan right at the end, and boom — breakfast is served!
Pro Tips
- Squeeze, Squeeze, Squeeze — Removing moisture from the potatoes is the single most important step in this entire recipe. Use a clean kitchen towel and wring it out until you literally cannot get another drop out. Your future crispy hash browns will thank you.
- Get Your Pan Hot First — Don’t add your potatoes to a cold pan. Let the oil and butter heat up until the butter is foamy and sizzling before the potatoes go in. That hot surface is what creates the crust immediately on contact.
- Cast Iron is Your Best Friend — A cast iron skillet holds heat incredibly evenly and creates the most beautiful crust. A heavy-bottomed non-stick pan works great too, but cast iron is my personal pick every time I make these.
- Don’t Skimp on the Press — After you add the potato mixture to the pan, press it down firmly with the back of a spatula. The more surface contact you create, the more crust you get. I press mine down a few times in those first couple of minutes.
- Add Parmesan at the Right Time — Mixing the Parmesan into the raw potato mixture (rather than sprinkling it on top) means it gets incorporated throughout and crisps up INTO the hash brown itself, creating those irresistible cheesy, crunchy bits all the way through.
- Low and Slow for Extra Crisp — If you have extra time, after the initial sear on medium-high, you can reduce the heat to medium and let it go a little longer. A slower, steadier cook after that initial crust forms gives you even more crunch all the way through.
What to Serve with Crispy Garlic Parmesan Hash Browns
These hash browns are super versatile and pair beautifully with so many things — here are some of my favorite ways to serve them for a complete, nutritious, and totally satisfying meal!
- Scrambled or Fried Eggs — My absolute personal favorite pairing. The runny yolk from a fried egg over easy on top of these hash browns is honestly one of life’s great pleasures.
- Crispy Bacon or Turkey Bacon — Classic, budget friendly, and always a crowd-pleaser. Turkey bacon is a great lighter option that is still totally delicious here.
- Fresh Fruit Salad — A bright, fresh fruit salad balances out all that savory, golden goodness beautifully and adds a nutritious element to your plate.
- Avocado Slices — Creamy avocado alongside crispy hash browns is a combination I could eat every single day — the textures together are absolutely wonderful.
- Grilled or Baked Chicken — If you’re serving these as a dinner side, simple grilled chicken or baked chicken thighs make a fantastic and family friendly pairing.
- Roasted Cherry Tomatoes — Pop them in the oven at 400°F while you make the hash browns and they come out jammy and sweet — the perfect simple and nutritious topping to pile right on top.
However you serve them, I promise this will become one of the most highly requested recipes in your household — you’ve got this!
Crispy Garlic Parmesan Hash Browns
Ingredients
Method
- Peel and shred the russet potatoes using the large holes of a box grater. Transfer the shredded potatoes to a large clean kitchen towel and squeeze out as much liquid as possible — keep wringing until no more liquid comes out. Place the dry shredded potatoes into a large mixing bowl.
- Add the minced garlic, Parmesan cheese, garlic powder, onion powder, salt, and black pepper to the bowl with the potatoes. Toss everything together thoroughly until well combined and the seasonings are evenly distributed throughout.
- Heat a 10 or 12-inch cast iron skillet or heavy-bottomed non-stick skillet over medium-high heat. Add 2 tablespoons of olive oil and 1 tablespoon of butter. Once the butter is melted and sizzling, add the potato mixture to the pan and immediately press it down firmly into an even, compact layer using a flat spatula.
- Cook undisturbed for 6 to 8 minutes, until the bottom is a deep golden brown and crispy. Carefully flip the hash browns in sections using a wide spatula, then add the remaining 1 tablespoon of butter to the pan. Press each section down again and cook for another 5 to 7 minutes until the second side is equally golden and crispy.
- Remove from heat and immediately top with fresh chives and an optional extra sprinkle of Parmesan cheese. Taste and adjust seasoning with salt and pepper as needed. Serve hot and enjoy immediately!