Adding some spice to your container garden is easier than you think. Growing chile peppers on a patio or balcony simply requires selecting the right varietals, containers, soil, and following good cultivation practices.
Choosing Chile Pepper Varieties
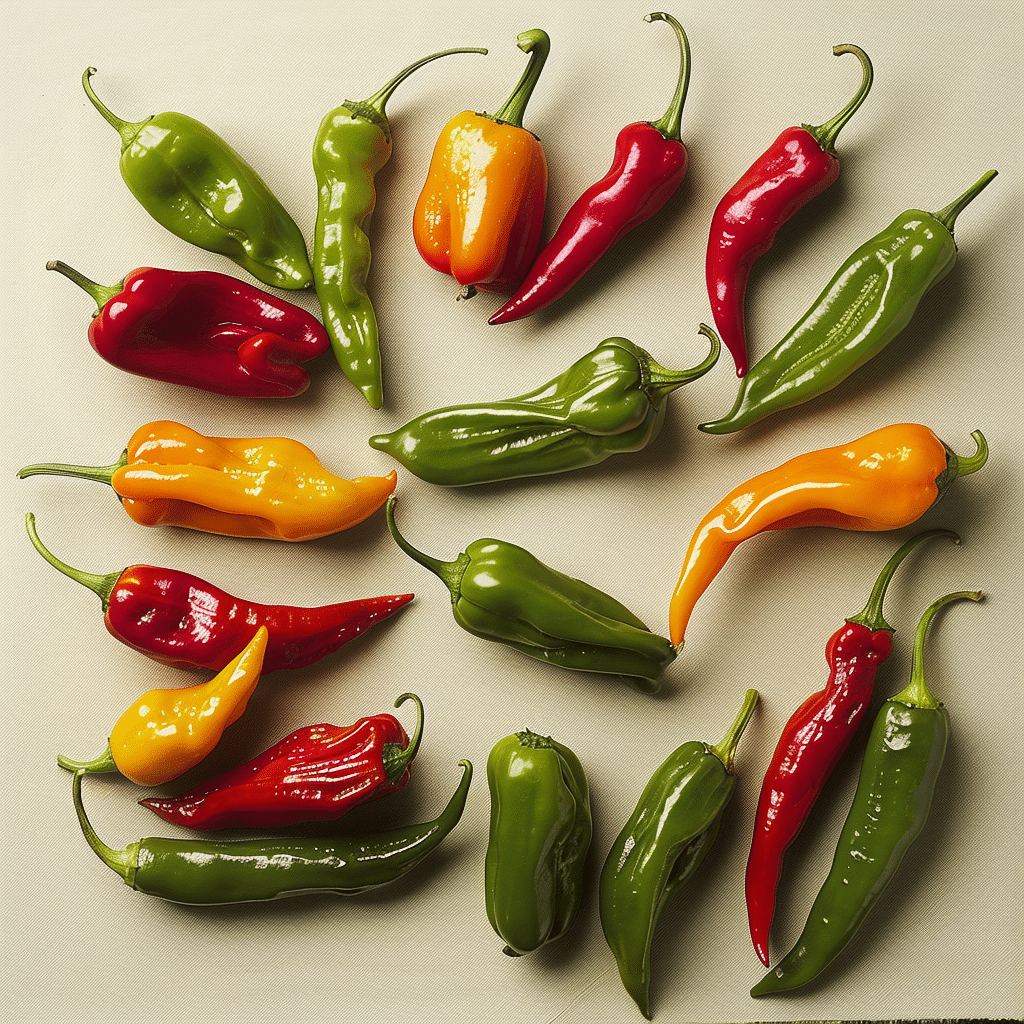
When deciding which types of chile peppers to grow, consider your climate and desired heat level. Some good varietals for containers include:
- Jalapeño – Mildly hot pepper producing heavy yields. Great for salsa and pickling.
- Habanero – Very hot pepper that comes in orange, red, and yellow varieties. Flavorful but intense heat.
- Cayenne – Slim, red, very hot pepper perfect for containers, both ornamentally and for spices.
- Anaheim – Mildly hot chile excellent for roasting, stuffing, or making chili rellenos.
- Poblano – Hearty green pepper with mild heat. Ideal for cooler climates.
- Cherry Bomb – Prolific fruiting plant producing petite and extremely hot red peppers.
Ensure the varietals you select match your growing zone and season length.
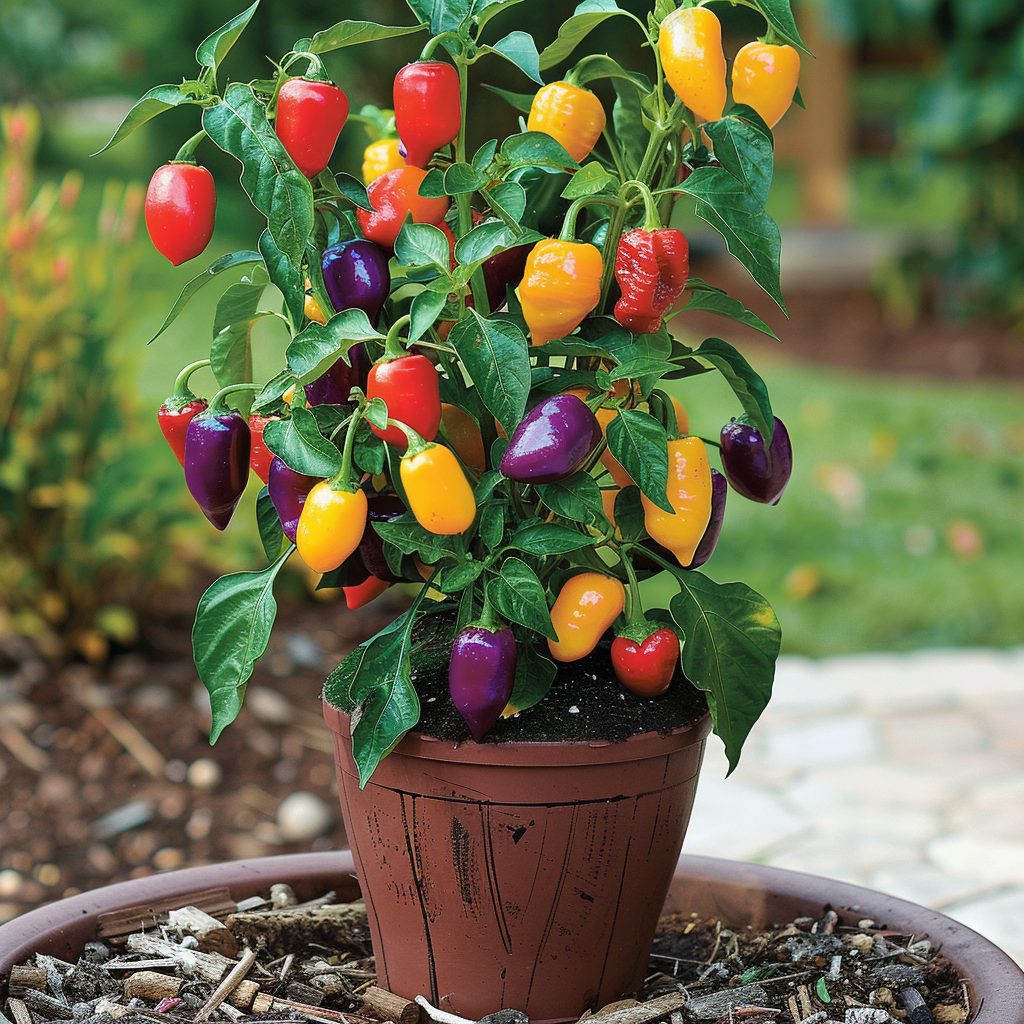
Selecting the Right Container
Chile pepper plants need deep pots, at least 12-inches deep, to accommodate their long taproots. Choose containers with drainage holes to prevent soggy soil. Excellent options include:
- Plastic pots – Affordable and come in large sizes, great for vigorous plants.
- Fabric grow bags – Allow air pruning of roots, available in huge diameters.
- Ceramic or terracotta – Attractive but breakable, require more frequent watering.
- Self-watering containers – Convenient option for those who travel frequently.
Dark colors absorb more heat which is beneficial for chile peppers. Have at least a 5-gallon capacity per plant.
Soil Mix
Peppers thrive in loose, fertility soil with a pH around 6.5. Use a quality potting mix made for vegetables, or make your own mix:
- Compost, worm castings, or aged manure – Improves nutrition and moisture retention
- Perlite or vermiculite – Lightens dense soil
- Peat moss or coco coir – Retains moisture and nutrients
- Espoma organic fertilizer or slow-release pellets
Before planting, work amendments into pots thoroughly and test drainage.
Planting and Care
Follow best practices and your chile peppers will reward you with prolific fruit:
- Sow seeds indoors 8-10 weeks before last expected frost
- Harden off seedlings then transplant into containers
- Place in full sun – at least 8 hours per day
- Install supports for larger plants to prevent breaking
- Water when soil is partly dry 1-2 inches deep
- Feed with organic fertilizer every 2-4 weeks
- Scout for pests daily and treat organically if found
Overwintering
At summer’s end, clean up spent plants and store viable ones for next year:
- Cut back foliage but leave stem intact
- Move container to garage or cool basement
- Reduce watering but don’t allow drying out
- Prune back heavily in early spring
- Acclimate and transplant outdoors after danger of frost
Follow this guide and with some patience you’ll be rewarded with a bountiful chili pepper harvest! Let me know if you need any clarification or have additional questions.