
Have you ever plucked a perfect, plump grape off the vine and thought, “I wish I could grow my own grapes right in my backyard”? Well, you’re in luck! Growing grapevines from seeds is totally doable, even for beginner gardeners. Sure, it takes some patience – it can take up to seven years before you get that first juicy harvest. But just imagine biting into a grape you nurtured all the way from a tiny seed to a fruit-laden vine. Keep reading to learn everything you need to know to get your grape-growing journey started.
Decoding Grape Genetics: What to Expect from Seeds
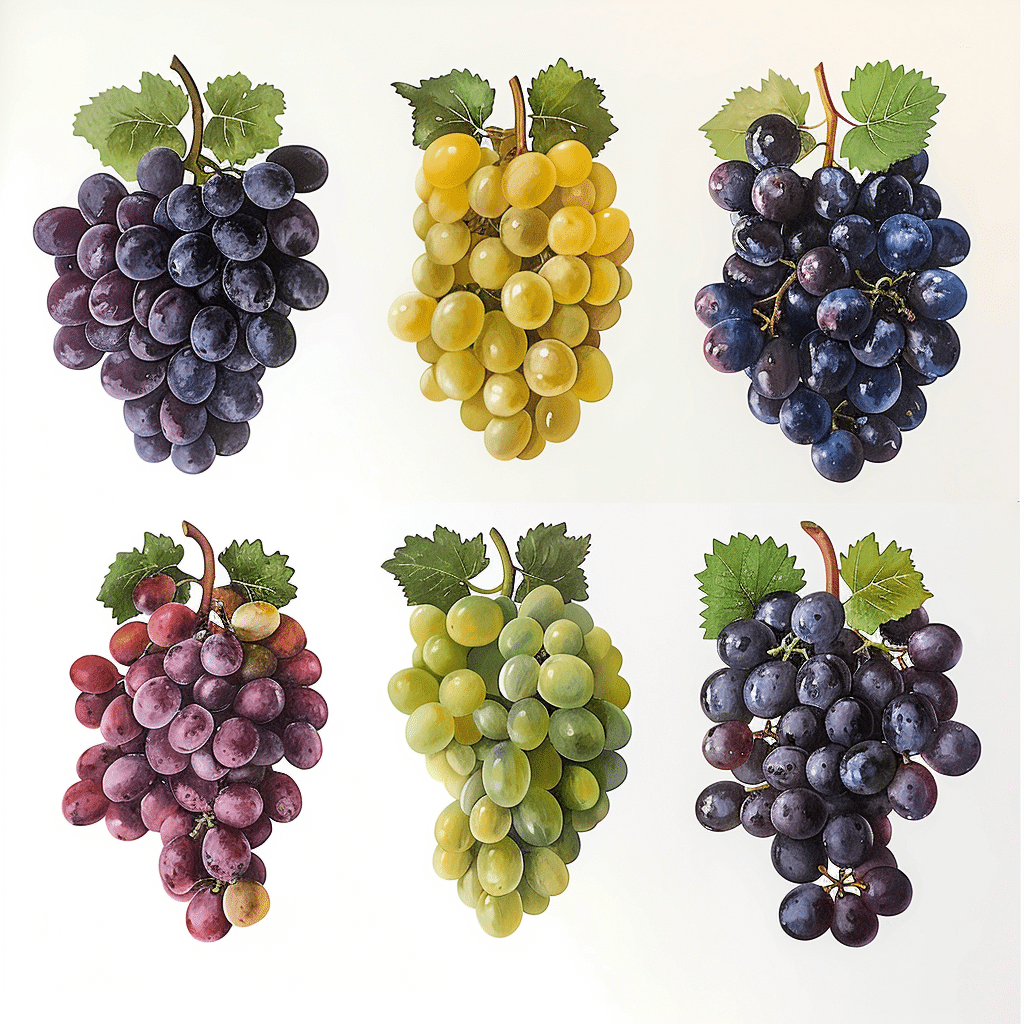
Right off the bat, it’s key to understand grape genetics. If you plant a seed from the red grapes you buy at the grocery store, don’t expect it to produce an identical red grape. Most grapes aren’t “true to seed,” meaning the seeds don’t pass down exact genetic replicas of the parent.
The traits that emerge could result in white grapes, green grapes, smaller grapes, or different tasting grapes altogether. That’s because grapevines in nature need diverse genetics to adapt to changes from one generation to the next.
So if you’re set on exactly replicating a specific grape variety like Merlot or Concord, it’s best to start with cuttings instead of seeds. But if you’re up for surprises and experimentation, seeds can still be really fun to play with. Just be ready for unexpected results!
Gather High-Quality Grape Seeds
You can certainly try sprouting seeds straight from the grocery store. But for better germination luck, buy them from garden stores and reputable online retailers. The best seeds are:
- Clearly labeled with the grape variety
- Guaranteed to be viable and not hollow
- Ideally “cold stratified” – pretreated to germinate more reliably
Local farmers, nurseries, or fellow gardeners may have quality seeds available too.
Prep the Seeds for Planting
Grape seeds need to be fooled into thinking they went through winter before they’ll be eager to sprout. This process of cold moist storage is called stratification. Here’s a simple way to stratify seeds at home:
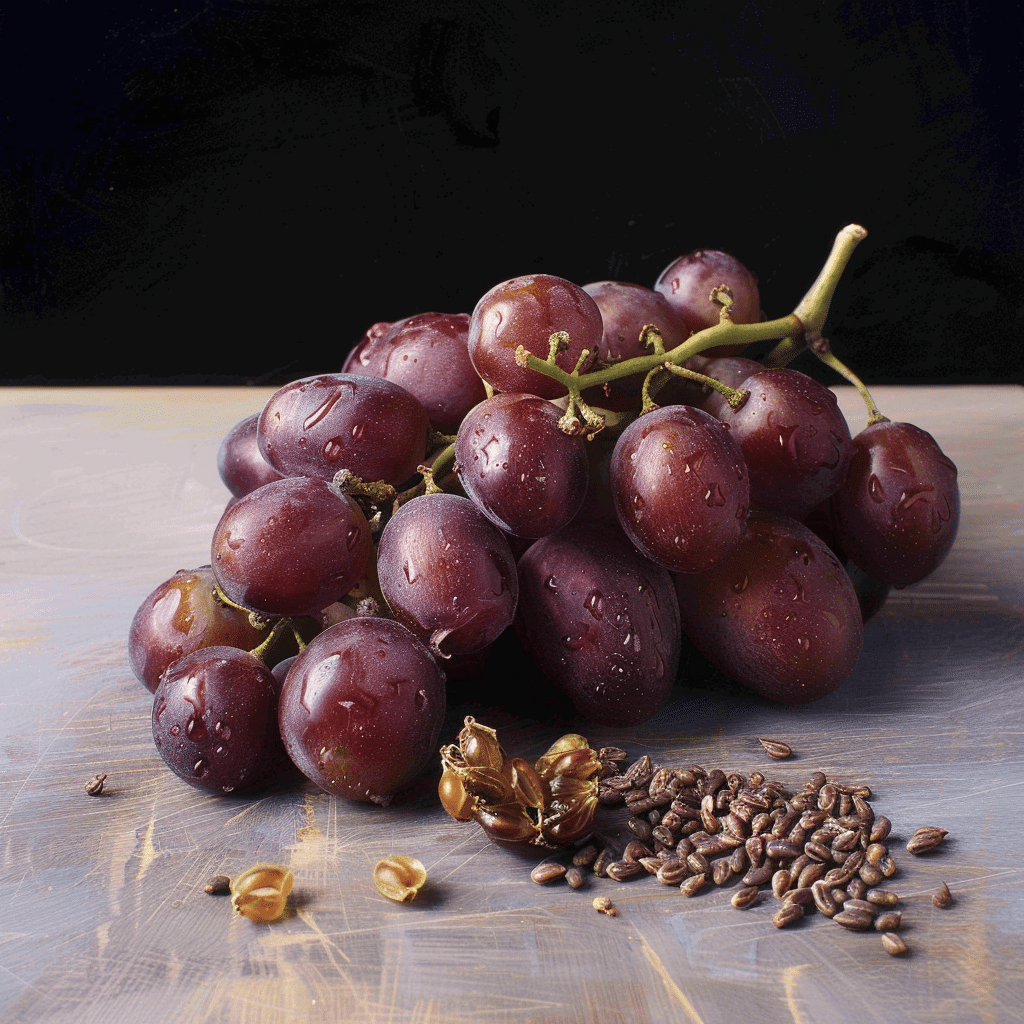
- Soak freshly harvested seeds in water for 24 hours. Discard any floaters, which are unlikely to be viable.
- Mix the soaked seeds with slightly moistened peat moss or sand. Pack them into an airtight container like a plastic bag.
- Refrigerate the seeds for 90-120 days. This cold period tricks them into entering dormancy.
- After stratification, move seeds to a warm spot briefly to jumpstart germination.
Now your seeds are prepped and ready to become baby grapevines! Time to plant them.
Choosing the Best Location
Before planting your sprouted seeds or young vines outdoors, make sure your yard provides what grapes need to thrive:
- Full sun: Grapevines bask in 8 hours per day of direct sunlight, especially morning and afternoon sun.
- The right climate: Check which USDA Plant Hardiness Zone you live in. Choose grape varieties suited for your regional temperatures.
- Space to spread: Leave 6-10 feet between rows of grapes, and plan structures like trellises or fences for vines to climb up.
If you can modify conditions to fit those criteria, your backyard is likely grape-worthy!
Instructions for Planting Grape Seeds
Once your seeds have gone through stratification and begun sprouting:
- Use sterile seed starter mix and plant sprouts in individual small pots or together in seed trays about 2 inches apart.
- Place pots/trays in a spot with 16 hours per day of light and temperatures around 70°F.
- When seedlings reach 3 inches, transplant into 4 inch pots. Then into 1 gallon pots at 6 weeks old.
- Gradually introduce potted vines to outdoor conditions, starting with partial shade exposure, over 2-4 weeks before final planting.
To plant outdoors:
- Dig 1×1 foot holes with loose soil at bottom mixed with compost.
- Place young vines in holes, fill with mix up to the lowest leaves. Water gently.
- Insert stakes by each vine for support. Space rows/vines appropriately for planned trellises or fences.
- For first 2 years, prune off shoots and flowers to promote root and stem growth. Add trellising structures in year 2.
Ongoing Grapevine Care
Once your vines are happily rooted, there are just a few maintenance tasks:
- Apply balanced fertilizer every 2 months from spring through fall. Increase dosage very gradually each feeding.
- Train vines to climb support structures (don’t let them sprawl!). Tie them with soft twine if needed.
- Prune vines each spring for optimal health and fruit production.
- Protect ripening grapes from birds with netting wrapped loosely around vines.
- Wait 3 years for the very first small harvest from young vines. Enjoy exponentially bigger harvests in following years!
When it comes to homegrown grapes, good things come to those who wait. But the hands-on process of nurturing your own vines makes that harvest even sweeter. Get out there and grow those seeds!


I like working on grapes farms